


Reelmaster 3550−DGroomer Page 8 − 4
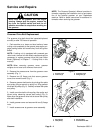
Service and Repairs
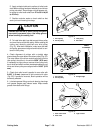
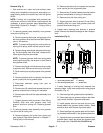
CAUTION
Never work on the groomer with the engine
running. Always stop the engine, remove the
key from the ignition switch and wait for all
machine movement to stop before working on
the groomer.
NOTE: The Groomer Operator’s Manual provides in-
formation regarding the installation, set−up and opera-
tion of the optional groomer on your Reelmaster
machine. Refer to these instructions for additional in-
formation when servicing the groomer.
Groomer Drive Belt Replacement
The groomer drive belt should be inspected/replaced
annually or after 750 hours of operation.
1. Park machine on a clean and level surface, lower
cutting units completely to the ground, stop engine, en-
gage parking brake and remove key from the ignition
switch.
NOTE: If cutting unit is equipped with powered rear
roller brush, removal of roller brush components will be
necessary to replace groomer drive belt (see Roller
Brush (Optional) in Chapter 7 − Cutting Units in this
manual).
NOTE: When removing groomer cover, groomer
weights do not have to be removed from cover.
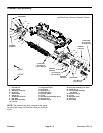
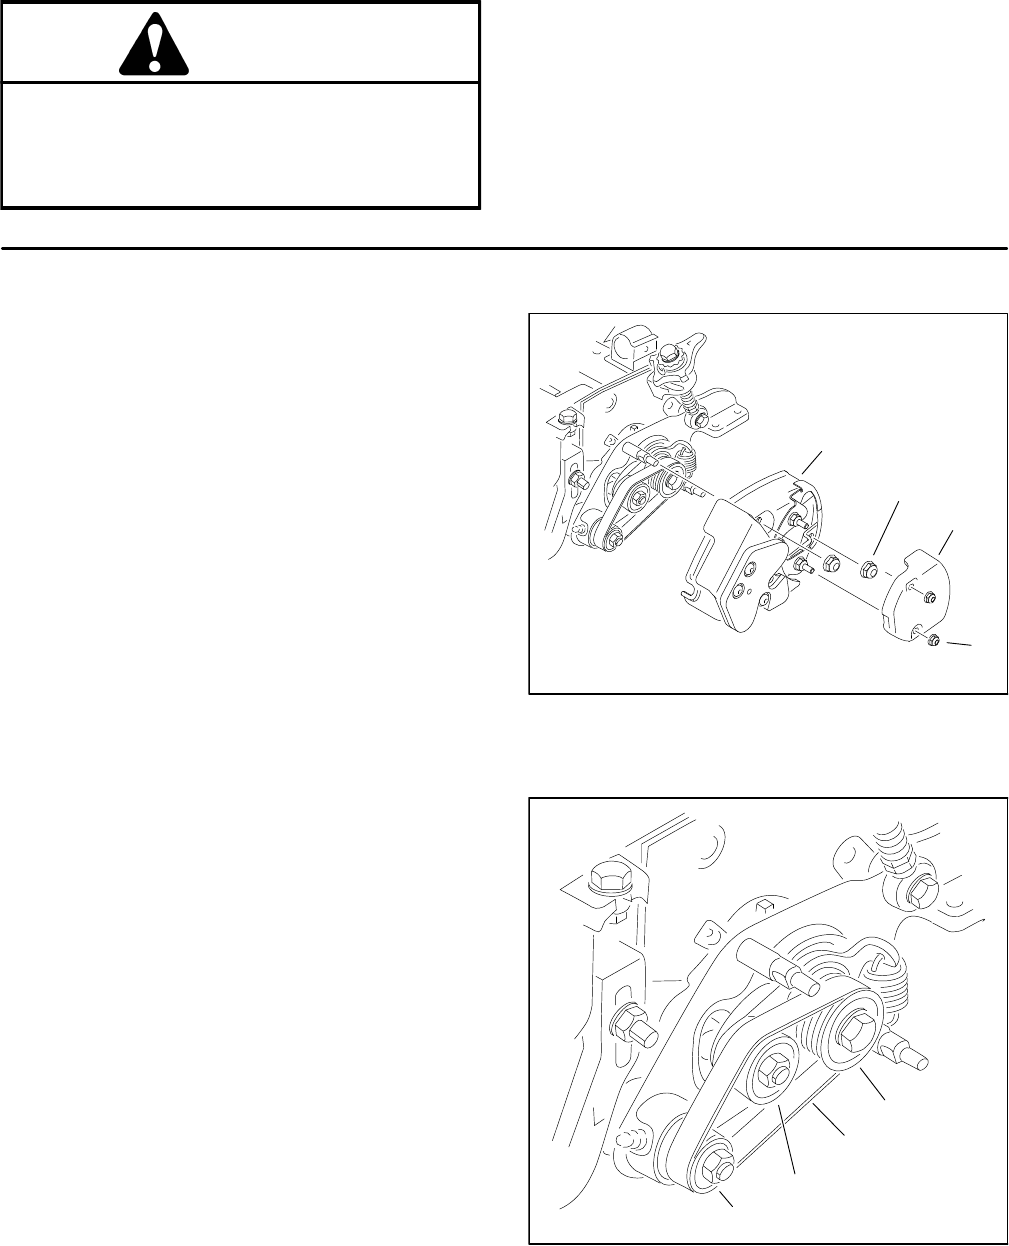
2. Remove the access cover from the groomer cover
assembly (Fig. 1).
3. Remove two (2) flange nuts that secure groomer
cover, then remove cover (Fig. 1).
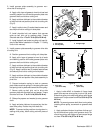
4. Remove groomer belt tension by pivoting idler plate
and pulley using a wrench on pulley nut. Slip groomer
drive belt off pulleys (Fig. 2). Carefully release idler plate
and pulley.
5. Install new drive belt to drive pulley, idler pulley and
driven pulley observing correct belt routing (Fig. 2).
Make sure that groomer drive belt is above idler pulley
after belt installation.
6. Install groomer cover and secure with two (2) flange
nuts.
7. Install access cover to groomer cover assembly.
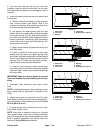
1. Access cover
2. Lock nut (2)
3. Groomer cover
4. Flange nut (2)
Figure 1
4
3
2
1
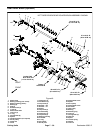
1. Drive pulley
2. Idler pulley
3. Driven pulley
4. Groomer drive belt
Figure 2
1
2
3
4