Reelmaster 3550−D
Cutting Units
Page 7 − 3
General Information
Cutting Unit Operator’s Manual
The Cutting Unit Operator’s Manual provides informa-
tion regarding the operation, general maintenance and
maintenance intervals for the cutting units on your Reel-
master machine. Additionally, if optional kits have been
installed on the cutting units (e.g. rear roller brush), the
installation instructions for the kit includes set−up and
operation information. Refer to those publications for
additional information when servicing the cutting units.
Cutting Unit Removal and Installation
Cutting Unit Removal
1. Park machine on a clean and level surface, lower
cutting units completely to the ground, stop engine, en-
gage parking brake and remove key from the ignition
switch.
2. Remove hydraulic reel motor from cutting unit that is
to be removed (see Hydraulic Reel Motor in this sec-
tion). Position motor away from cutting unit.
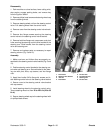
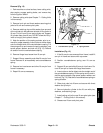
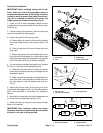
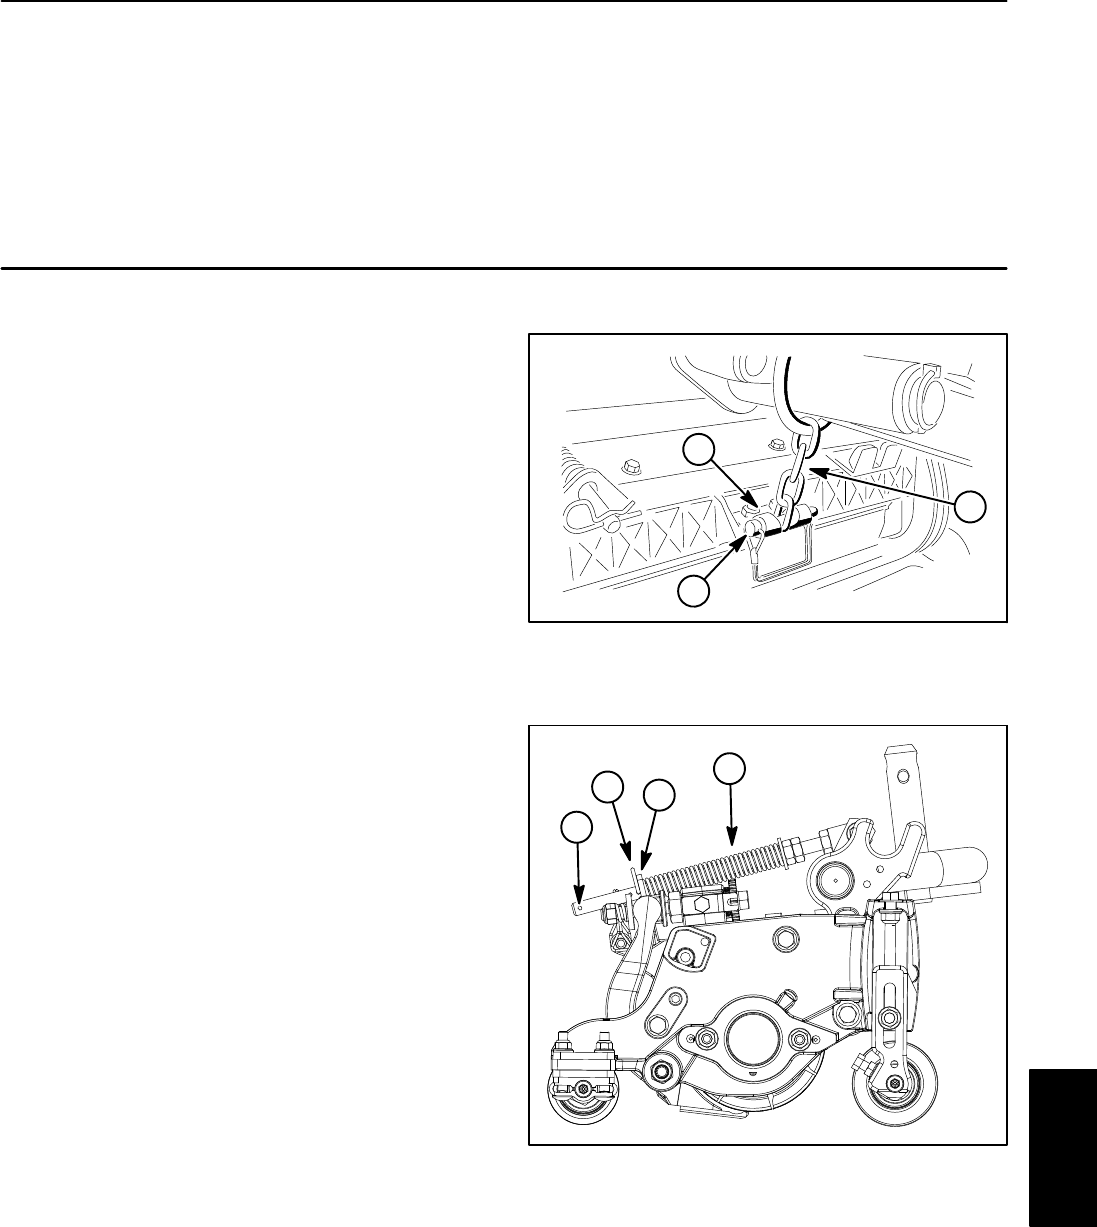
3. For assembly purposes, note location of snapper pin
in lift arm chain (Fig. 2). Remove snapper pin from cut-
ting unit chain bracket and lift arm chain.
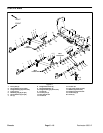
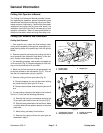
4. Move hair pin from rear hole of turf compensator rod
to the hole closest to the rod bracket (Fig. 3). This will
lock the turf compensator spring in position.
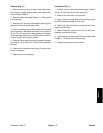
5. Remove cutting unit from pivot yoke (Fig. 4):
A. Remove snapper pin and cap that retain cutting
unit carrier frame to pivot yoke in lift arm.
B. Remove carrier frame shaft from pivot yoke on lift
arm.
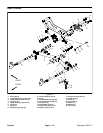
6. For rear cutting units when the height of cut is above
3/4 inch (1.2 cm) use the following procedure:
A. Remove the lynch pin and washer securing the
lift arm pivot yoke shaft to the rear lift arm (Fig. 5).
B. Slide the pivot yoke shaft out of the lift arm. Make
sure that second thrust washer remains on the pivot
yoke shaft.
C. Move cutting unit away from machine.
D. Remove the cutting unit from the pivot yoke as
described in step 5.
1. Lift arm chain
2. Chain bracket
3. Snapper pin
Figure 2
2
1
3
1. Compensator rod assy
2. Unlocked pin position
3. Locked pin position
4. Rod bracket
Figure 3
2
1
3
4
DPA Cutting
Units


