Appendix B: Performance Verification
AWG610 Arbitrary Waveform Generator User Manual
B-31
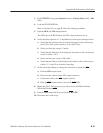
11. Follow the substeps below to check the DC offset:
a. Push the FORCE EVENT button.
b. Check that the reading from the oscilloscope display is about
0 V ±10 mV.
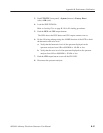
12. Do the following substeps to change the connection to check the CH1
:
a. Push the CH1 output button.
b. Disconnect the adapter, terminator and cable from the CH1 output con-
nector.
c. Connect the adapter, terminator, and cable (removed in step
b) to the CH1 output connector.
d. Push the CH1
output button to turn on the CH1 LED.
13. Repeat steps 8 through step 11 for the AWG610 Arbitrary Waveform
Generator CH1
.
14. Push the CH1
output button to turn off the CH1 LED.
15. Push the RUN button to turn off the RUN LED.
16. Disconnect the DMM.
Equipment
required
A 50ĂW SMAĂcoaxial cable and an oscilloscope (TDS820).
Prerequisites The AWG610 Arbitrary Waveform Generator must meet the
prerequisites listed on page B-8.
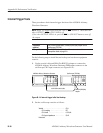
Do the following steps to install the test hookup and set the test equipment
controls:
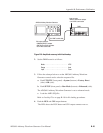
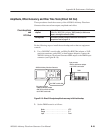
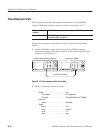
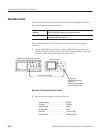
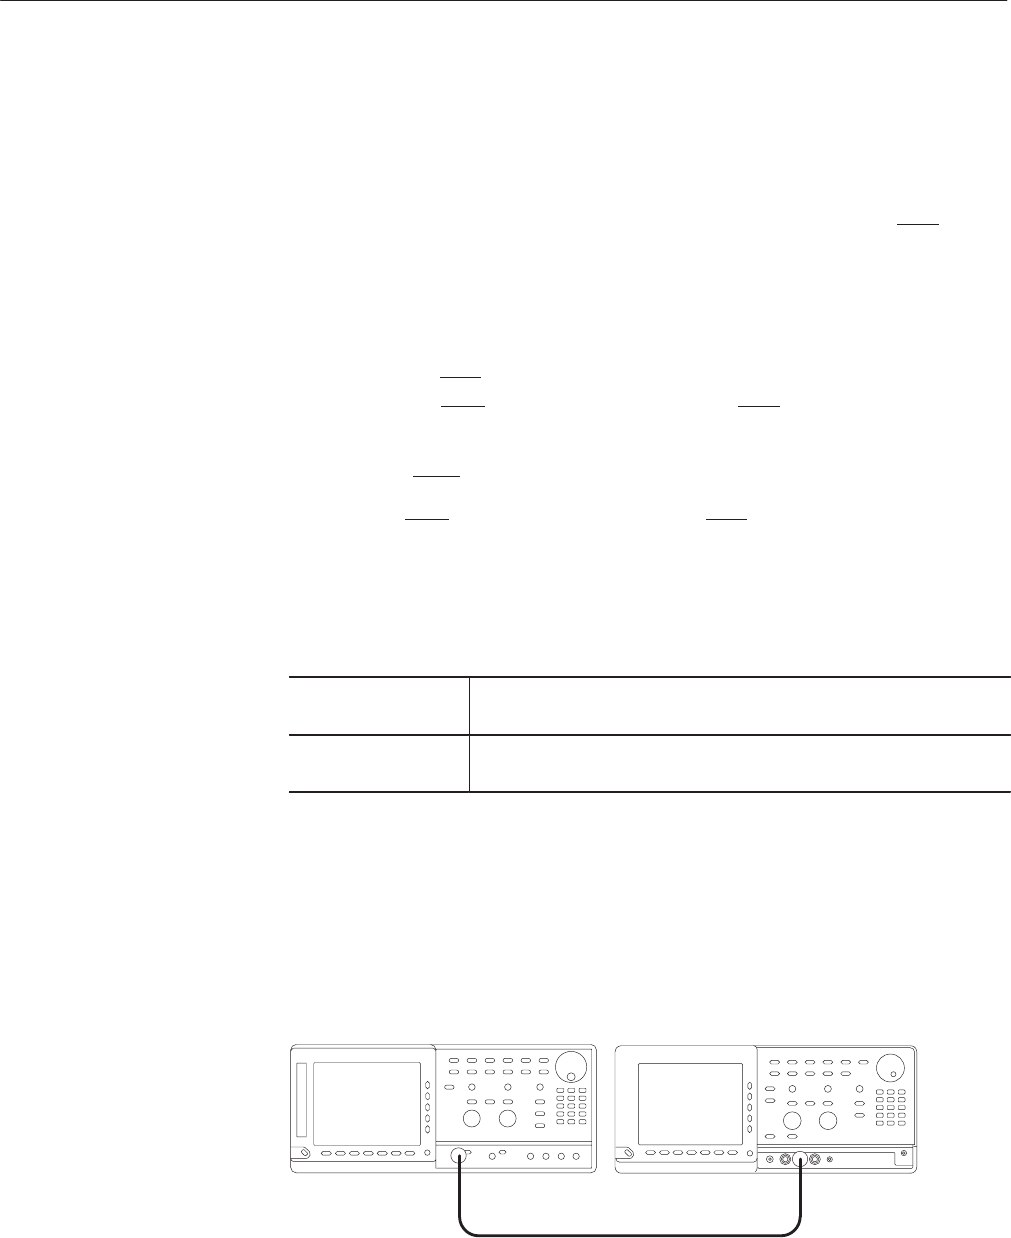
1. Use the 50 W SMA coaxial cable to connect the AWG610 Arbitrary
Waveform Generator CH1 output connector to the oscilloscope CH1 input
connector (see Figure B–11).
AWG610 Arbitrary Waveform Generator
Oscilloscope (TDS820)
50 W SMAĂcoaxial cable
Figure B-11: Direct DA output pulse rise time initial test hookup
Check Pulse Rise Time


