Reelmaster 2300–D/2600–DPage 7 – 20Cutting Units
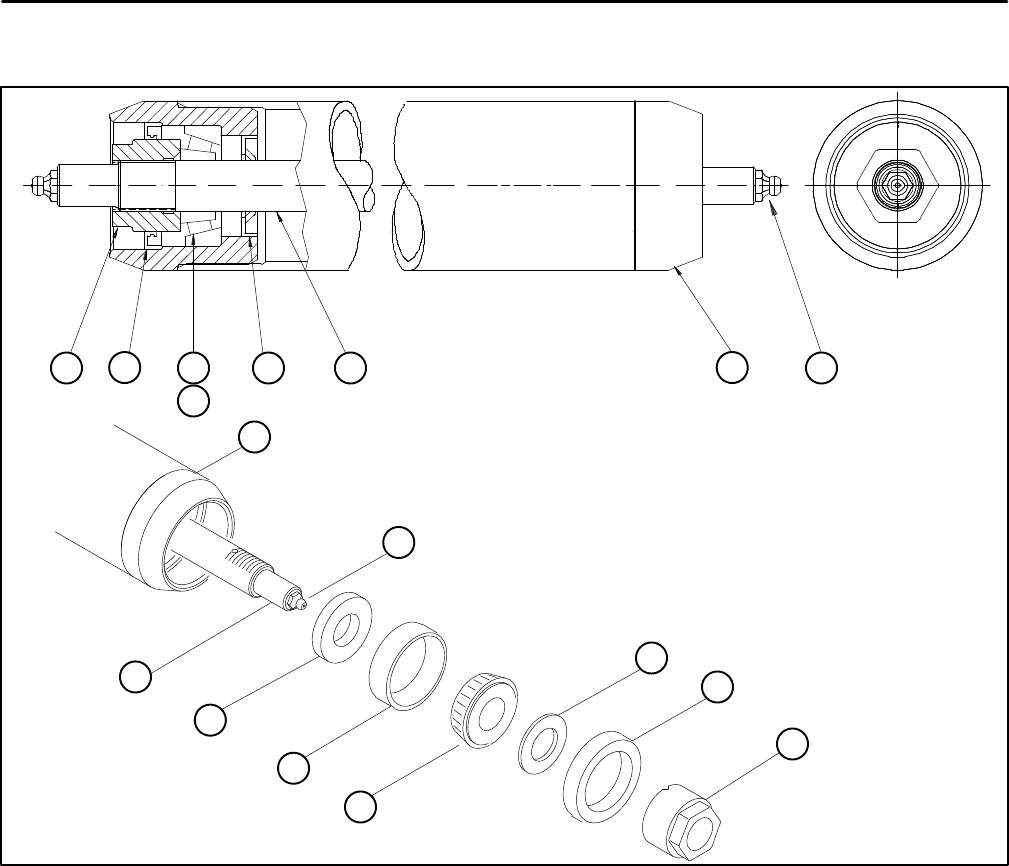
Roller Bearing and Seal Replacement
429751
2
9
8
7
6
5
1
4
8
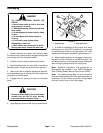
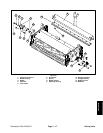
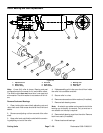
1. Adjustment nut
2. Roller shaft
3. Grease fitting
4. Full roller
5. Outer seal
6. Shim washer
7. Bearing cone
8. Bearing cup
9. Inner seal
3
3
Figure 25
Note: A rear (full) roller is shown. Bearing and seal
configurations are the same for full and wiehle rollers.
The wiehle roller does not have the a inner seal and
shim washer. The shim washer is not used on all full roll-
ers.
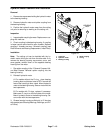
Remove Seals and Bearings
1. Clean inside roller around both adjusting nuts and
roller shaft ends. Both areas should be free of dirt and
debris.
2. Remove an adjusting nut from one end of the roller
shaft.
3. Keep roller level and slide the shaft with the remain-
ing adjusting nut out of the roller.
4. If disassembling a full roller, pour the oil from inside
the roller into a suitable container.
5. Secure roller in a vise.
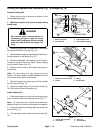
6. Remove outer seals and shim washers (if installed).
7. Remove both bearing cones
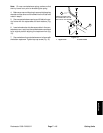
Note: An electric arc welder can be used to shrink the
bearing cup to simplify its removal. Only a small arc in
one location on the cup is required.
8. Remove both bearing cups from the roller. Remove
both inner seals (if installed).
9. Discard seals and bearings.


