


Reelmaster 2300–D/2600–D
Page 5 – 27
Electrical System
Service and Repairs
NOTE: See the Perkins 100 Series Workshop Manual
for more component repair information.
Battery Service
The battery is the heart of the electrical system. With
regular and proper service, battery life can be extend.
Additionally, battery and electrical component failure
can be prevented.
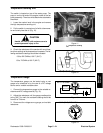
CAUTION
When working with batteries, use ex-
treme caution to avoid slashing or spil-
ling electrolyte. Electrolyte can destroy
clothing and burn skin or eyes. Always
wear safety goggles and a face shield
when working with batteries.
Electrolyte Specific Gravity
Fully charged: 1.265 corrected to 80_F (26.7_C)
Discharged: less than 1.240
Battery Specifications
BCI Group 55 Battery:
450 Amp Cranking Performance at 0_ F (–17.8_ C)
60 Minute Reserve Capacity at 80_F (26.7_C)
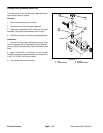
Removal
IMPORTANT: Be careful not to damage terminal
posts or cable connectors when removing the bat-
tery cables.
1. Remove the battery hold–down clamp. Slide battery
forward.
2. Disconnect the ground cable (–) first to prevent
short circuiting the battery, other components, or the op-
erators hands. Disconnect the positive (+) cable.
3. Make sure that the filler caps are on tightly.
4. Remove battery from the battery compartment to a
service area. This will minimize possible battery dam-
age and allow better access for inspection and service.
Inspection, Maintenance , and Testing
1. Perform the following inspection and maintenance
tasks:
A. Check for cracks caused by overly tight or loose
hold–down clamp. Replace battery if cracked and
leaking.
B. Check battery terminal posts for corrosion. Use
a terminal brush or steel wool to clean corrosion
from the battery terminal posts.
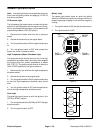
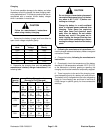
IMPORTANT: Before cleaning the battery, tape or
block the vent holes to the filler caps and make sure
the caps are on tightly.
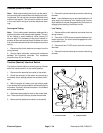
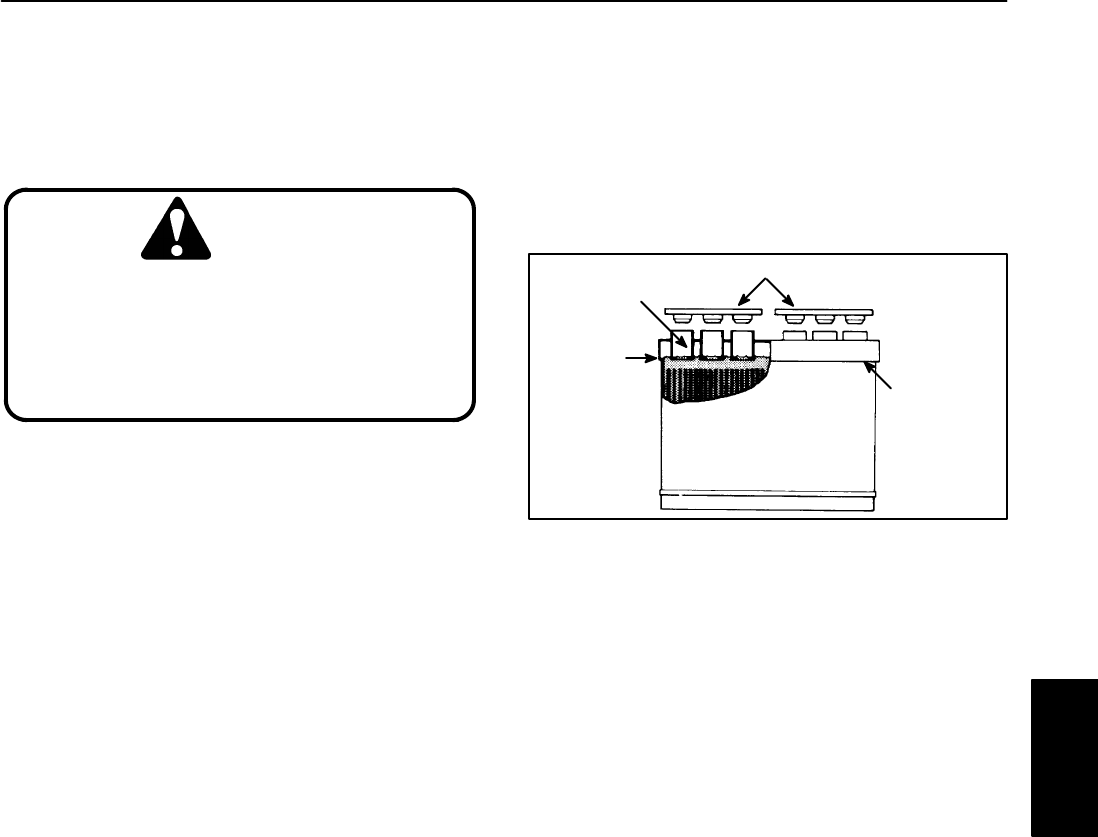
Figure 25
COVER SEAL
FILLER CAPS
CORRECT
WATER
LEVEL
CAP TUBES
C. Check for signs of wetness or leakage on the top
of the battery which might indicate a loose or mis-
sing filler cap, overcharging, loose terminal post, or
overfilling. Also, check the battery case for dirt and
oil. Clean the battery with a solution of baking soda
and water, then rinse it with clean water.
D. Check that the cover seal is not broken away.
Replace the battery if the seal is broken or leaking.
E. Check the electrolyte level in each cell. If the lev-
el is below the tops of the plates in any cell, fill all
cells with distilled water to the bottom of the cap
tubes. Charge at 15 to 25 amps for 15 minutes to al-
low sufficient mixing of the electrolyte.
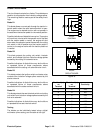
2. Conduct a hydrometer test of the battery electrolyte.
IMPORTANT: Make sure the area around the cells is
clean before opening the battery caps.
A. Measure the specific gravity of each cell with a
hydrometer. Draw electrolyte in and out of the
hydrometer barrel prior to taking a reading to warm–
up the hydrometer. At the same time take the tem-
perature of the cell.
Electrical
System