Greensmaster eFlex 1800/2100 GroomerPage 7 -- 21
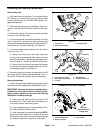
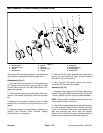
The groomer RH drive plate assembly incorporates the
idler system for tensioning the groomer drive belt. The
idler system uses a spring to maintain proper belt ten-
sion.
Removal
1. Parkmachineonlevelsurface.Turnkeyswitchtothe
OFF position and remove key from the switch. Make
sure the traction lever is in the NEUTRAL position. En-
gage parking brake.
2. Disconnect the b attery pack (see Battery Pack Con-
nection in the General Information section of this chap-
ter).
3. If idler pulley (item 10) needs to be serviced, remove
lock nut (item 13) and slide pulley with bearings from
idler bracket. Remove retaining ring and bearings from
idler pulley.
4. If idler bracket (item 4) or pivot hub (item 1) are to be
removed from drive plate:
A. Remove RH drive plate assembly from right side
of cutting unit ( see Grooming Reel (Forward Rotat-
ing Groomer Drive) in this section).
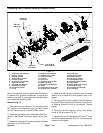
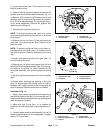
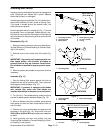
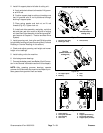
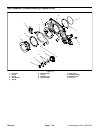
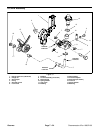
B. Using Figures 25 and 26 as guides, remove idler
components from drive plate as needed.
Installation
1. Assemble idler components to drive plate using Fig-
ures 25 and 26 as guides.
NOTE: When properly installed, the idler bracket (item
4) should pivot freely on pivot hub. Also, the idler pulley
(item 10) should move freely from side to side on the
idler bracket pin.
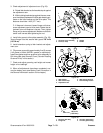
2. InstallRH drive plate assembly to right side of cutting
unit (see Grooming Reel (Forward Rotating Groomer
Drive) in this section).
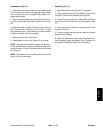
3. Check and adjust grooming reel height and mower
height--of--cut s ettings.
4. When all adjustments have been completed, con-
nect the battery pack (see Battery Pack Connection in
the General Information section of this chapter).
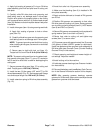
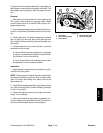
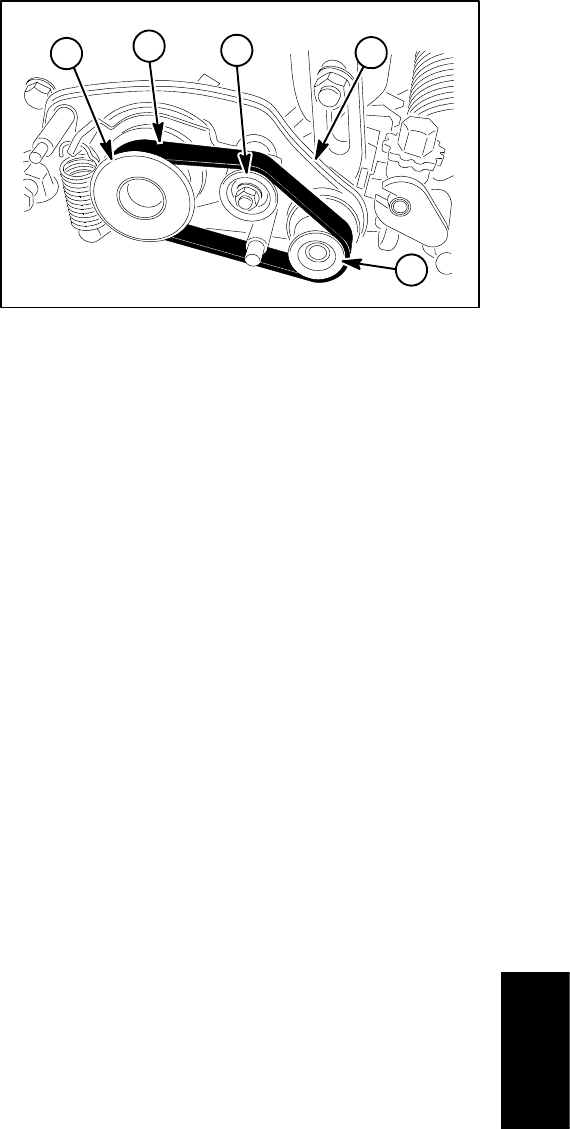
1. Drive pulley
2. Idler pulley assembly
3. Driven pulley
4. RH drive plate assy
5. Groomer drive belt
Figure 26
1
2
4
3
5
Groomer


