Operating Information
AWG510 & AWG520 Service Manual
2-19
and Directory bottom menu buttons to open side menus that let you change the
current drive location. Table 2–7 describes the Drive and Directory bottom
buttons.
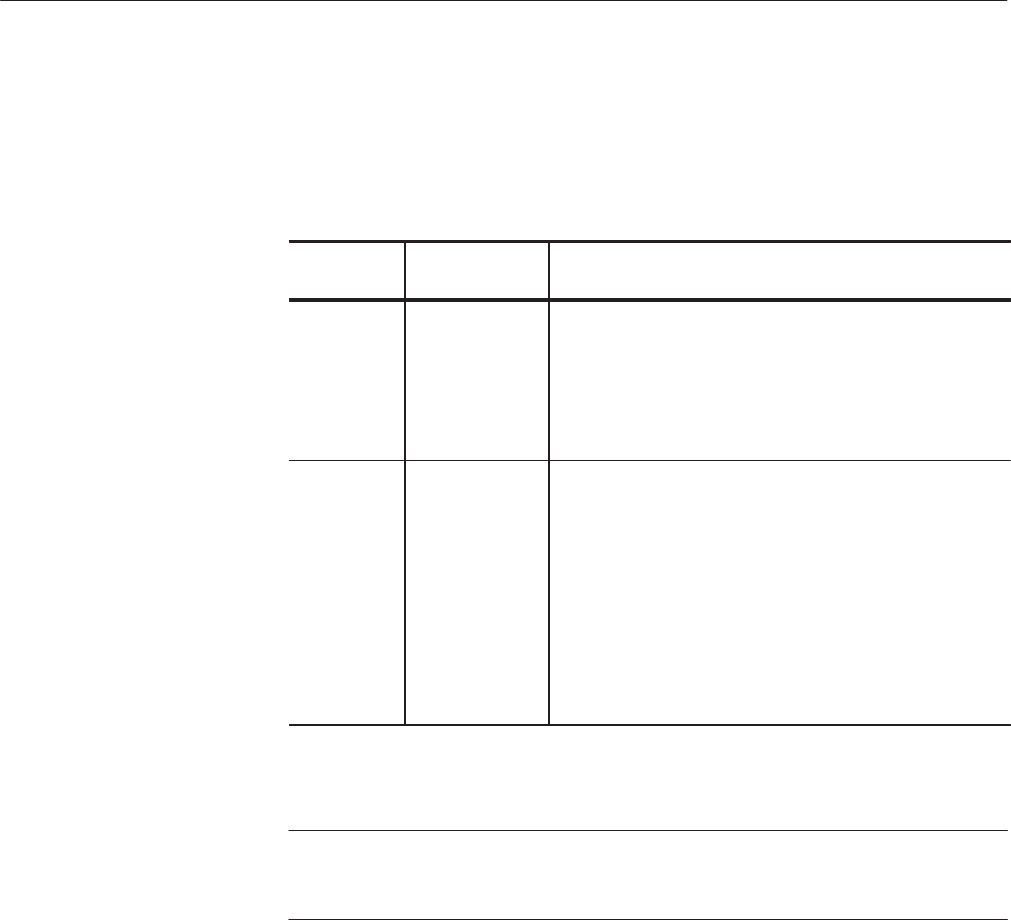
Table 2-7: Drive and Directory menus
Bottom
menu
Side menu Description
Drive Main
Floppy
Net1
Net2
Net3
Changes the instrument current drive. To select a drive,
push the appropriate side menu button. Note that there must
be a floppy disk inserted in the instrument floppy disk drive
in order to select the floppy drive.
Note that the label Net1, Net2 and Net3 vary depending on
the net name settings in the UTILITY menu.
Directory Up Level
Down Level
Make Directory
Moves you up a directory level.
Moves you down a directory level. To move down a directory
level, select a directory name in the popĆup list and then
push the Down Level side button. The filename list changes
to show the contents of the directory.
Creates a directory at the current level. To create a directory,
push the Make Directory side button to display the Input
New Directory Name dialog box. Enter the directory name in
the name field, then push the OK side button. The
instrument creates the new directory.
NOTE. In the following procedures, you may have to push the EDIT button twice
to quit the editor. When the instrument does not display the file list, push the
EDIT button again. If you are prompted, refer to Saving FIles on page 2–21.
Copying files is done from the EDIT menu screen. Do the following steps to
copy a file:
1. Push EDIT (front). The instrument displays the file list.
2. Select the file to copy.
3. Push File (bottom)!Copy (side)
4. Enter the new name for the copied file in the file name field
5. Push OK (side). The file is copied and renamed.
Copying Files
