Removal and Installation Procedures
AWG510 & AWG520 Service Manual
6-19
1. Assemble equipment and locate modules to be removed: Have a flat-blade
screwdriver (Item 4) handy. Locate the line fuse and line cord in the locator
diagram External modules, Figure 6–2.
2. Orient the generator: Set the generator so its bottom is down on the work
surface and its rear is facing you. If you are servicing the line fuse, do the
next step; if you are servicing the line cord, skip to step 4.
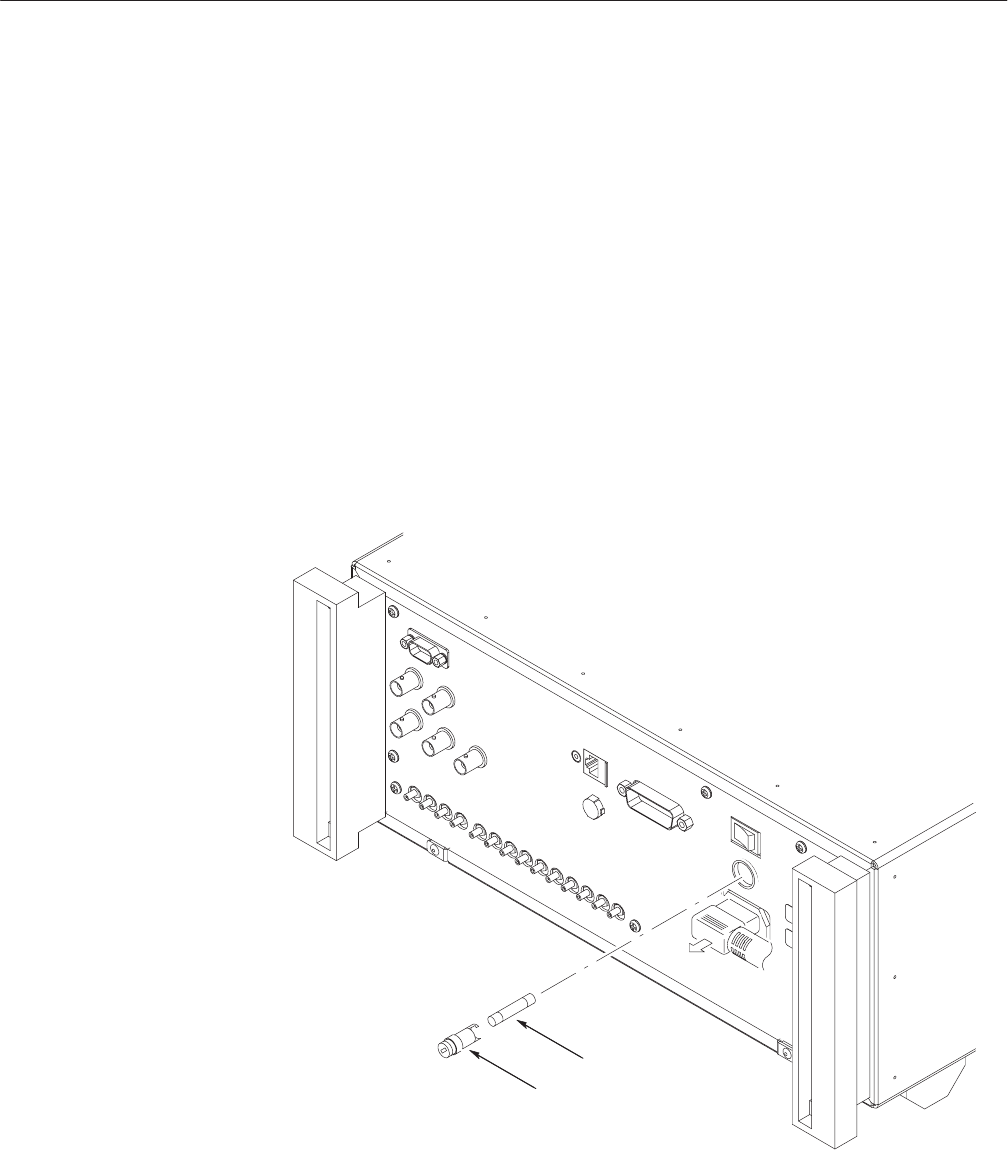
3. Remove line fuse: Find the fuse cap on the rear panel. (See Figure 6–6.)
Now, remove the fuse cap by turning it counterclockwise using a flat-blade
screwdriver, and remove the line fuse. Reverse procedure to reinstall.
4. Remove line cord: Find the line cord on the rear cover. (See Figure 6–6.)
Pull the line cord to complete the removal. Reverse procedure to reinstall.
5. Reinstallation: Do in reverse steps 3 and 4 to reinstall the line cord and then
the line fuse.
Line Fuse
Fuse Cap
Figure 6-6: Line Fuse and Line Cord Removal
Line Fuse and Line Cord
