Removal and Installation Procedures
6-42
AWG510 & AWG520 Service Manual
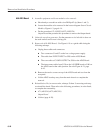
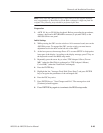
1. Assemble equipment and locate modules to be removed:
a. Have handy a screwdriver with a size Phillips #2 tip (Items 1 and 3).
b. Locate the modules to be removed in the locator diagram Outer-Chassis
Modules, Figure 6–3, page 6–14.
c. Do the procedure PS100 Low Voltage Power Supply (page 6–32) to
remove the power supply module.
d. Do the procedure A40 Clock Board (page 6–39) to remove the intercon-
nect cables.
e. Do the procedure A50 AWG Board (page 6–40) to remove the AWG
board and the Output board.
f. Install the front cover (optional accessory) if it’s not already installed.
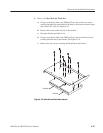
2. Orient the waveform generator: Set the generator so its bottom is down on
the work surface and its rear is facing you.
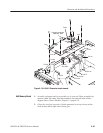
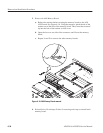
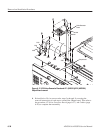
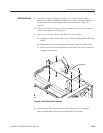
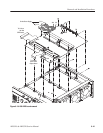
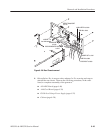
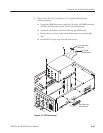
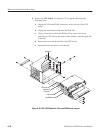
3. Remove the rear chassis: Use Figure 6–20 as a guide when doing the
following substeps:
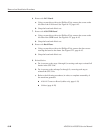
a. Unplug these cables:
H The GPIB interconnect cable at J110 on the A30 GPIB Board.
H The LAN interconnect cable at the connector on the LAN interface.
H The cable to DISPLAY MONITOR OUT at J127 and KEYBOARD
at J128 on the A10/A11 Connector board.
b. Remove the 5 screws securing the rear chassis to the main chassis.
Rear Chassis


