40
Electrical
System
Tractors,
Lawn
and
Garden
-
110
and
112
15-10
Charging
System
SM-2059-
(Apr-57)
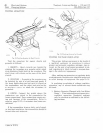
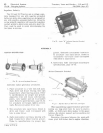
REPAIR
MOTOR
-G
ENERATOR
Brushes
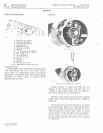
1 -
Motor-Generator
Complete
2 -
Commutator
End
Frame
3 -
Commutator
End
Bearing
4 -
Bru.h
(2
used)
5 -
Brush
Arm
(2
used)
6 -
Bru
s h
Spring
(2
used)
7 -
Armature
8 -
L.H.
Field
Coil
(3 /
16
"
OD
Wire)
9 -
R.H.
Field
Coil
(3/32"
OD
Wire)
10
-
Drive
End
Bearing
11
-
Drive
End
Frame
12 -
Thru
Bolt
(2
used)
13 -
Pulley
14 -
Shaft
Washer
15
-
Shaft
Nut
16
-
Machine
Screw
(2
used)
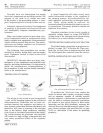
Fig
.
13-Expfodcd
View
of
Motor-Generator
C
leaning
Parts
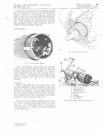
Disassemble
motor-generator
and
clean
parts
with
compressed
air
and
a
dry
cloth.
Never
clean
parts
in
a
degreasing
tank
or
by
use
of
degreas
ing
compounds
since
this
might
damage
insulation
so
that
a
short
or
ground
would
subsequently
develop.
.
'1
,;
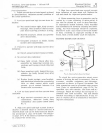
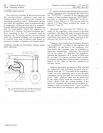
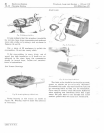
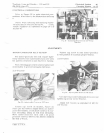
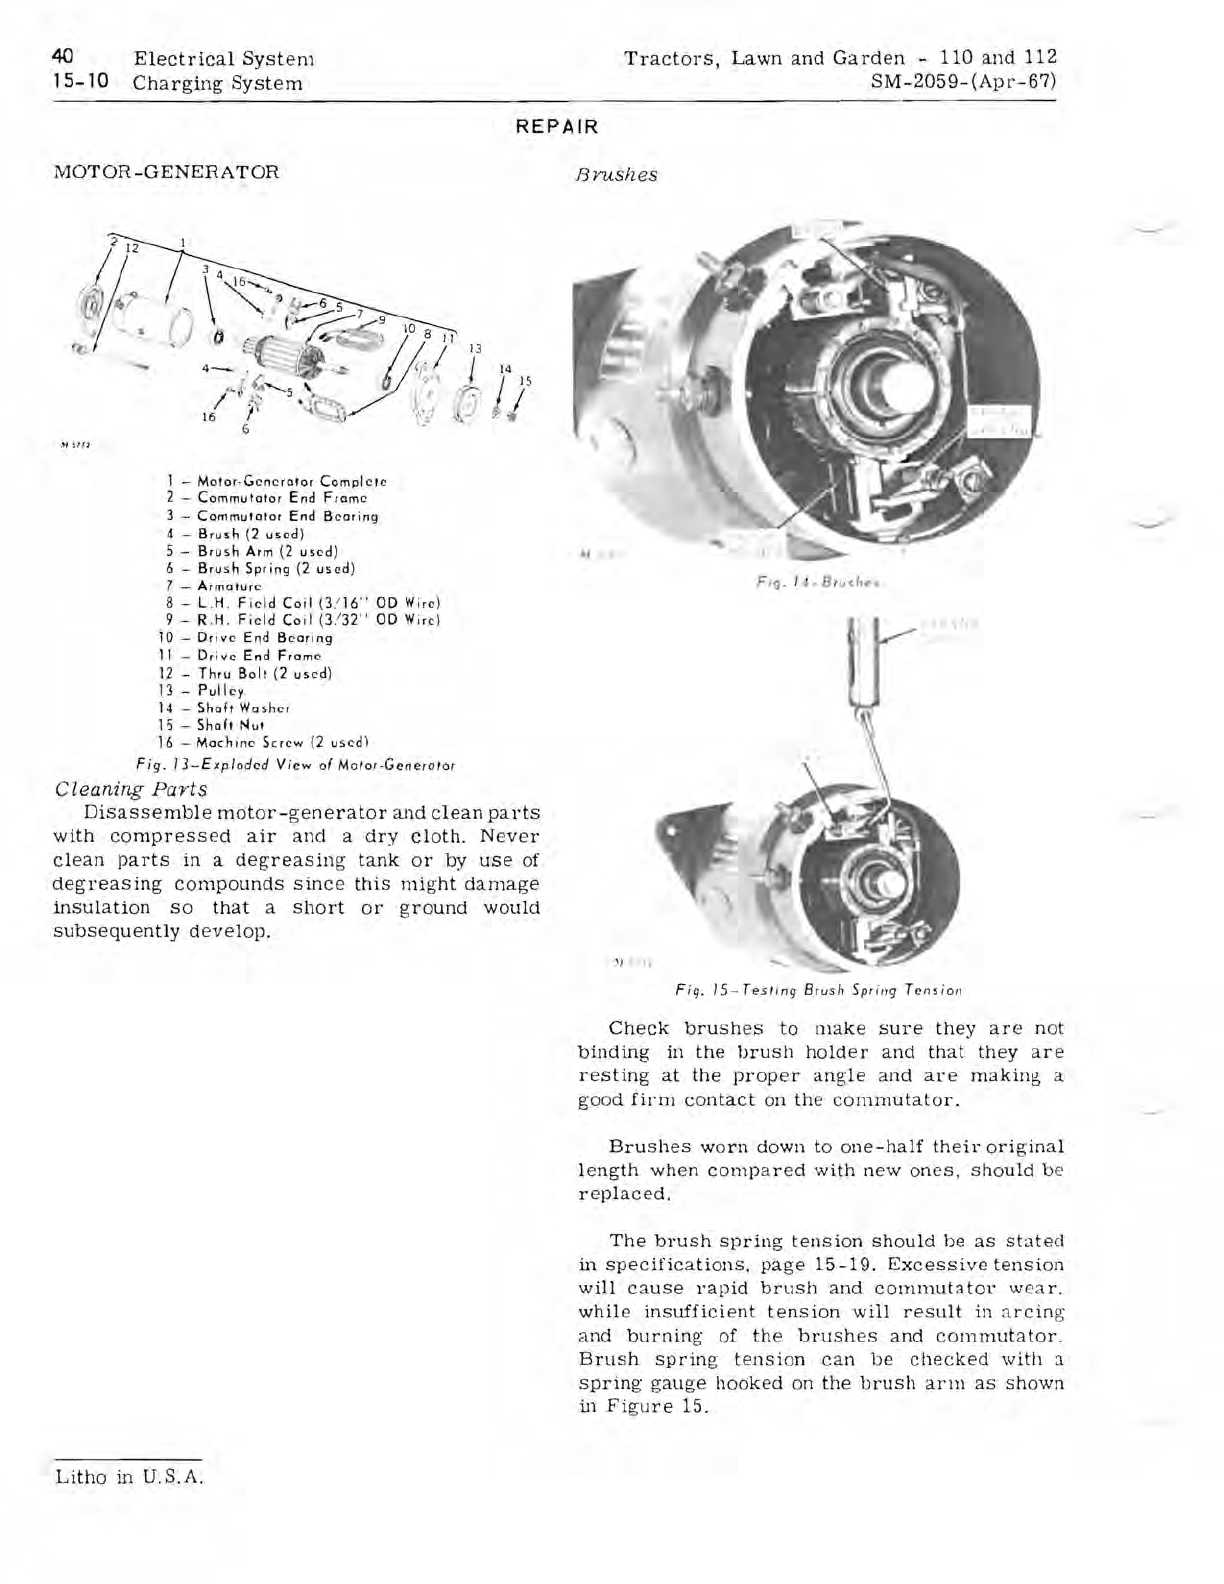
Fig.
15 -
Testing
Brush
Spring
T
ens
ion
Check
brushes
to
make
sure
they
are
not
binding
in
the
brush
holder
and
that
they
are
resting
at
the
proper
angle
a
nd
are
making
a
good
firm
contact
on
the
commutator.
Brushes
wo
rn
down
to
one-half
their
original
length
when
comp
a
red
with
new
ones
,
should
be
replaced.
The
brush
spring
tension
should
be
as
stated
in
specifications,
page
15-19.
Excessive
tension
will
cause
rapid
brush
and
cornmutator
w
ea
r.
while
insufficient
tension
will
result
in
arcing
and
burnin
g
of
the
brushes
and
commutator.
Brush
spring
tensi
on
can
be
checked
with
a
spring
gauge
hooked
on
the
brush
arm
as
Shown
in
Figure
15.
Litho
in
U.
S.
A.


