68
PRODUCT MANUAL 1012581
CHAPTER 5—AUTOLOADER OPERATION
To remove cartridges from the autoloader without power:
1.
1.1.
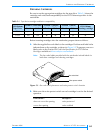
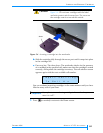
1. Carefully insert a #0 Phillips screwdriver into the access hole on the front
of the autoloader (see Figure 5-5). Make sure that the screwdriver engages
the head of the gear shaft.
2.
2.2.
2. Turn the gear shaft counter-clockwise to open the cartridge access port
door.
3.
3.3.
3. When the door is fully open, remove cartridges by hand from the
autoloader. To move cartridge cells into position in front of the door,
carefully rotate the cartridge carousel with your fingers.
4.
4.4.
4. When you are finished removing cartridges from the autoloader, close the
cartridge access port door by turning the gear shaft clockwise.
LOADING AND UNLOADING CARTRIDGES IN THE TAPE DRIVE
During normal operation, you do not need to instruct the autoloader to load
and unload cartridges in the tape drive. Your backup software controls these
functions. However, you can use the operator panel to load and unload
cartridges, if necessary. You may want to use these functions for testing
purposes or for cleaning the tape drive (see page 73).
LOADING A CARTRIDGE INTO THE TAPE DRIVE
Before you can load a cartridge into the tape drive, the autoloader must
already contain a cartridge or you must insert a cartridge through the
cartridge access port, as described on page 64.
To load a cartridge into the tape drive:
1.
1.1.
1. At the Home screen, press , , , or to access the main menus.
If necessary, enter the operator panel password (see page 42).
2.
2.2.
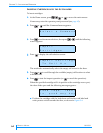
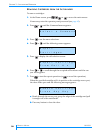
2. Press or until the Command menu appears:
3.
3.3.
3. Press to see the menu selections.
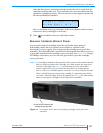
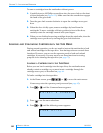
4.
4.4.
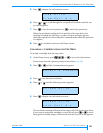
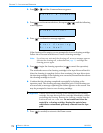
4. Press or until the following screen appears:
S e l e c t a C o m m a n d
L o a d D r i v e


