


OCTOBER 2006 MAGNUM 1X7 LTO AUTOLOADER
11
INSTALLING THE AUTOLOADER IN A RACK
For optimum performance, use an Ultra160 SCSI host bus adapter.
Compatibility information is available from
www.exabyte.com/compatibility.
If your software has not yet been certified for the Magnum 1x7 LTO
Autoloader, you can use one of the autoloader’s emulation modes (see
page 31).
You can install the software on the host computer before or after
autoloader installation. However, if you install the software first, you
may need to reconfigure it for use with the autoloader after autoloader
installation is complete.
Locate an appropriate area for the autoloader. Select a location that has
adequate clearance for ventilation, minimal dust and debris, and an
appropriate power source. The autoloader is designed to operate in a
standard 19-inch rack. To provide adequate air flow, a ventilated rack is
recommended.
The autoloader must be operated in the horizontal position
. Do not place
the autoloader on its side, and do not place objects on top of the library.
Ensure that the work area is free from conditions that could cause
electrostatic discharge (ESD). Discharge static electricity from your body by
touching a known grounded surface, such as a computer’s metal chassis.
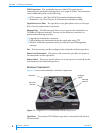
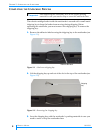
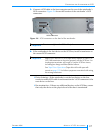
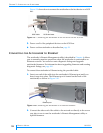
INSTALLING THE AUTOLOADER IN A RACK
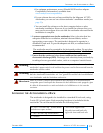
The autoloader is designed to be installed in a standard 19-inch rack, using
2 units (2U) of rack space. Rack-mounting hardware is included with the
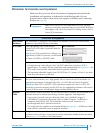
autoloader. The rack-mount kit includes the following items:
Warning
Before performing any installation or maintenance procedures, be sure that the
autoloader’s power switch is off and that the power cord is disconnected from the
autoloader and the outlet.
Warnung
Vor der Ausführung von Installations- oder Wartungsarbeiten ist darauf zu achten,
daß der Autoloader-Netzschalter auf “Aus” gestellt ist und daß das Anschlußkabel
vom Autoloader und der Steckdose entfernt ist.
Advertencia
Antes de realizar cualquier procedimiento de instalación o de mantenimiento,
comprobar que el interruptor de alimentación de la biblioteca está apagado y que
el cable de alimentación no está enchufado ni a la biblioteca ni a la toma de
corriente.
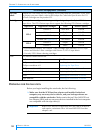
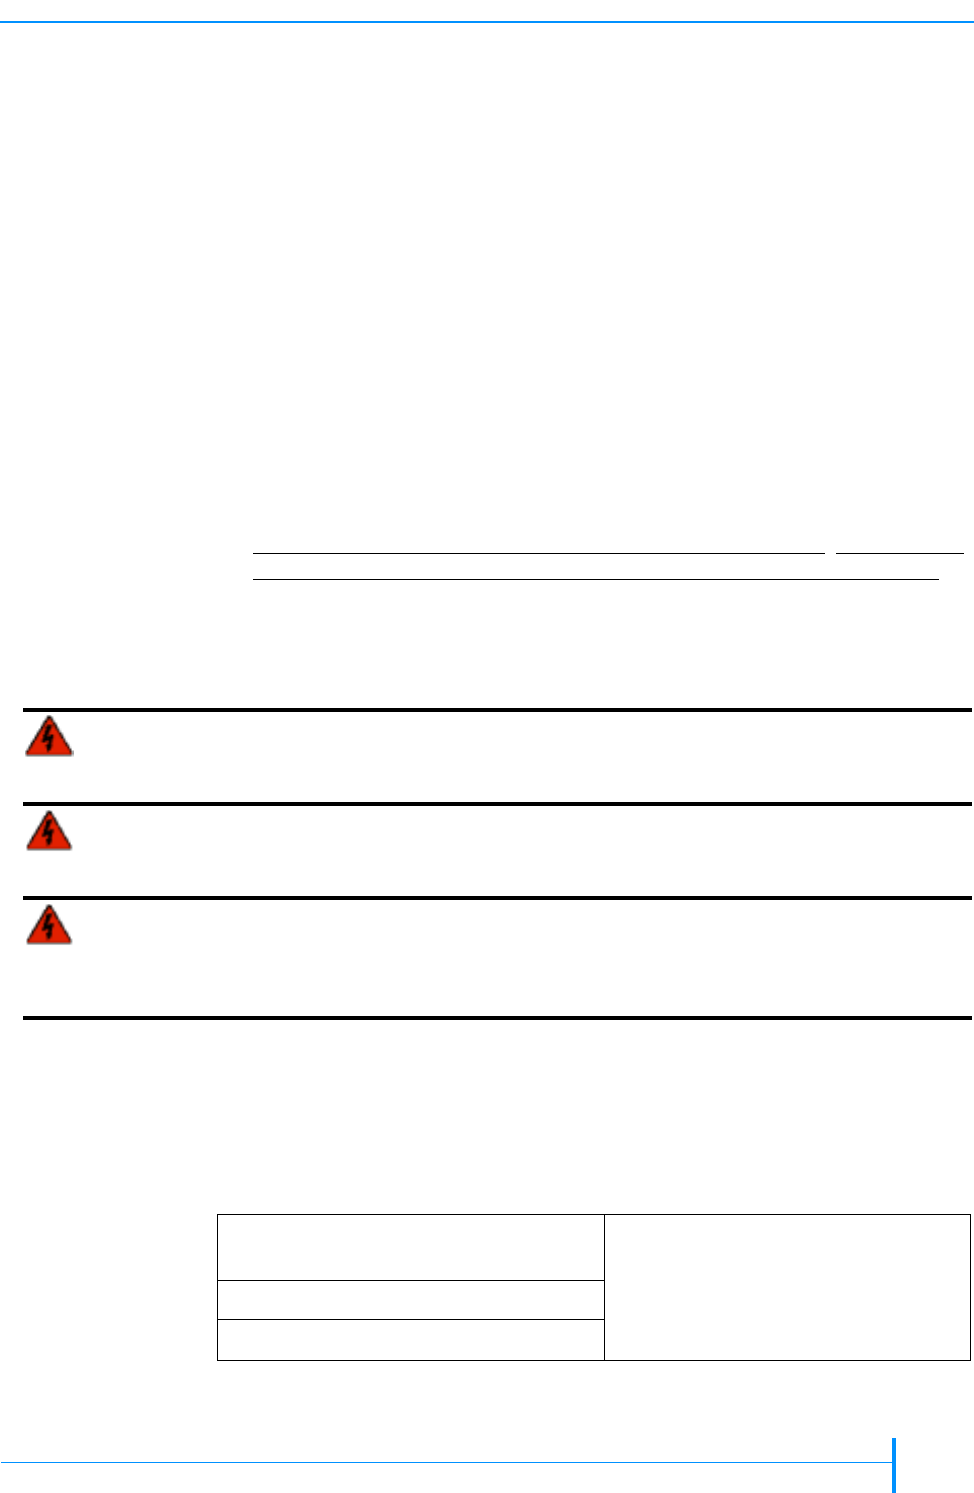
18 – M5 x 12 Crest Cup™ screws (black)
(includes two spare screws)
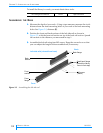
2 – sets of side support rails:
left-side front and back rails
right-side front and back rails
2 – M3 x 8 Crest Cup screws (silver)
8 – washers