


14
PRODUCT MANUAL 1012581
CHAPTER 2—INSTALLING THE AUTOLOADER
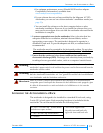
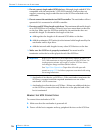
Insert an M5 screw (A) through a second screw hole (B) and engage the
pem nut on the second screw hole in the rail flange (C). If necessary, use a
washer. Finger-tighten the screw.
3.
3.3.
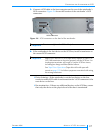
3. Adjust the length of the rail assembly as necessary to fit the depth of the
rack (E).
4.
4.4.
4. Back of rack—Make sure the rail assembly is level, then use M5 screws (A)
to attach the back flange (D) of the rail to the inside of the rack, using the
same procedure as step 2. If your rack has square mounting holes or the
holes are much larger than the screws provided in the kit, use a washer.
Finger-tighten the screws.
5.
5.5.
5. Using a #2 Phillips screwdriver, tighten the screws securing the rails to the
front and back of the rack.
6.
6.6.
6. Using a #2 Phillips screwdriver, tighten the four screws holding the rail
assembly together.
7.
7.7.
7. Right side rail assembly—Repeat steps 1 through 6 for the right-side rail
assembly. Make sure that the right rail assembly is at the same level as the
left rail assembly.
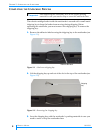
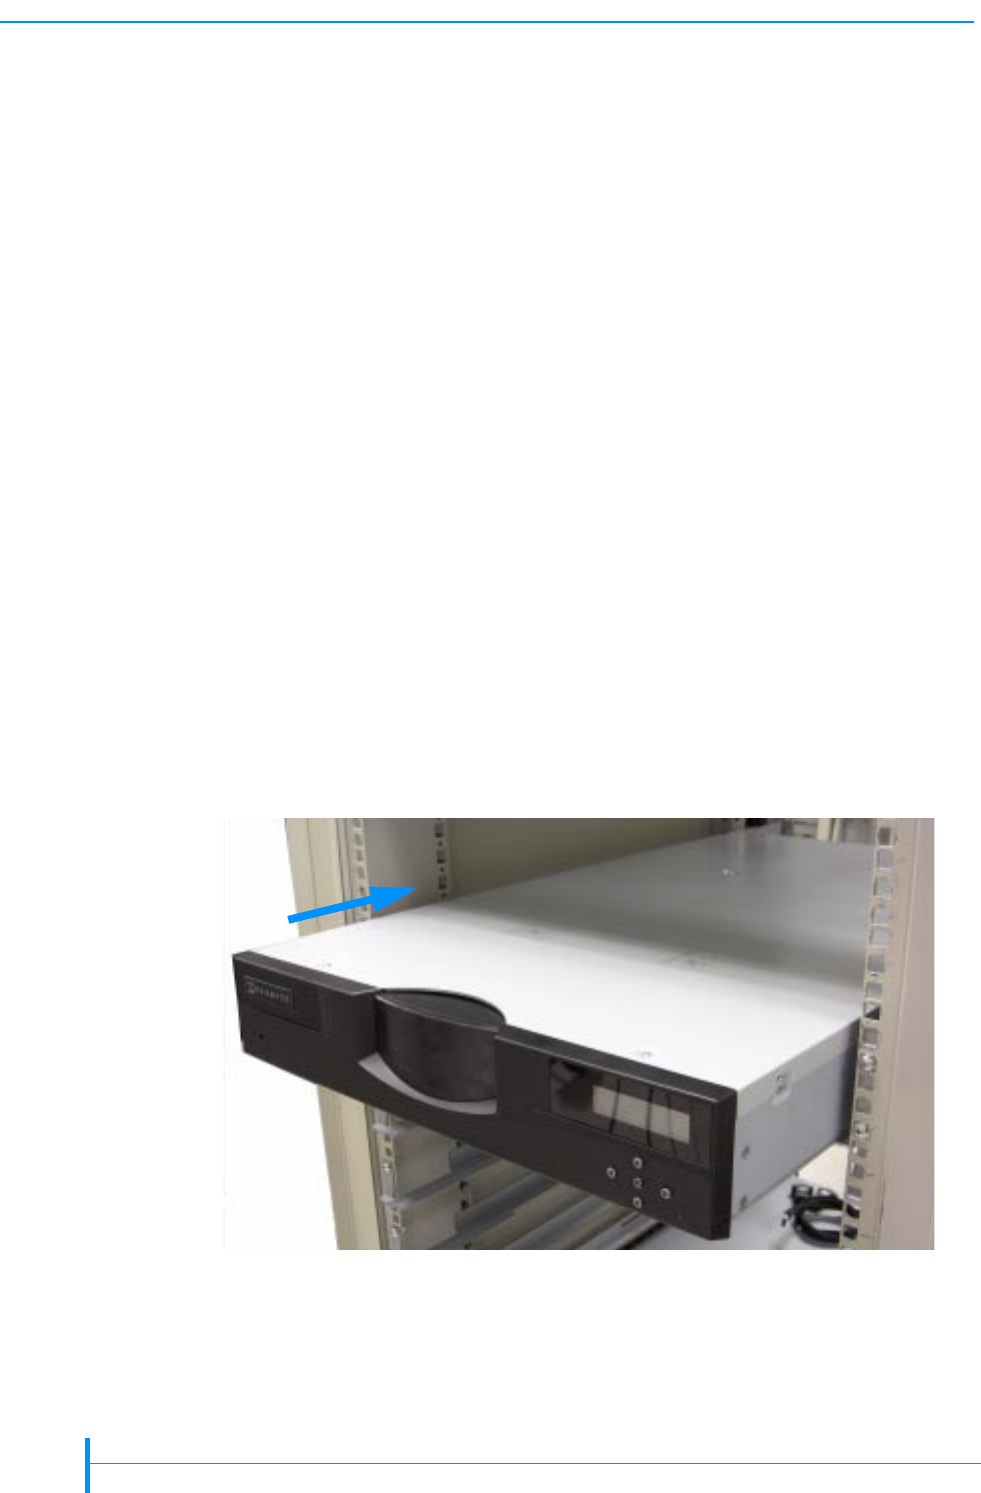
ATTACHING THE AUTOLOADER TO THE RAILS
To attach the autoloader to the rails:
1.
1.1.
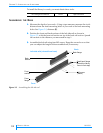
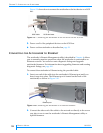
1. From the front of the rack, place the autoloader onto the shelf created by the
rails (see Figure 2-6).
2.
2.2.
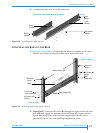
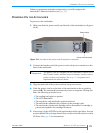
2. Slide the autoloader all the way back until it makes contact with the small
flanges near the back of the rails (see Figure 2-7).
Figure 2-6 Placing the autoloader on the rails