94
PRODUCT MANUAL 1012581
CHAPTER 7—MAINTENANCE
b.
b.b.
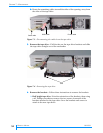
b. Route the remaining cables toward the sides of the opening, away from
the sides of the tape drive.
3.
3.3.
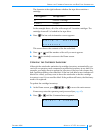
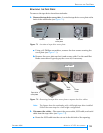
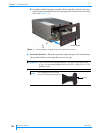
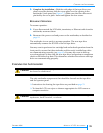
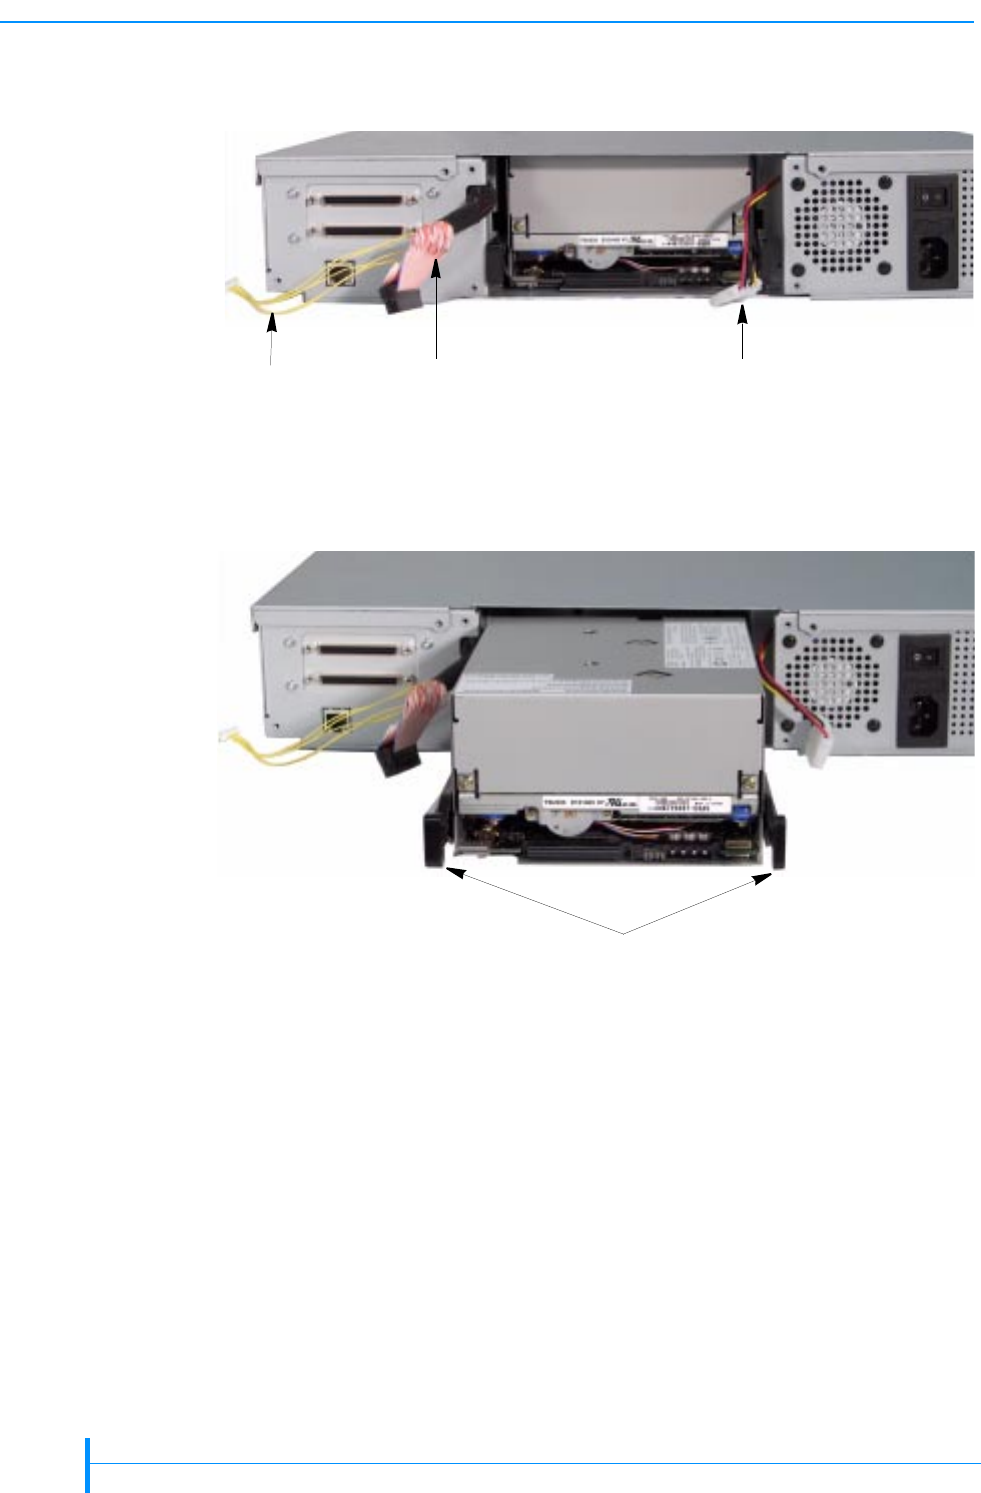
3. Remove the tape drive—Pull the tabs on the tape drive brackets and slide
the tape drive straight out of the autoloader.
4.
4.4.
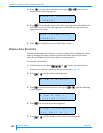
4. Remove the brackets—Follow these instructions to remove the brackets.
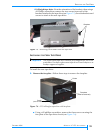
Half height tape drive: Note the orientation of the brackets, then using
a #1 Phillips screwdriver, remove the two screws from each of the
brackets attached to the tape drive. Save the brackets and screws to
attach to the new tape drive.
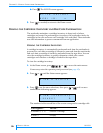
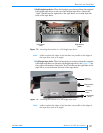
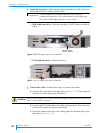
Figure 7-3 Disconnecting the cables from the tape drive
Figure 7-4 Removing the tape drive
Serial cable
SCSI cable
Power cable
Tabs


