46
S:\agilent\8920\8920b\PRGGUIDE\BOOK\CHAPTERS\usehpib.fb
Chapter 1, Using GPIB
Getting Started
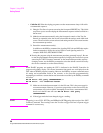
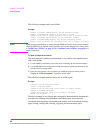
The following example reads several fields.
Example
OUTPUT 714;"DISP AFAN"!Display the AF Analyzer screen.
OUTPUT 714;"AFAN:INP?"!Query the AF Anl In field
ENTER 714;Af_input$ !Enter returned value into a string ariable.
OUTPUT 714;"DISP RFG"!Display the RF Generator screen
OUTPUT 714;"RFG:FREQ?"!Query the RF Gen Frequency field.
ENTER 714;Freq !Enter the returned value into a numeric variable
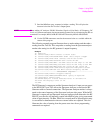
NOTE: When querying measurements or settings through GPIB, the Test Set always returns numeric
values in GPIB Units or Attribute Units, regardless of the current Display Units setting. Refer
to “GPIB Units (UNITs)” on page 78 and “Attribute Units (AUNits)” on page 81 for
further information.
To Make a Simple Measurement
The basic method for making a measurement is very similar to the method used to
read a field setting.
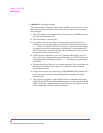
1. Use the DISPlay command to access the screen containing the desired measurement.
2. Use the MEASure form of the syntax for that measurement to place the measured value
into the Test Set’s output buffer.
3. Enter the value into the correct variable type within the program context (refer to
Chapter 4, “GPIB Commands,” for proper variable type).
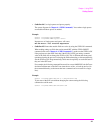
The following example measures the power of an RF signal.
Example
!Display the RF Analyzer screen.
OUTPUT 714;"DISP RFAN"
!Measure the RF power and place result in output buffer.
OUTPUT 714;"MEAS:RFR:POW?"
!Enter the measured value into a numeric variable.
ENTER 714;Tx_power
The above example is very simple and is designed to demonstrate the fundamental
procedure for obtaining a measurement result. Many other factors must be
considered when designing a measurement procedure, such as instrument settings,
signal routing, settling time, filtering, triggering and measurement speed.


