Groundsmaster 4000−D Page 6 − 25 Axles, Planetaries, and Brakes (Rev. B)
Inspection
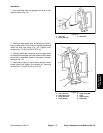
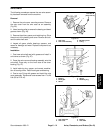
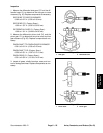
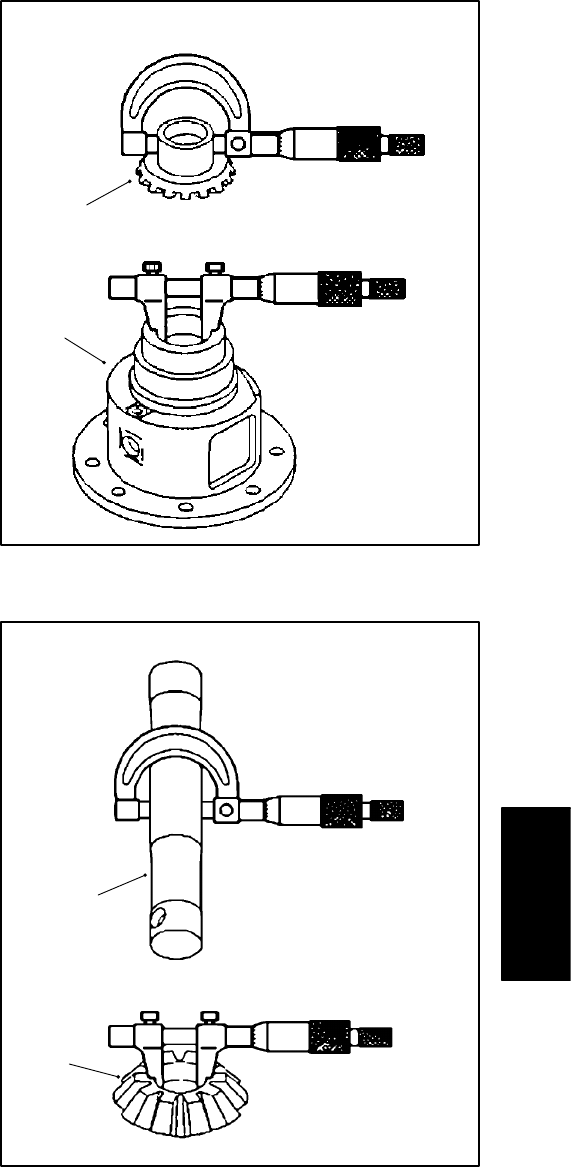
1. Measure the differential side gear O.D. and the dif-
ferential case I.D. to determine the side gear to case
clearance (Fig. 35). Replace components as necessary.
SIDE GEAR TO CASE CLEARANCE:
0.002 to 0.012 in. (0.05 to 0.30 mm)
SIDE GEAR O.D. (Factory Spec.):
1.335 to 1.337 in. (33.91 to 33.95 mm)
DIFFERENTIAL CASE I.D. (Factory Spec.):
1.339 to 1.341 in. (34.00 to 34.06 mm)
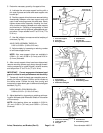
2. Measure the differential pinion shaft O.D. and the
pinion gear I.D. to determine the pinion shaft to pinion
gear clearance (Fig. 36). Replace components as nec-
essary.
PINION SHAFT TO PINION GEAR CLEARANCE:
0.001 to 0.010 in. (0.03 to 0.25 mm)
PINION SHAFT O.D. (Factory Spec.):
0.550 to 0.551 in. (13.97 to 13.10 mm)
PINION GEAR I.D. (Factory Spec.):
0.551 to 0.552 in. (13.10 to 14.02 mm)
3. Inspect all gears, shafts, bearings, cases, and cov-
ers for damage and wear. Replace components as nec-
essary.
1. Side gear 2. Differential case
Figure 35
1
2
1. Pinion shaft 2. Pinion gear
Figure 36
1
2
Axles, Planetaries,
and Brakes


