Greensmaster 3150 GroomerPage 8 -- 15
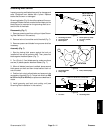
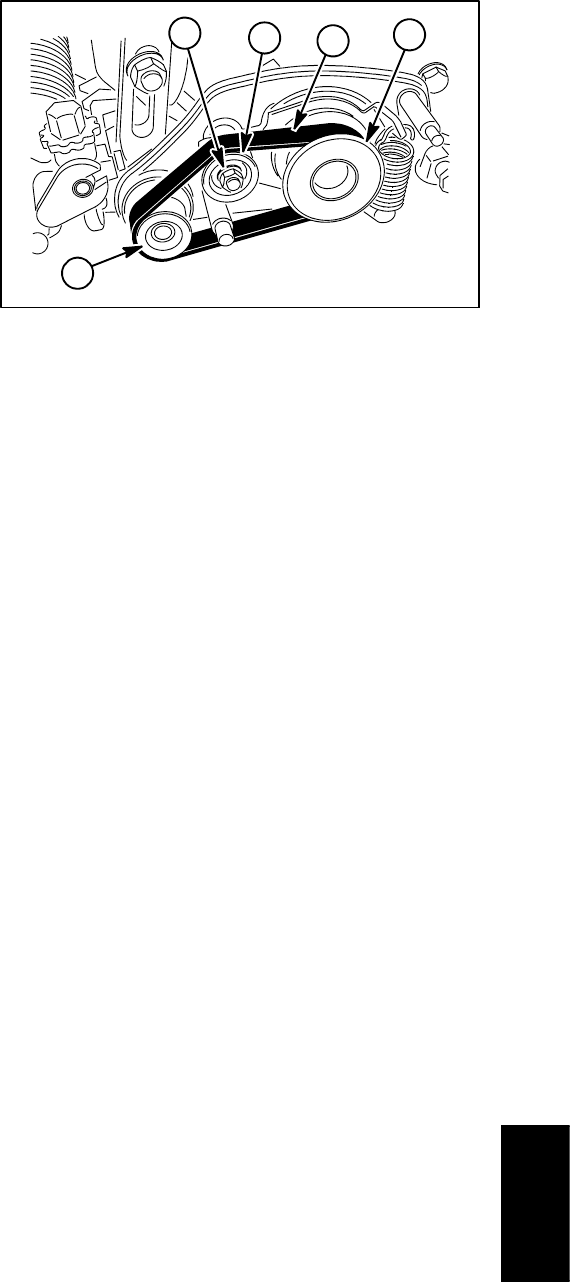
The groomer drive side plate assembly incorporates the
idler system for tensioning the groomer drive belt. The
idler system uses a spring to maintain proper belt ten-
sion.
Removal
1. Remove groomer belt cover, drive belt and drive
pulley from groomer drive side of cutting unit (see
Grooming Reel Removal in this section).
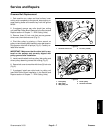
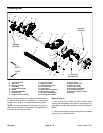
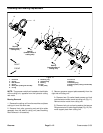
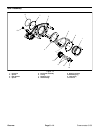
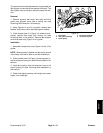
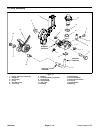
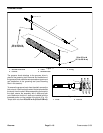
2. Using Figures 14 and 15 as guides, remove idler
bracket, idler pulley and/or idler bearings as needed.
3. If idler bracket (item 3 in Figure 14) needs to be re-
moved, remove drive plate from cutting unit (see
Grooming Reel in this section). Remove idler bracket
fromdriveplateusingFigure14asaguide.
Installation
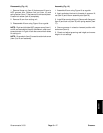
1. Assemble components using Figures 14 and 15 as
guides.
NOTE: When properly installed, the idler pulley should
move freely from side to side on the idler bracket pin.
2. If idler bracket (item 3 in Figure 14) was removed, in-
stall drive plate to cutting unit (see Grooming Reel in this
section).
3. Install drive pulley, drive belt and belt cover to left
side of cutting unit (see Grooming Reel Installation in
this section).
4. Check and adjust grooming reel height and mower
height--of--cut settings.
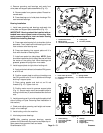
1. Drive pulley
2. Idler pulley assembly
3. Driven pulley
4. Drive plate assembly
5. Groomer drive belt
Figure 15
1
2
3
4
5
Groomer


