Greensmaster 3150 Page 6 -- 7 Chassis
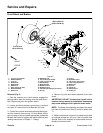
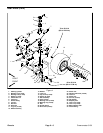
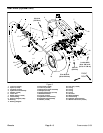
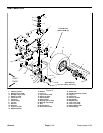
Removal (Fig. 4)
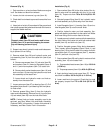
1. Park the machine on a level surface, engage the
parking brake, lower the cutting units and stop the en-
gine. Remove key from the ignition switch.
2. Chockb oth frontwheels toprevent the machine f rom
moving.
3. Usea jack or hoist to lift rear wheel off the ground and
then place appropriate jackstands beneath the frame to
support the raised machine.
4. Remove lock nut (item 26) from castor bolt (item 27).
Pull bolt from both adapter plates (items 30 and 33), two
(2) rear spind le spacers( item 16)and the wheel and hub
assembly.
5. Remove wheel and hub assembly from the castor
fork.
6. If necessary, remove four (4) lug nuts (item 11) from
the drive studs (item 23). Separate wheel and hub as-
semblies.
NOTE: If castor fork removal is necessary, see Rear
Castor Fork in this section.
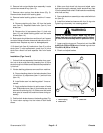
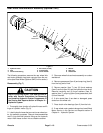
Wheel Hub Disassembly (Fig. 5)
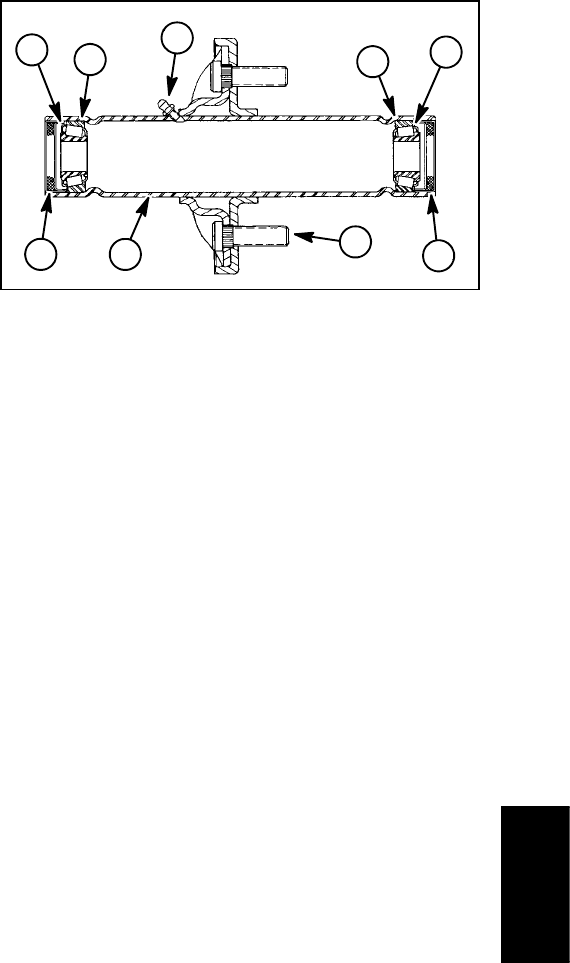
NOTE: The wheel hub assembly consists of the wheel
hub, oil seals, bearing cones, bearing cups, grease fit-
ting and drive studs (Fig. 5).
1. If drive studs are bent or damaged, press studs from
the wheel hub.
2. Pull oil seals, bearing cones and bearing cups from
the wheel hub.
Wheel Hub Assembly (Fig. 5)
1. Press new bearing cups into the wheel hub with the
thick edges towards the inside.
2. Pack new bearing cones with #2 multi --purpose lithi-
um base grease.
3. Install new bearing cones into the wheel hub. Press
new oil seals into the hub with the lip of the seals facing
towards the inside.
4. If removed, press new drive studs into the wheel hub
fully to the shoulder of the stud flange.
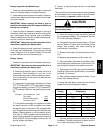
1. Bearing cup (2 used)
2. Wheel hub
3. Bearingcone(2used)
4. Shaft seal (2 used)
5. Drive stud (4 used)
6. Grease fitting
Figure 5
2
1
3
4
4
3
1
5
6
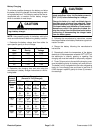
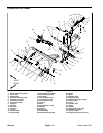
Installation (Fig. 4)
1. If wheel was removed from hub, slide wheel assem-
bly onto the drive studs. Secure wheel to wheel hub as-
sembly with four (4) lug nuts (item 11). Torque lug nuts
evenly in a crossing pattern to a torque from 70 to 90 ft--
lb (95 to 122 N--m).
2. Install wheel and hub assembly into the castor fork.
Insert castor bolt (item 27) into motor adapter plate (item
33) mounting hole. Install a spindle spacer (item 16) and
slide bolt through the wheel and hub assembly.
3. Installsecond spindle spacer onto the bolt. Route the
bolt through the adapter plate (item 30) mounting hole.
4. Position bent lip of the bolt head under the bottom
edge of the motor adapter plate. Install and tighten lock
nut (item 26) to secure wheel to the ca stor fork. Do not
overtighten lock nut, the wheel must rotate freely.
5. Lower machine to ground.
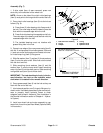
6. Clean grease fitting (item 22) on hub. Pump grease
into hub until grease is seen exiting at both hub seals
(item 18). Wipe up excess grease.
Chassis


