Groundsmaster 3505--DHydraulic System Page 4 -- 64
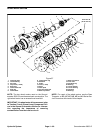
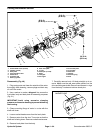
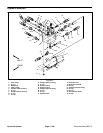
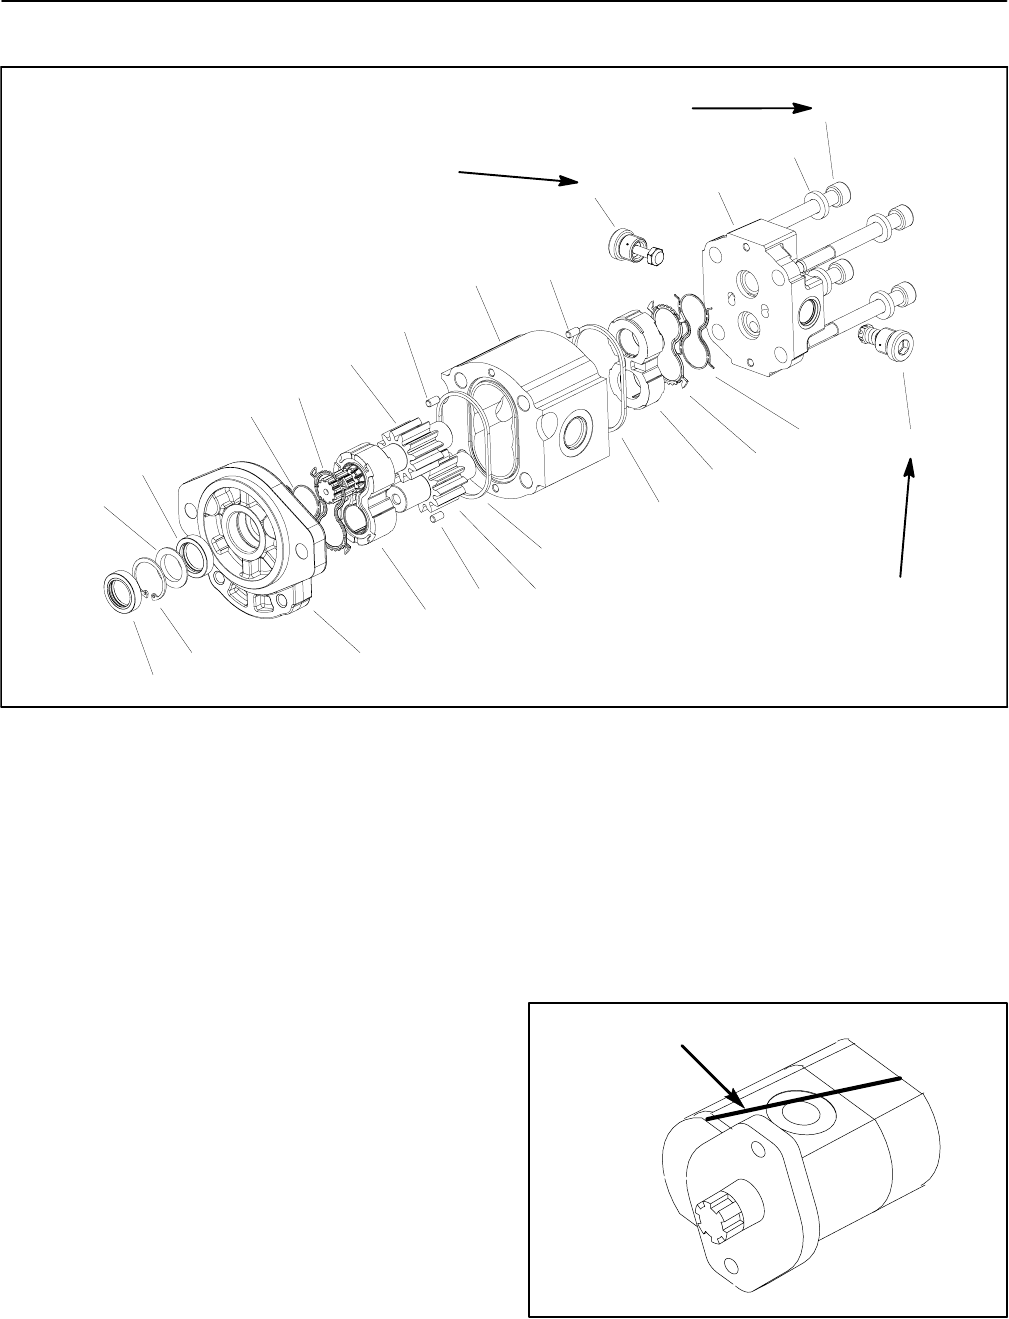
Cutting Deck Motor Service
1. Socket head screw (4 used)
2. Washer (4 used)
3. Back plate
4. Anti--cavitation valve
5. Relief valve
6. Pressure seal
7. Back up gasket
8. Rear wear plate
9. O--ring
10. Dowel pin (4 used)
11. Body
12. Idler gear
13. Drive gear
14. Front wear plate
15. Front plate
16. Shaft seal
17. Washer
18. Retaining ring
19. Seal
Figure 40
1
2
3
4
6
5
7
8
10
11
9
12
13
14
15
(45 N--m)
33 ft-- lb
9
10
10
16
17
18
19
(35 N--m)
26 ft-- lb
(35 N--m)
26 ft-- lb
7
6
Disassembly (Fig. 40)
1. Plug motor ports and clean the outside of the motor
thoroughly. After cleaning, remove plugs and drain any
oil out of the motor.
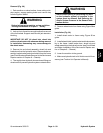
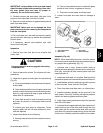
2. Use a marker to make a diagonal line across the
front plate, body and back plate for assembly purposes
(Fig. 41).
IMPORTANT: Avoid using excessive clamping
pressure on themotor housing toprevent distorting
the housing.
3. Clamp mounting flange of motor in a vise with the
shaft end down.
4. Loosen socket head screws from the back plate.
5. Remove motor from the vise. Turn motor so that the
shaft end is facing down. Remove socket head screws.
6. Remove back plate from the body.
7. Carefully remove body. Lift body straight up to re-
move. Make sure the rear wear plate remains on the
drive and idler gear shafts.R emove and discard o--rings
from the body. Locate and retrieve dowel pins.
Figure 41
MARKER LINE


