Rev. A
Groundsmaster 3505--D Page 7 -- 9 Cutting Units
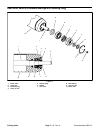
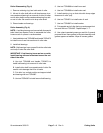
Roller Disassembly (Fig. 6)
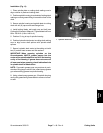
1. Remove retaining ring from both ends of roller.
2. Hit end of roller shaft with a soft face hammer to re-
move seals and bearing from one end of roller. Hit other
end of roller shaft to remove seals and bearing from oth-
er end of roller. Be careful not to drop roller shaft.
3. Discard seals and bearings.
Roller Assembly (Fig. 6)
NOTE: Asoft facehammer canbe usedwith thespecial
tools listed (see Special Tools) to assemble the roller,
however use of a press is recommended.
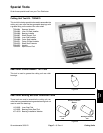
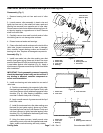
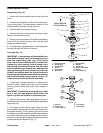
1. Use installation tool TOR4065 and handle TOR4073
to install inner oil seal into each end of roller tube.
2. Install ball bearings:
NOTE: Ball bearings have a press fit into the roller tube
and a slip fit onto the roller shaft.
IMPORTANT: If ball bearing has a seal on one side,
install bearing with seal orientated toward the out-
side of the roller.
A. Use tool TOR4066 and handle TOR4073 to
install ball bearing into one end of roller tube.
B. Install roller shaft from opposite end of roller. Be
careful not to damage the inner oil seals.
C. Put roller in a vertical position and support shaft
and bearing with tool TOR4067.
D. Use tool TOR4067 to install second ball bearing.
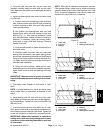
3. Use tool TOR4068 to install inner seal.
4. Use tool TOR4069 to install outer seal.
5. Install retaining ring so that side with sharp edges
faces end of roller (out).
6. Use tool TOR4071 to install outer oil seal.
7. Use tool TOR4067 to install washer.
8. Put opposite end of roller facing up and support bot-
tom end with tool TOR4067. Repeat steps 3 - 7.
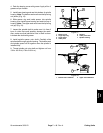
9. Use a hand operated grease gun and No. 2 general
purpose lithium base grease to lubricate bearings until
grease appears at washer. Wipe off excess grease.
Cutting
Units


