


Groundsmaster 4110--DOperator Cab Page 9 -- 8
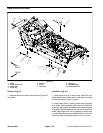
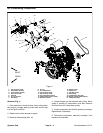
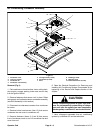
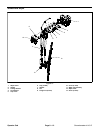
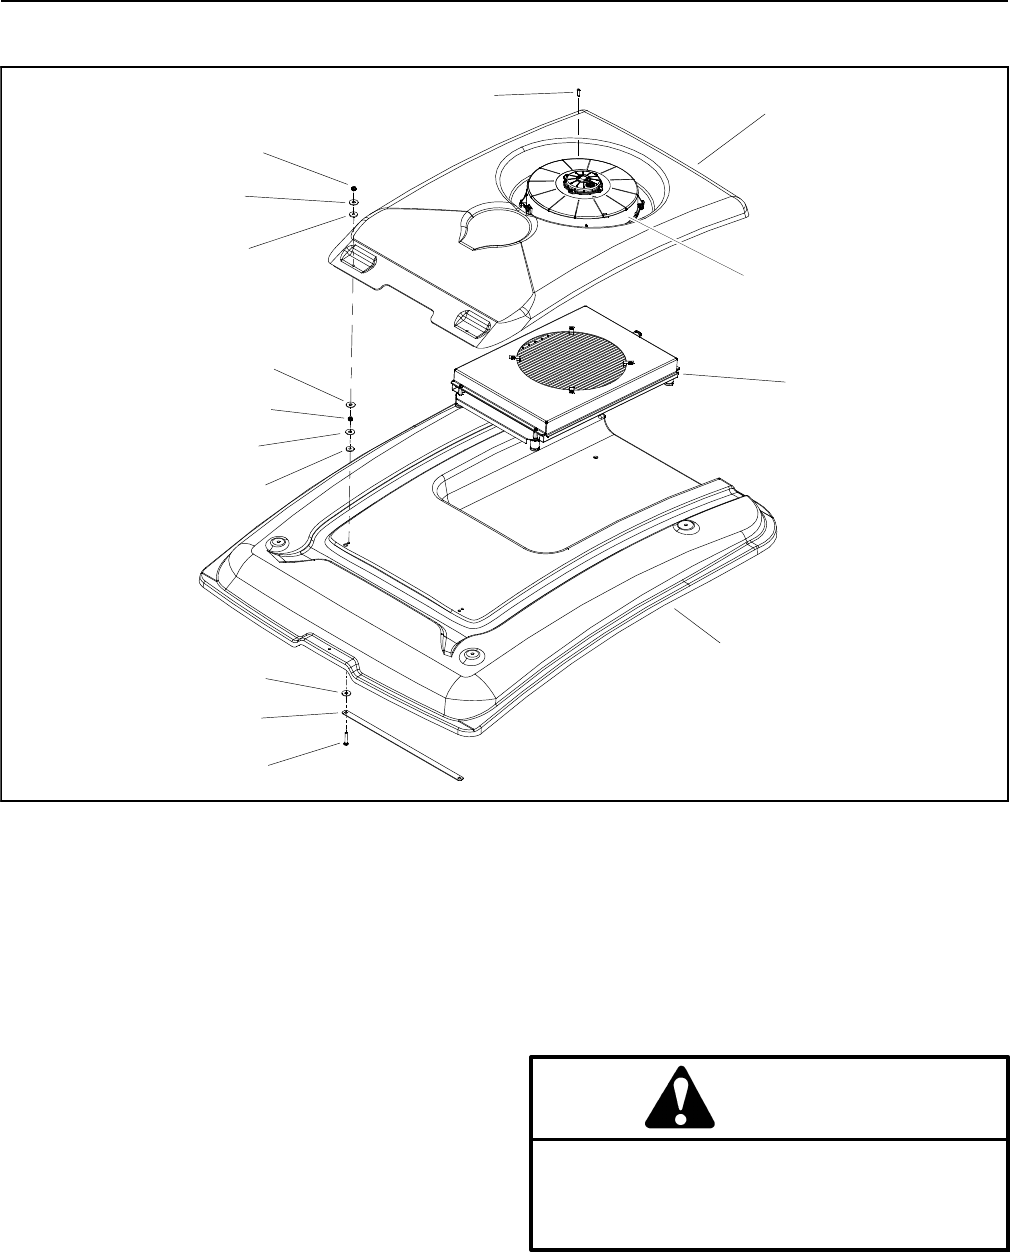
Air Conditioning Condenser Assembly
1. Condenser cover
2. Lock nut (4 used)
3. Condenser fan
4. Condenser coil assembly
5. Carriage screw (2 used)
6. Flat washer (8 used)
7. Roof
8. Bushing (4 used)
9. Mounting strap
10. Button head screw (4 used)
Figure 5
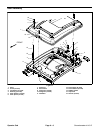
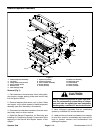
2
1
3
4
7
8
5
9
6
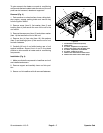
2
6
8
10
6
6
Removal (Fig. 5)
1. Parkmachineonalevelsurface, lower cutting deck,
stop engine, engage parking brake and remove key
from the ignition switch.
2. Remove fasteners that secure roof in place. Raise
and support roof to allow access to condenser assembly
(see Roof Assembly in this section).
3. Disconnect wire harness connector from condenser
fan motor.
4. Remove button head screws (item 10) that secure
condenser fan and cover to condenser coil.
5. Remove fasteners (items 2, 6 and 8) that secure
front of condenser cover to roof. Lift condenser fan and
cover from roof.
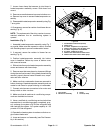
6. Read the General Precautions for Removing and
Installing Air Conditioning System Components at the
beginning of the Service a nd Repairs section of this
chapter.
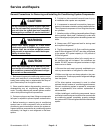
CAUTION
The air conditioning system is under h igh pres-
sure. Do not loosen any system fitting or compo-
nent until after the system has been completely
discharged by a certified A/C service technician.
7. Have refrigerant evacuated from air conditioning
system by a certified A/C service technician.