Groundsmaster 4100--D/4110--D Page 5 -- 27 Electrical System
Adjustments
Wing Deck Position Switch Adjustment
1. Park machine on a level surface, lower cutting deck,
stop engine, engage parking brake and remove key
from the ignition switch.
2. Remove switch cover from deck to allow access to
position switch that r equires adjustment.
3. Raise and lower wing deck while monitoring the wing
deck latch and the position switch LED on cable end of
switch:
A. The position switch should open (switch LED is
not illuminated) when the wing deck link causes the
wing deck latch to disengage as wing deck is raised.
B. Thepositionswitchshouldclose(switchLEDis
illuminated) when the wing deck link causes the wing
deck latch to engage as wing deck is lowered.
4. If necessary, adjust switch location to allow correct
operation:
A. Loosen jam nuts on switch and adjust switch
location to allow proper switch operation.
B. After switch adjustment, torque jam nuts from
165 to 195 in--lb (18.7 to 22.0 N--m).
C. Make sure that position switch does not contact
bolt head on wing deck link when wing deck is fully
lowered.
5. After testing is complete, make sure that switch con-
nector is plugged into deck wire harness and switch cov-
er is secured to deck.
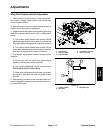
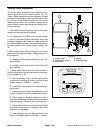
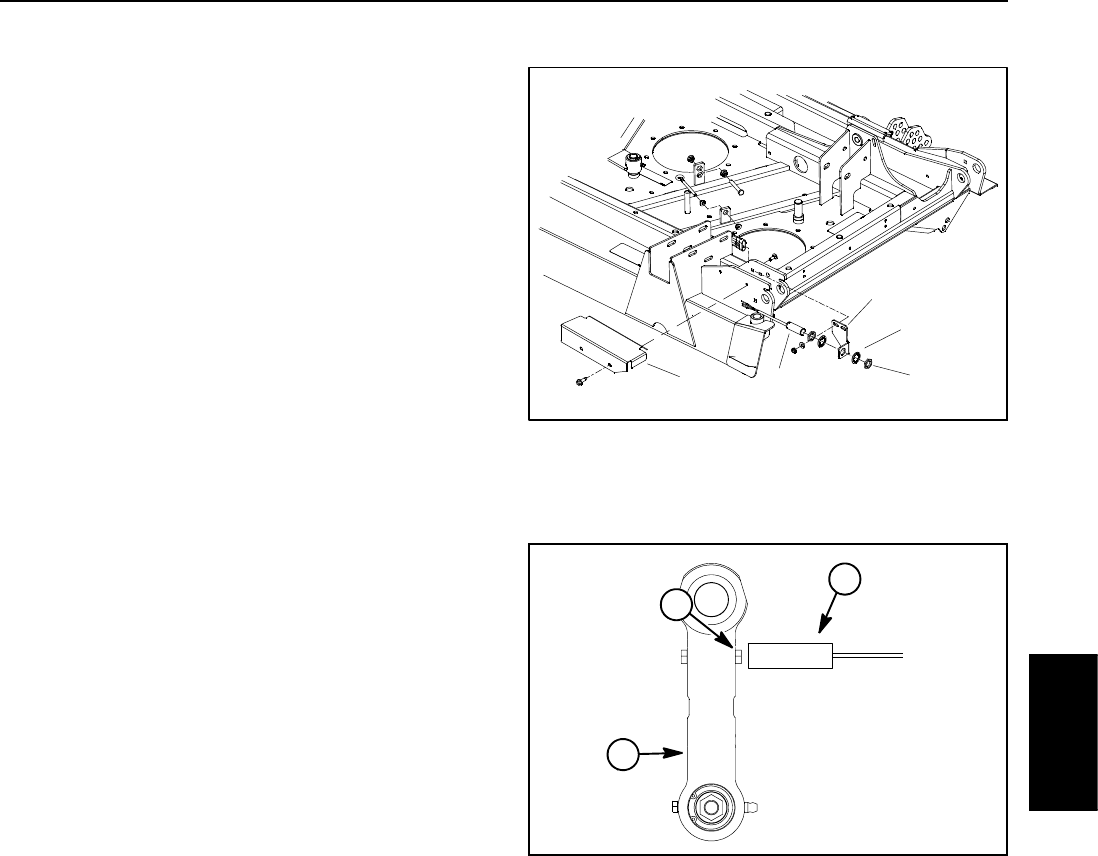
1. Switch cover
2. Position switch
3. Switch bracket
4. Lock washer (2 used)
5. Jam nut (2 used)
Figure 20
1
2
3
4
5
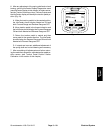
1. Position switch
2. Bolt head
3. Wing deck link
Figure 21
1
3
2
Electrical
System


