Groundsmaster 4100--D/4110--D Hydraulic SystemPage 4 -- 61
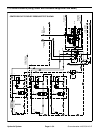
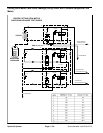
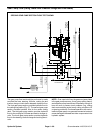
The steering circuit relief pressure test should be per-
formed to make sure that the steering circuit relief pres-
sure is correct.
Procedure for Steering Circuit Relief Pressure
Test
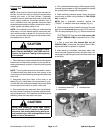
CAUTION
Prevent personal injury and/or damage to equip-
ment. Read all WARNINGS, CAUTIONS and Pre-
cautions for Hydraulic Testing at the beginning
of this section.
1. Park machine on a level surface with the cutting deck
lowered and off. Make sure hydraulic oil is at normal op-
erating temperature, engine is off and the parking brake
is applied.
2. Raise and support operator seat.
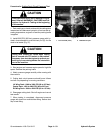
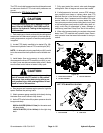
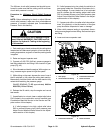
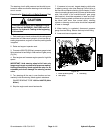
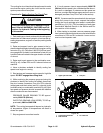
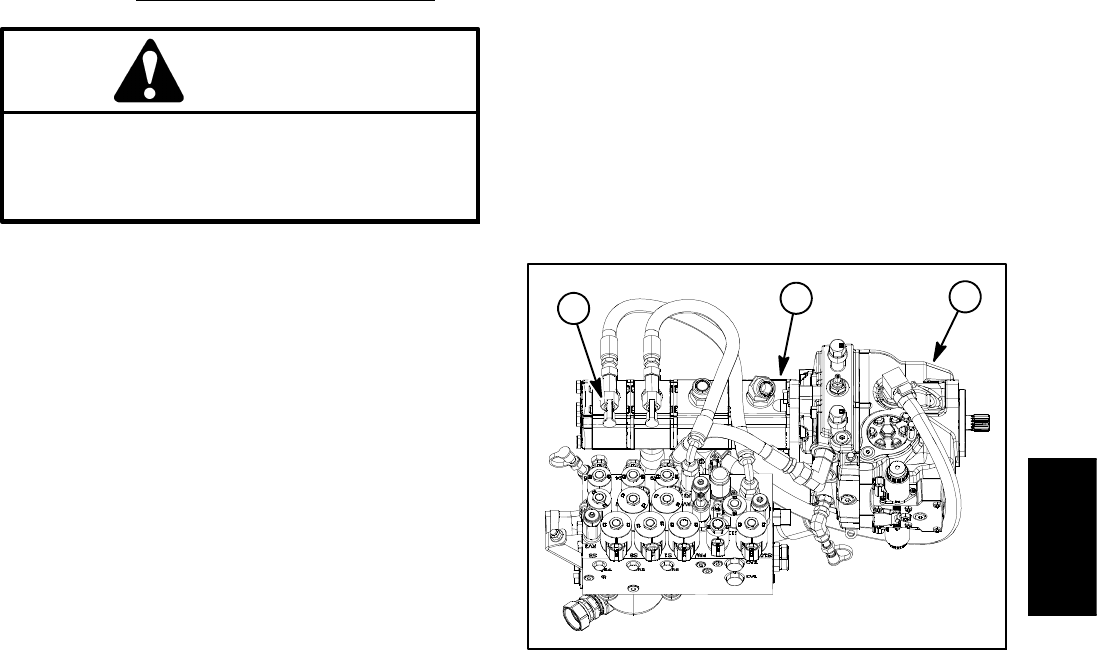
3. Connect a 5000 PSI (350 bar) pressure gauge to test
fitting attached to tee fitting in final section of gear pump
(Fig. 44).
4. Start engine and increase engine speed to high idle
speed.
IMPORTANT: Hold steering wheel at full lock only
long enough to get a system relief pressure reading.
Holding the steering wheel against the stop for an
extended period can damage the steering control
valve.
5. Turn steering all the way in one direction and mo-
mentarily hold the steering wheel against r esistance.
GAUGE READING TO BE 1300 to 1400 PSI (90 to
96 bar).
6. Stop the engine and record test results.
7. If pressure is incorrect, i nspect steering relief valve
in steering control valve (see Steering Control Valve in
the Service and Repairs section of this chapter). If relief
valve is operating properly and if lift/lower problems also
exist, flow divider in fan manifold and/or gear pump
(third section) should be suspected of wear and ineffi-
ciency. If steering wheel continues to turn at end of cylin-
der travel (with lower than normal effort), steering
cylinder or steering control valve should be suspected
of wear or d a mage.
8. When testing is completed, disconnect pressure
gauge from test fitting. Secure dust cap to test fitting.
9. Lower and secure operator seat.
1. Piston (traction) pump
2. Gear pump
3. Test fitting
Figure 44
1
2
3
Hydraulic
System


