Groundsmaster 4100--D/4110--DHydraulic System Page 4 -- 114
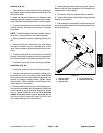
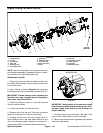
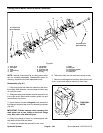
4. Position fan hub onto motor shaft and secure with
washer (item 8) and hex nut (item 9).
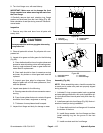
IMPORTANT: Make sure to not damage the radiator
or other machine components while installing the
fan motor and bracket assembly.
5. Carefully position fan motor and bracket assembly to
radiator and secure with six (6) cap screws and flange
nuts.
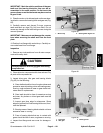
6. Secure radiator assembly to frame with removed
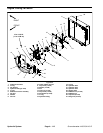
fasteners (Fig. 85).
7. Connect three (3) hydraulic tubes t o cooling fan mo-
tor (see Hydraulic Hose and Tube Installation in the
General Information section of this chapter).
8. Position fan to fan hub and secure with four (4) cap
screws and washers. Torque screws from 12 to 14 ft--lb
(17to18N--m).
9. Install radiator shrouds (lower and upper) and air
cleaner hose (Fig. 85). Make sure that clearance be-
tween shrouds and cooling fan is at least 0.180” (4.6
mm) at all points.
10.Connect three (3) hydraulic tubes at lower radiator
shroud (see Hydraulic Hose and Tube Installation in the
General Information section of this chapter).
11.Lower and secure hood.
12.Make sure hydraulic tank is full.
13.Properly fill hydraulic system (see Charge Hydraulic
System in this section).


