136
Chapter 6: Replacing Assemblies
1690A,AD-series disassembly/assembly
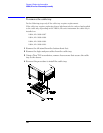
To remove the acquisition board
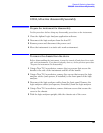
1 Do the following procedures:
To remove the chassis from the sleeve
To remove the fascia
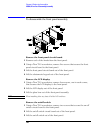
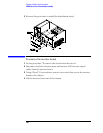
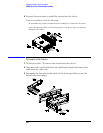
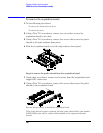
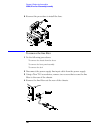
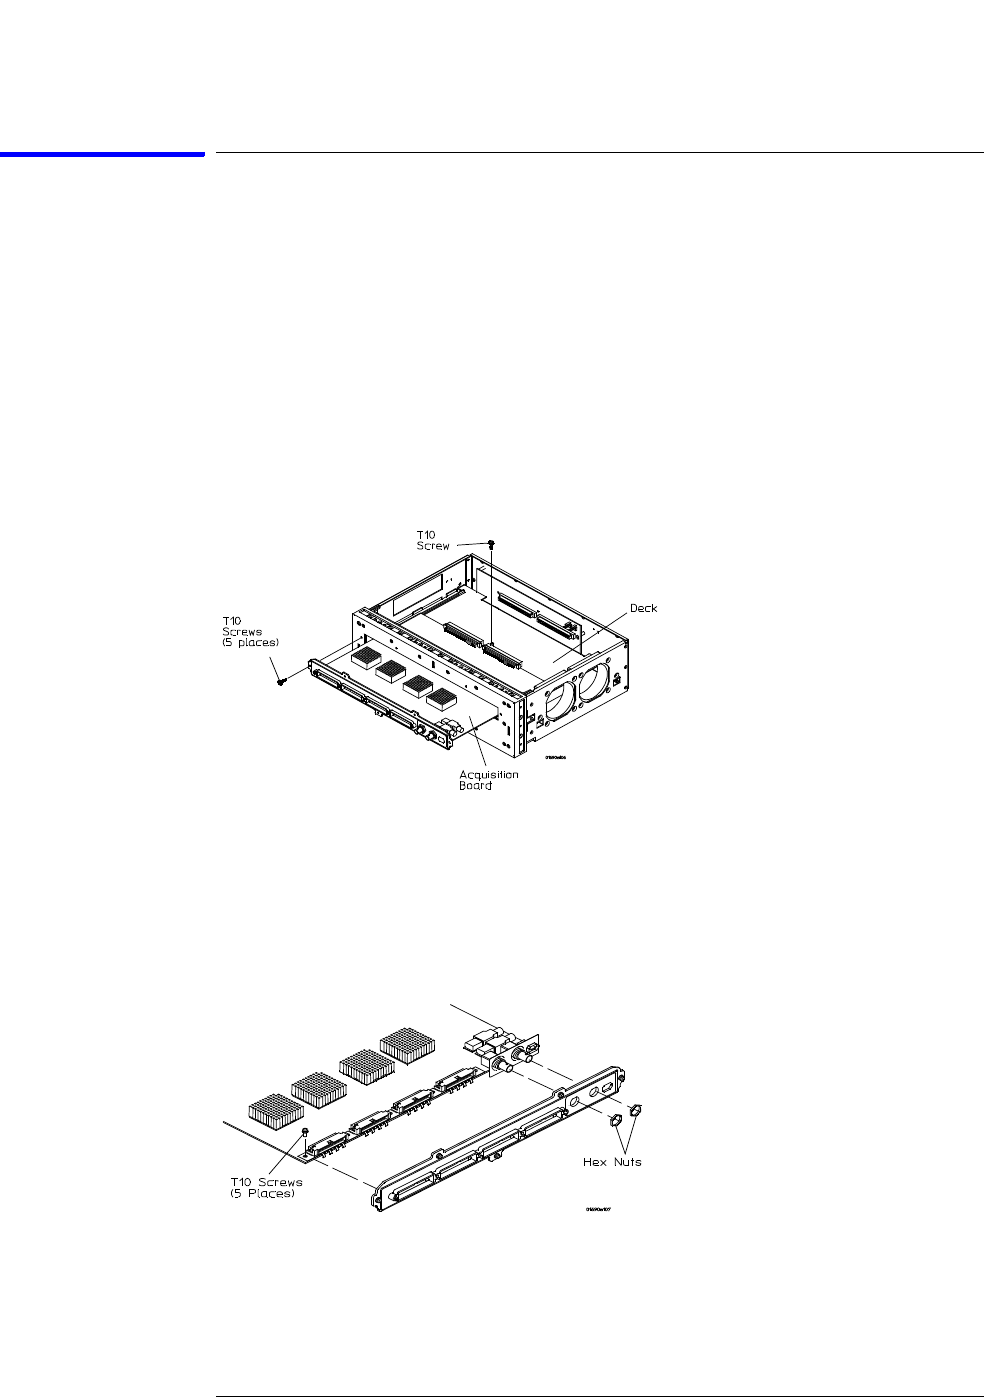
2 Using a Torx T-10 screwdriver, remove one screw that secures the
acquisition board to the deck.
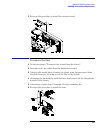
3 Using a Torx T-10 screwdriver, remove five screws that secure the probe
shroud to the logic analyzer front panel.
4 Slide the acquisition board out of the logic analyzer front panel.
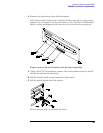
Steps to remove the probe shroud from the acquisition board.
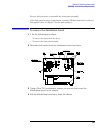
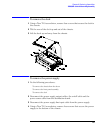
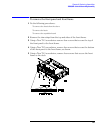
1 Using a hex screwdriver, remove two hex nuts from the acquisition board
trigger BNC connectors.
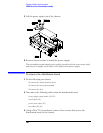
2 Using a Torx T-10 screwdriver, remove five screws that secure the probe
shroud to the acquisition board.
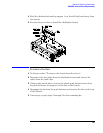
Reverse this procedure to install the acquisition board
If the probe shroud requires replacing, then the probe shroud label (part number
01690-94302) must also be ordered and installed on the replacement probe
shroud.


