Performance Verification
MTG100 & MTG300 MPEG Generator Service Manual
4Ć15
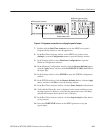
4. Select Clock... from the OUTPUT menu on the MPEG generator to open
the Clock dialog box.
5. Select EXT CLOCK in the Clock dialog box, and then press the OK bezel
button.
6. Select Interface : Serial from the OUTPUT menu on the MPEG generator,
and then press the OK bezel button.
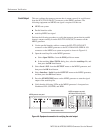
7. Double-click the Data Store Administrator icon in the MPEG test system’s
Program Group window to start the application.
8. In the Data Store Administrator window, select any file from the File
information list, and then right-click to open the shortcut menu.
9. Click Generation to open the Generation settings window.
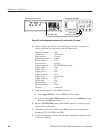
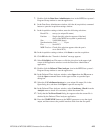
10. In the Generation settings window, make the following selections:
Port Serial ECL. . . . . . . .
Frequency 40,000,000. . .
Loop Check (select). . . . . . .
11. In the Generation settings window, click Start to begin signal generation.
12. Press the START/STOP button on the MPEG generator to start the signal
output of the test40.trp file.
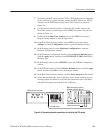
13. Verify that the following LEDs on the MPEG generator’s front panel are
illuminated: PLL, BUFFER, EXT, and HDD.
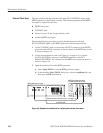
14. Double-click the Real Time Analyzer icon in the MPEG test system’s
Program Group window to start the application.
15. In the Real Time Analyzer window on the MPEG test system, select
Settings... from the Configuration menu to open the Settings window.
16. In the Settings window, select Hardware Configuration to open the
Hardware Configuration window.
17. In the Hardware Configuration window, click the Restore Defaults button,
click the Apply button, and then select DVB-PI ASI as the Input Type.
18. In the Settings window, select ETR290 to open the ETR290 configuration
window.
19. In the ETR290 window, click the Restore Defaults button, click the Apply
button, and then click OK to close the Settings window.


