PPG Tutorial
106 PT Program Generator (PPG) v5.0
Building a Custom Portable Program
At this point, you should understand the general concepts behind creating and
loading a portable program, although many of the details have yet to be
explained. In this section, you'll create a simple portable program from
scratch. It will allow you to collect data with the portable and upload it to your
PC. A menu that appears when you turn on the portable gives you a choice of
the two possible actions.
Creating Frames and Links
A program's frames define its general functions, such as collecting and upload-
ing data. Links connecting frames indicate program flow—how you move
from frame to frame. The details for the program are contained in the pro-
gram’s
Operation nodes.
Creating Frames
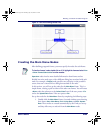
For your program, you will create three frames: Main Menu, Collect Data, and
Upload Data. The program will start with the Main Menu frame, which offers
access to the other frames. You can return to the
Main Menu from either the
Collect Data or Upload Data frames.
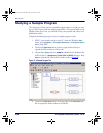
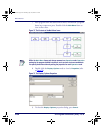
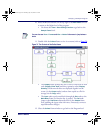
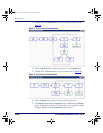
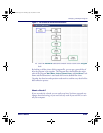
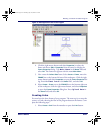
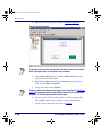
Create the frames shown in
Figure 78 on page 107 by completing the following
steps:
1. If you took a break and exited PPG, select Programs > PT Program
Generator > PT Program Generator
from the Windows Start menu to
load PPG.
1. Click on the Maximize button, if necessary, to expand the windows to
fill the screen.
2. If you are continuing from the last section, select
File > Close to close
the
Sample application. The select File > New so that you can create a
new flow chart. (If prompted to do so, do not save changes.)
3. Select
Create > Frame to draw the first frame. A box labeled FRAME
appears in the lower right corner of the window. Move it to the top-
middle area of the workspace.
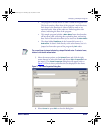
To adjust the position of a frame, just drag it with the mouse. To delete an unwanted
frame or node, select it and then press
DELETE
2342.book Page 106 Thursday, July 22, 2004 8:35 AM


