


Workman e2050/e2065
Page 3 – 29
Electrical System (Rev. B)
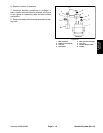
Removal (Fig. 43)
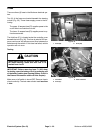
WARNING
POTENTIAL HAZARD:
The battery terminals, metal tools and metal ve-
hicle parts could short together.
WHAT CAN HAPPEN:
Sparks can cause the battery gasses to explode.
Damaged cables could short against metal ve-
hicle parts and cause sparks.
HOW TO AVOID THE HAZARD:
When removing or installing the batteries, do
not allow the battery terminals to short against
metal parts of the vehicle.
Do not allow metal tools or metal vehicle parts to
short between the battery terminals or battery
cables.
Always keep the battery retainers in place to
protect and secure the batteries.
IMPORTANT: Be careful not to damage terminal
posts or cable connectors when removing the bat-
tery cables.
1. Position vehicle on a level surface, set parking
brake, turn On/Off switch OFF and remove key.
2. Raise bed and secure with prop rod.
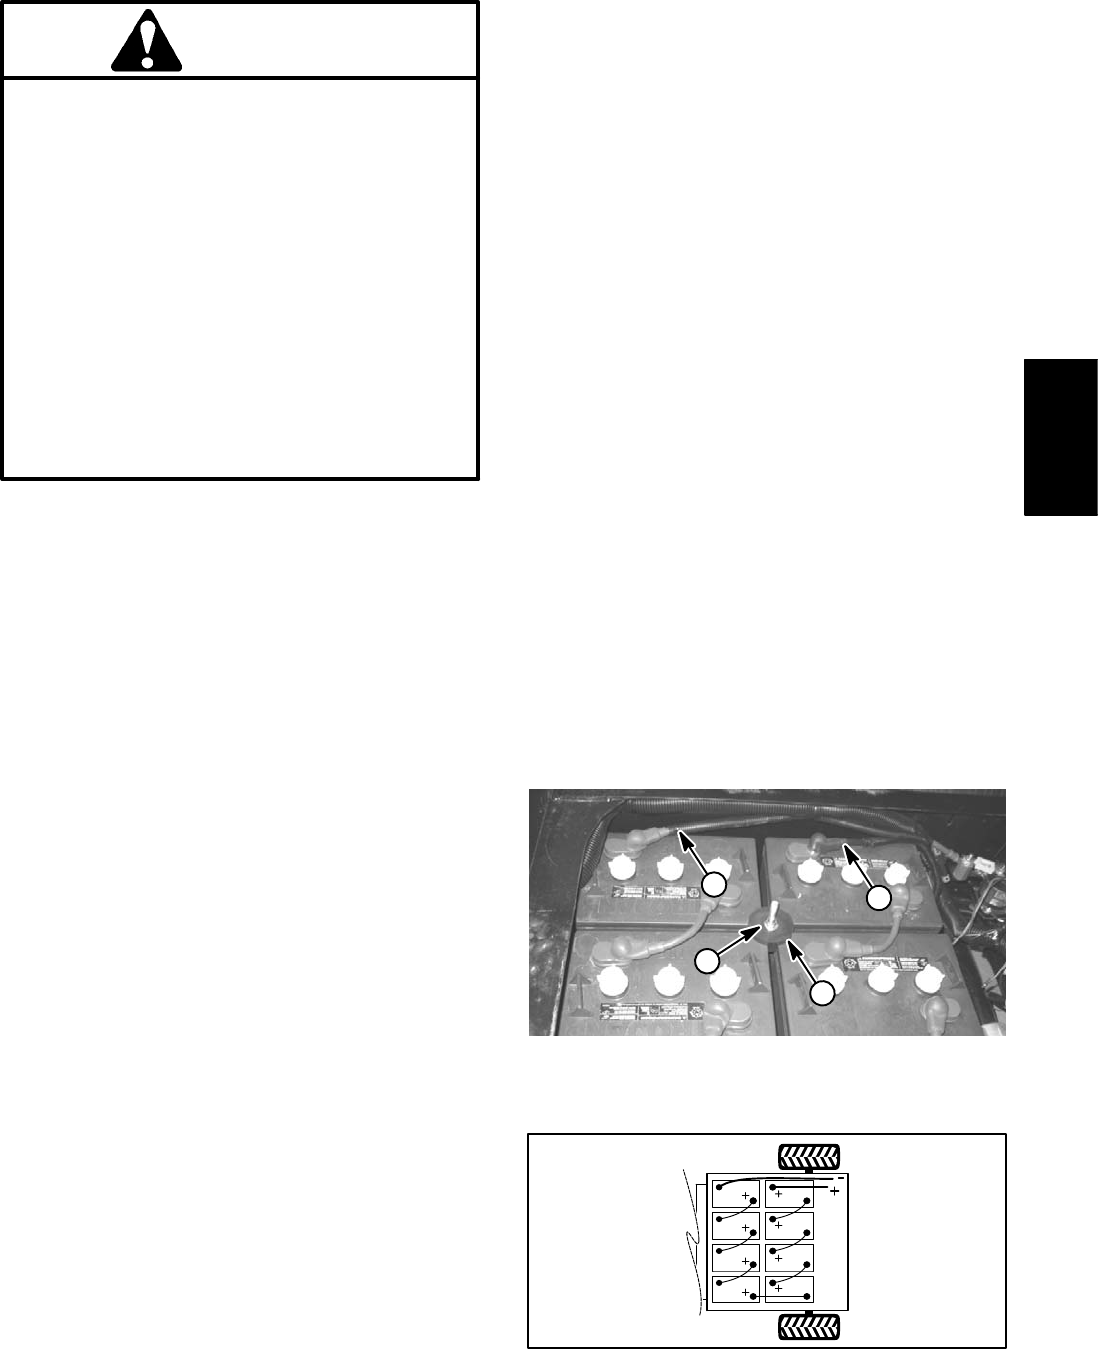
3. Open the battery circuit by carefully removing one of
the battery cables (see Opening Battery Circuit in the
General Information section of this chapter).
4. Once initial cable has been removed from vehicle,
disconnect and remove remaining battery cables from
all battery terminals.
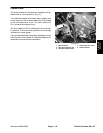
5. Remove flange nuts (item 11) and battery retainers
(item 10) used to secure batteries to vehicle (Fig. 44).
6. Make sure that all battery filler caps are on tightly.
IMPORTANT: When removing batteries from ve-
hicle, do not lift batteries using battery terminals as
lift points: battery damage may occur.
7. Using case loops on battery tops as lifting points, re-
move batteries from vehicle.
Installation (Fig. 43)
IMPORTANT: To prevent possible electrical prob-
lems, install only fully charged batteries.
1. Make sure vehicle on/off switch and all accessories
are OFF. Raise bed and secure with prop rod.
2. Make sure the battery supports are clean and re-
painted if necessary. Make sure cables, terminals, rods
and hold down retainers are in good condition.
IMPORTANT: When installing batteries into vehicle,
do not lift batteries using battery terminals as lift
points: battery damage may occur.
3. Using case loops on battery tops as lifting points, set
batteries on the battery supports with battery posts
properly orientated (Fig. 45). Make sure that battery
rods are positioned to allow installation of retainers.
4. Install two (2) battery retainers and nuts to secure
batteries to vehicle (Fig. 44). Torque nuts from 115 to
125 in–lb (13 to 14.1 N–m).
5. Install all but one of the battery cables used to con-
nect battery pack including the positive (red) cable and
negative (black) cable from vehicle (Figures 43 and 45).
Make sure that cables are connected to correct battery
terminal noting battery polarity. Install lock washer and
nut on each battery terminal. Torque nuts from 115 to
125 in–lb (13 to 14.1 N–m) to secure cables.
6. Connect final battery cable to battery terminals.
Install lock washer and nut on battery terminals. Torque
nuts from 115 to 125 in–lb (13 to 14.1 N–m).
7. Apply Toro battery terminal protector (see Special
Tools) to all battery posts and cable connectors to re-
duce corrosion after connections are made. Make sure
that terminal boots are positioned over all connections.
8. Lower bed.
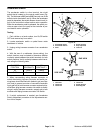
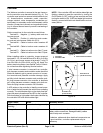
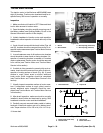
1. Negative cable to vehicle
2. Positive cable to vehicle
3. Flange nut
4. Battery retainer
Figure 44
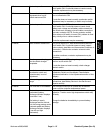
2
1
4
3
Figure 45
A
4
Electrical
System