


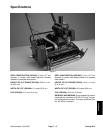
Greensmaster 1000/1600 Page 7 – 11 Cutting Unit
Height–of–Cut Adjustment
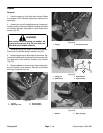
1. Park mower on a level surface. Make sure engine
is OFF. Remove high tension lead from the spark plug.
2. Verify that the drum is level to the reel and that the
bedknife to reel contact is correct. Tip mower back on its
handle to expose roller, drum, and bedknife.
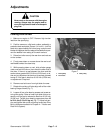
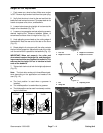
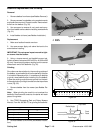
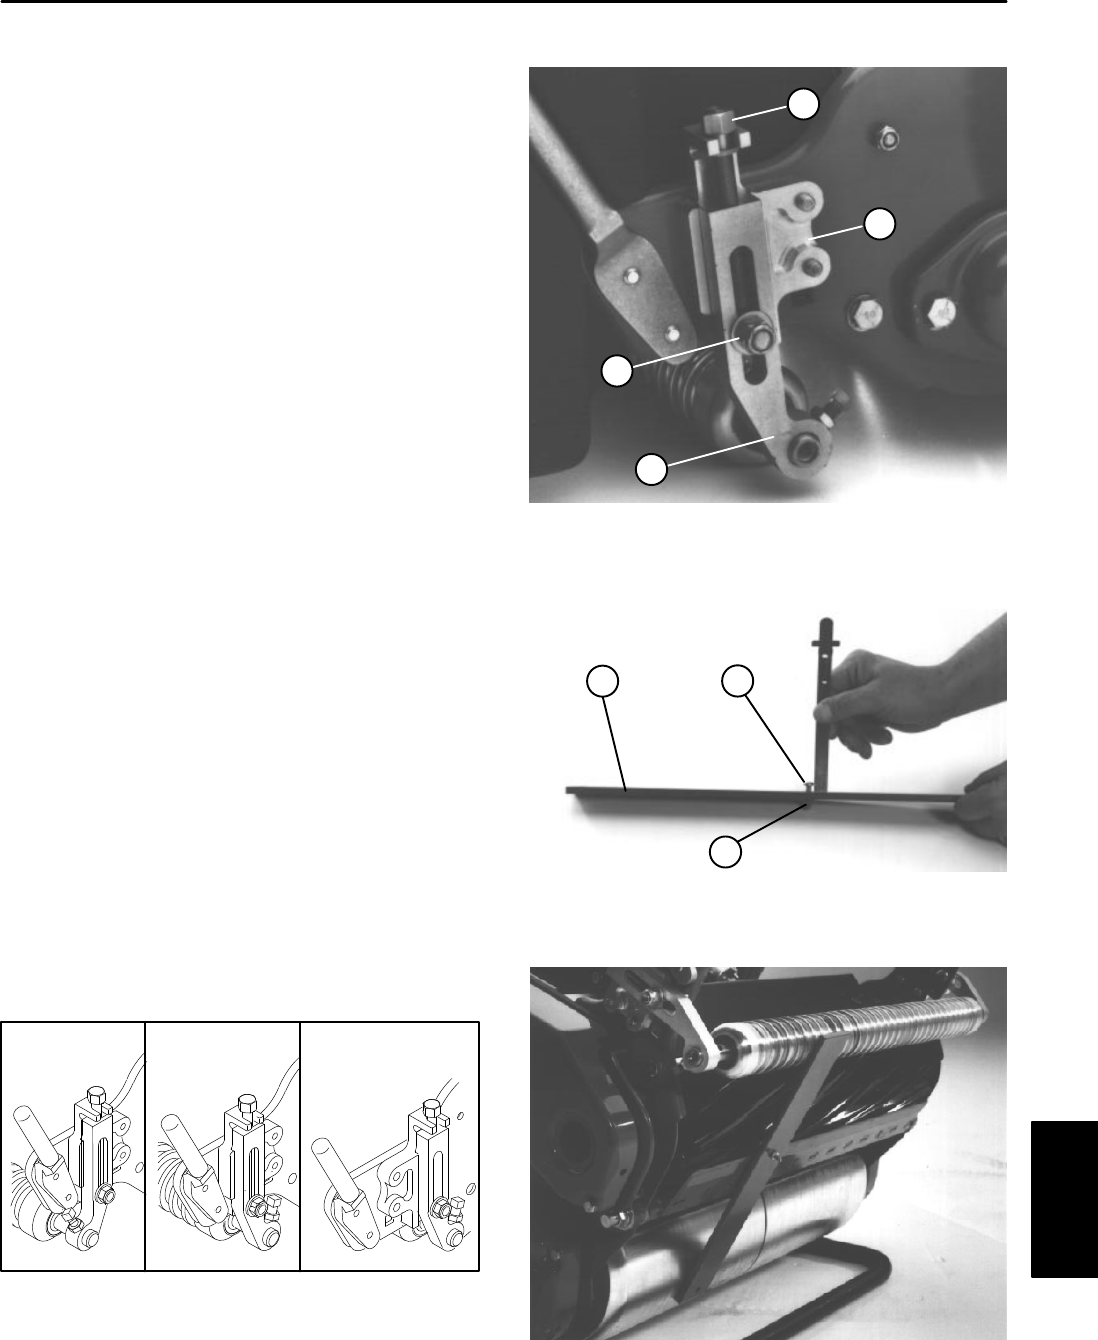
3. Loosen locknuts securing height–of–cut arms to the
height–of–cut brackets (Fig. 13).
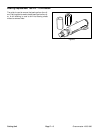
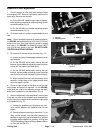
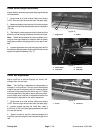
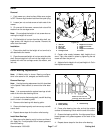
4. Loosen nut on gauge bar and set adjusting screw to
desired height-of-cut. Distance between bottom of
screw head and face of bar is height-of-cut (Fig. 14).
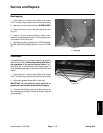
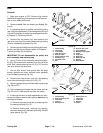
5. Hook adjusting screw head on the cutting edge of
the bedknife. Rest the rear end of the bar on the drum
(Fig. 15).
6. Rotate height–of–cut screw until the roller contacts
the front of the gauge bar. Adjust both ends of the roller
until the entire roller is parallel to the bedknife (Fig. 13).
IMPORTANT: When set properly, the roller and
drum should contact the gauge bar, and the adjust-
ing screw should be snug against the bedknife. This
assures that the height–of–cut is identical at both
ends of the bedknife.
7. Tighten both lock nuts to lock the height adjustment
(Fig. 13).
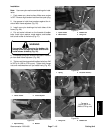
Note: The front roller can be put in three different posi-
tions depending on the application and needs of the
user (Fig. 12).
D The front position is used when a groomer is
installed.
D The middle position is used without a groomer.
D The third position can be used in extremely undulat-
ing turf conditions.
Figure 12
FRONT MIDDLE THIRD
1. Lock nut
2. Height–of–cut arm
3. Height–of–cut bracket
4. Height–of–cut screw
Figure 13
2
3
1
4
1. Nut
2. Gauge bar
3. Adjusting screw
Figure 14
2
3
1
Figure 15
Cutting Unit