


Groundsmaster 4000--D/4010--D Page 7 -- 17 Chassis
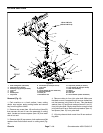
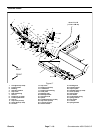
Disassembly (Fig. 15)
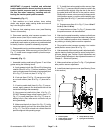
1. Park machine on a level surface, lower cutting units,
stop engine and engage parking brake. Remove key
from ignition switch.
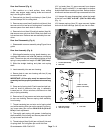
2. Remove two (2) flange head screws (item 27) and
then cover plate (item 26) from outside of control arm.
Locate and retrieve two (2) spacers (item 25).
3. At front of control arm, remove screw (item 29) and
lock nut (item 5) that secure control arm covers to each
other.
4. Remove five (5) washer head screws (item 3) that
secure each cover to control arm panel.
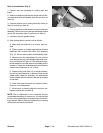
5. Remove control arm covers from machine. As LH
cover (item 4) is removed from control arm, unplug wire
harness connector from headlight switch if equipped.
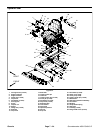
6. Remove electrical components from control arm as
needed using Figure 15 as a guide.
7. If necessary,remove controlarm paneland supports
from machine using Figures 15 and 16 as guides.
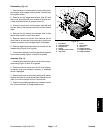
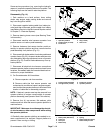
Assembly (Fig. 15)
1. Install all removed electrical and control arm compo-
nents using Figure 15 and 16 as guides.
2. Position covers to control arm. As LH cover (item 4)
is placed, plug wire harness connector to headlight
switch if equipped.
3. Secure eachcoverto control armwith five(5) washer
headscrews(item3). Installscrew (item29) andlock nut
(item 5) to secure covers at front of control arm.
4. Position coverp late andspacers tooutsideof control
arm. Secure with two (2) flange head screws.
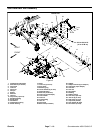
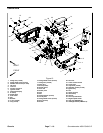
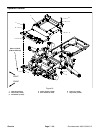
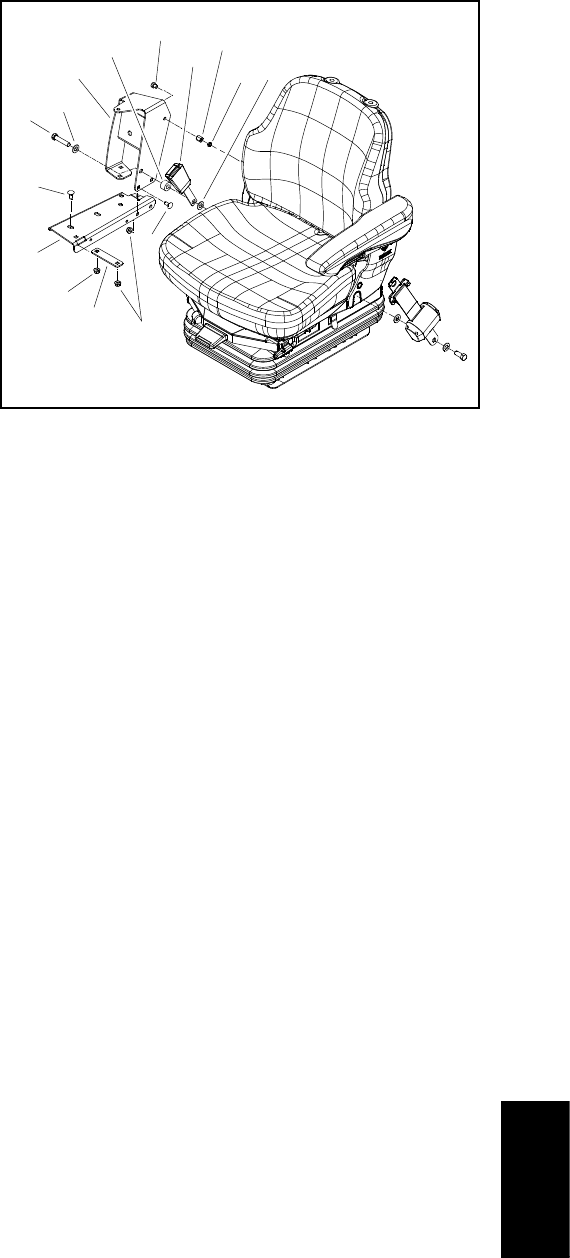
1. Flat washer
2. Seat belt buckle
3. Coupling nut
4. Spacer
5. Carriage screw (5 used)
6. Cap screw
7. Screw
8. Arm support
9. Hex nut
10. Support bracket
11. Flange nut (5 used)
12. Support channel
Figure 16
2
3
6
7
5
4
1
8
9
10
11
5
11
12
1
Chassis