Greensmaster eFlex 1800/2100 Page 4 -- 31 Electrical System
ParkingBrakeLatchSwitchTesting
1. Park machine on level surface and place traction le-
ver in the NEUTRAL position. Turn key switch to the
OFF position and remove key from the switch. Discon-
nect the battery pack (see Lithium Battery Pack Con-
nection in the General Information section of this
chapter).
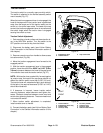
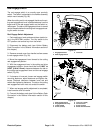
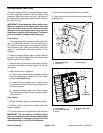
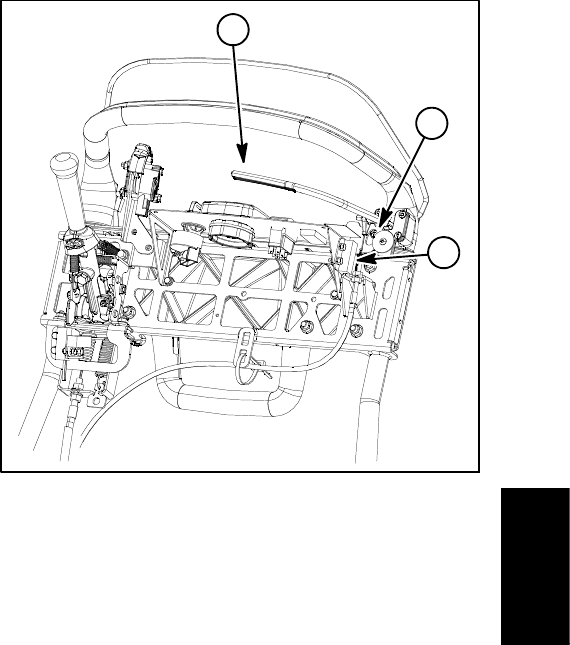
2. Remove console cover from handle to allow access
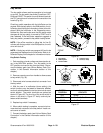
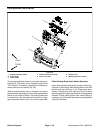
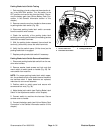
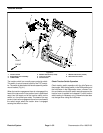
toparkingbrakelatchswitch(Fig.38).
3. Disconnect parking brake latch switch connector
from the machine wire harness.
4. Check the continuity of the parking brake latch
switch by connecting amultimeter(ohms setting) across
the switch connector terminals.
5. With the parking brake released, there should be
continuity (zero ohms) across the switch terminals.
6. Verify that the switch opens (infinite ohms) as the
parking brake latch is engaged.
7. Replace parking brake latch switch if necessary.
ParkingBrakeLatchSwitchRemoval/Installation
1. Disconnectparkingbrakelatchswitchfromthema-
chinewireharness.
2. Remove washer head screws and lock nuts that
mount switch to switch panel on handle (Fig. 38). Re-
move switch from machine.
NOTE: For proper parking brake latch switch opera-
tion, the screws and lock nuts used to secure the switch
are stainless steel. If these fasteners are replaced,
make sure to use correct fasteners.
3. Position switch to switch panel and secure with
screws and lock nuts (Fig. 38).
4. Adjust brake latch switch (see Parking Brake Latch
Switch in the Adjustments section of this chapter).
5. Connect switch to machine wire harness. Secure
console cover to handle.
6. Connect the battery pack (see Lithium Battery Pack
Connection in the General Information section of this
chapter).
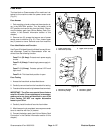
1. Service brake lever
2. Park brake latch switch
3. Parking brake latch
Figure 39
1
3
2
Electrical
System


