


Using in Scope Mode 5 - 27
ADAPTING THE DISPLAY
You can adapt the display to your preference as follows:
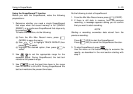
1. Press .
2. Press to open the Display Menu window.
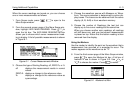
Selecting a Dot Size
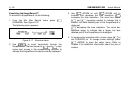
3. Use to highlight DOT SIZE and press
to open the list box.
4. Choose a dotsize: SMALL, MEDIUM, or LARGE and
press to select. This selects the trace to be
single, double, or triple width.
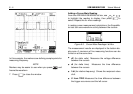
Selecting a Display Grid
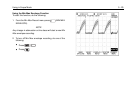
5. Use to highlight SCOPE GRID and press
to open the list box.
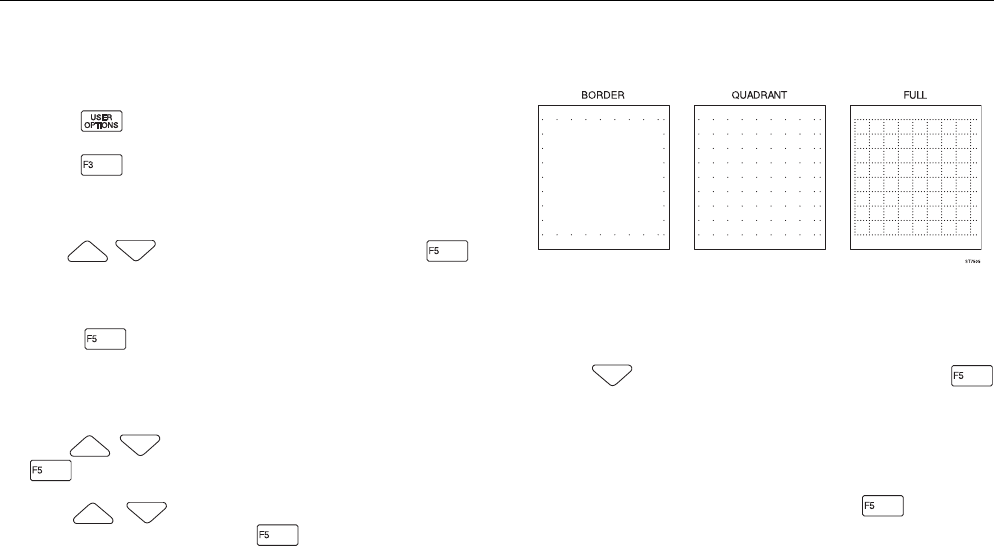
6. Use to choose between FULL, QUAD-
RANT, or BORDER. Press to select any of the
three.
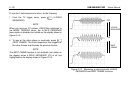
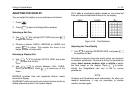
BORDER provides time and amplitude division marks
around the display.
QUADRANT adds horizontal and vertical division points as
added reference points to the border display.
FULL adds a crosshatch pattern based on the horizontal
time and vertical amplitude divisions on the display.
Figure 5-18. Grid Selection
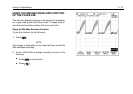
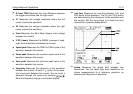
Adjusting the Trace Quality
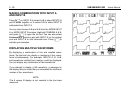
7. Use to highlight PERSISTENCE, and press
to open the list box.
Persistence improves the trace quality when you measure
on complex waveforms. Choose one of the five persistence
states:
short
,
normal
,
medium
,
high
, or
infinite
to obtain
the best image on the display. Press to select.
Initially the ScopeMeter test tool is set to normal
persistence.
NOTE
Contrast and Persistence work interactively. So when you
readjust persistence, it may be necessary to choose
another contrast again.