Using Additional Capabilities 6 - 3
When the cursor readings are turned on, you can choose
one or more measurements as follows:
1. From Scope mode, press to open to the
More Scope window.
2. From the second screen page of the More Scope win-
dow, highlight ADD MAIN READING. Press to
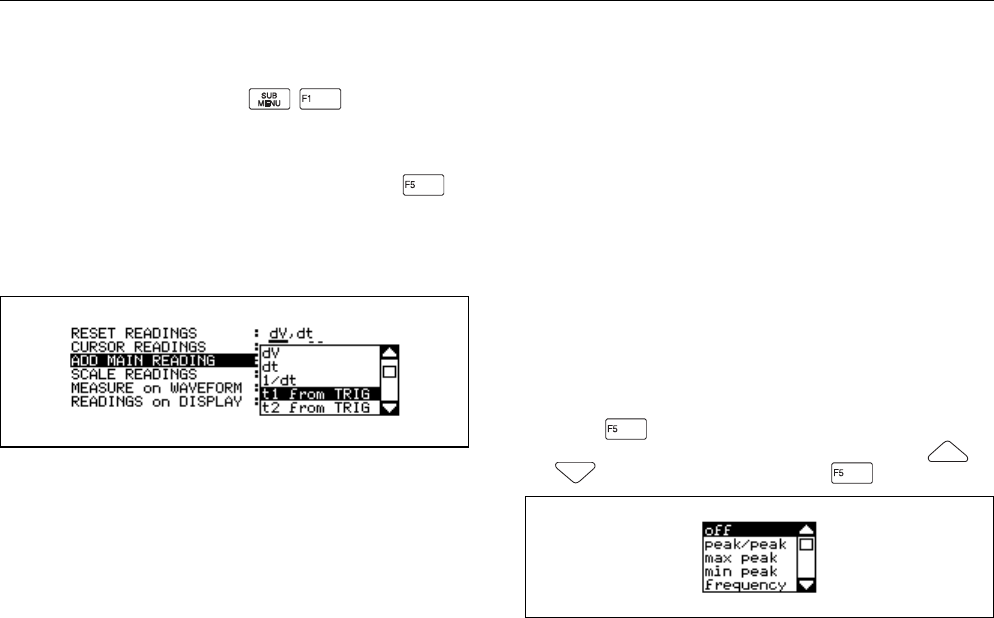
open the list box. The ADD MAIN READING list box
allows you to choose which cursor measurement read-
ing to display. A list of possible measurements is shown
in Figure 6-1.
Figure 6-1. Cursor Measurements Window
3. Choose the type of Scaling Reading: off, ZERO
∆
, or %
off displays the measurement results in normal
values.
ZERO
∆
displays a change to the reference value.
% displays a change to the reference value as
a percentage.
4. Choose the waveform source with Measure on Wave-
form. The source selection is determined by active dis-
play traces. The traces can be obtained from the active
display (A, B, A±B) or from waveform memory.
5. Choose the number of Readings; the test tool can
display up to five cursor readings at the same time.
When you choose another main readings, all readings
will shift down one, and your last chosen measurement
is placed on top. Notice that the bottom reading is then
removed from the display.
Using the Markers
Use the marker to identify the point on the waveform that a
measurement has occurred or is expected to occur. The
marker appears on the waveform as an "X".
6. From the third screen page of the More Scope window,
press to open the Markers list box. A list box of
markers in use is shown in Figure 6-2. Use or
to choose the marker. Press to select.
Figure 6-2. Markers List Box
