119
Chapter 6: Replacing Assemblies
1680A,AD-series disassembly/assembly
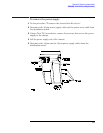
To remove the CD-ROM drive assembly
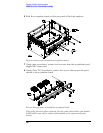
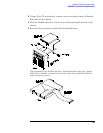
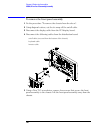
1 Do the procedure "To remove the chassis from the sleeve".
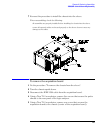
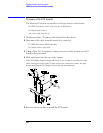
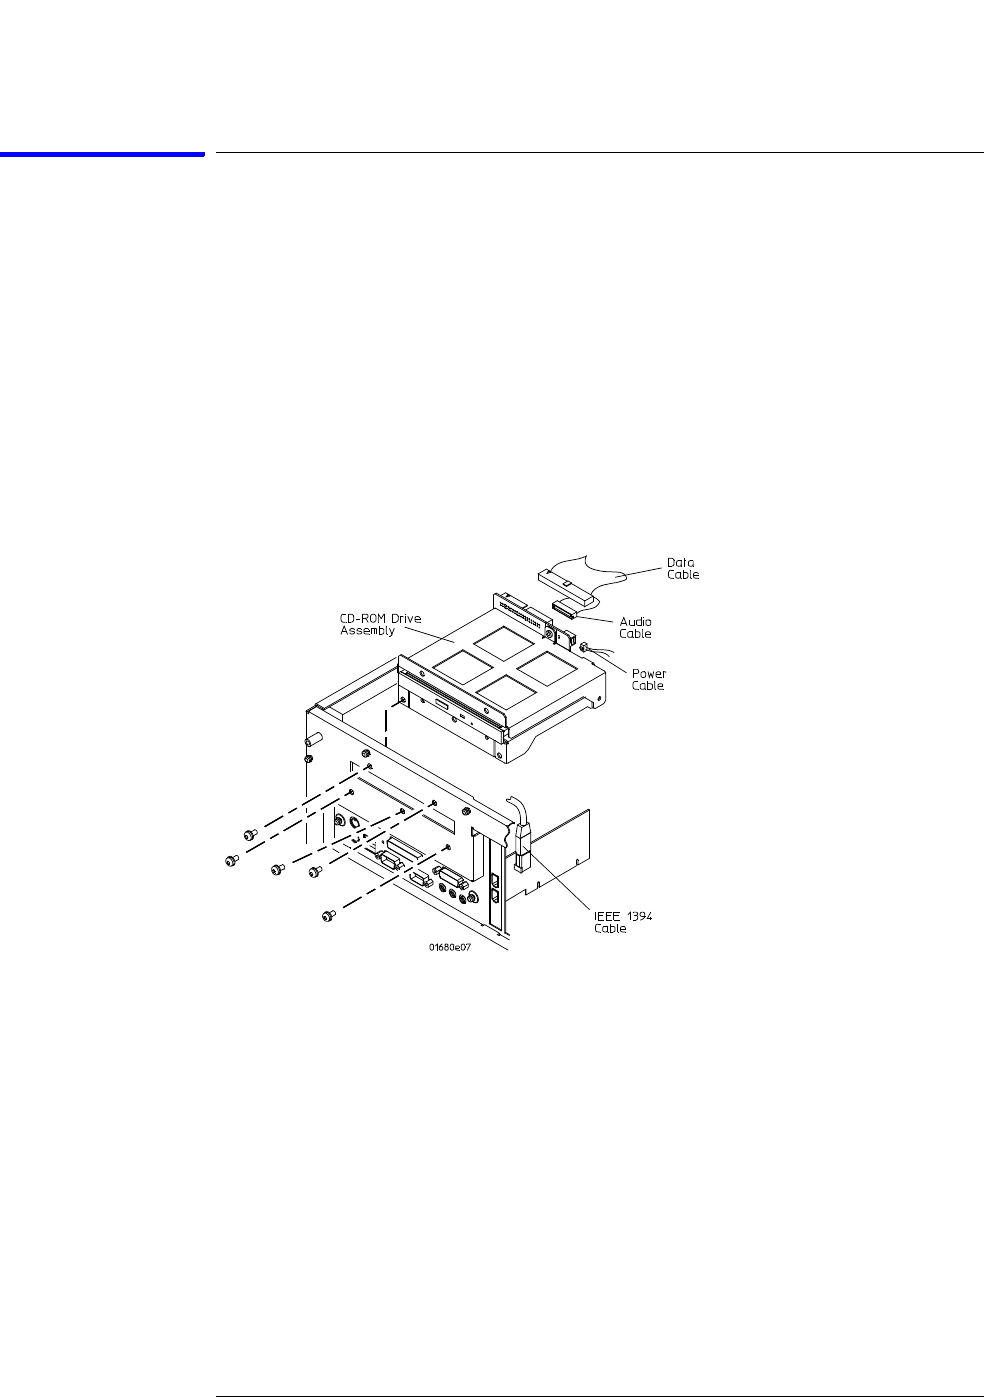
2 Disconnect the IEEE 1394 cable from the PCI IEEE 1394 interface board.
Disengage the cable from the cable clamps on the top of the CD-ROM drive
assembly.
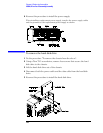
3 Remove the data cable, power cable and audio cable from the CD-ROM
drive interface board.
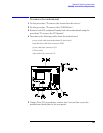
4 Using a Torx T-10 screwdriver, remove five screws that secure the CD-
ROM drive assembly to the chassis.
5 Slide the CD-ROM assembly out of the chassis.
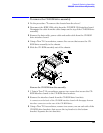
Remove the CD-ROM from the assembly
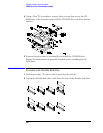
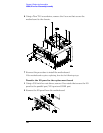
1 1 Using a Torx T-10 screwdriver, remove two screws that secure the CD-
ROM interface board to the CD-ROM drive brackets.
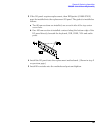
2 Remove the interface board from the CD-ROM drive brackets.
A connector on the back of the CD-ROM interface board will disengage from an
interface connector on the rear of the CD-ROM drive.
3 Using a Torx T-10 screwdriver, remove two screws, one on each side of the
CD-ROM drive brackets, that secure the top bracket to the bottom
bracket. Separate the two brackets.


