electrical
System
10-6
Ignition
System
TESTING
COIL-Continued
Follow
manufacturer's
recommendations
to
test
the
following:
1.
Coil
power
test
2.
Coil
high
speed
test
3.
Coil
surface
insulation
test
4.
Coil
continuity
test
5.
Coil
ground
test.
TESTING
CONDENSER
I,
\I
:r
Fi
g .
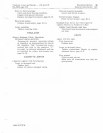
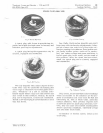
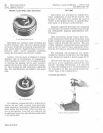
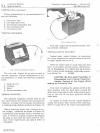
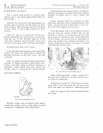
13-Testing
Condenser
Capacity
The
test
unit,
Figure
13
can
also
be
used
to
test
the
condenser.
Follow
manufacturer's
rec-
ommendations
to
make
the
following
condenser
tests:
1.
Capac
ity
test
2.
Leakage
3.
Short
4.
Series
resistance
test
TESTING
SOLENOID
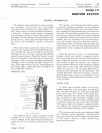
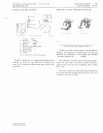
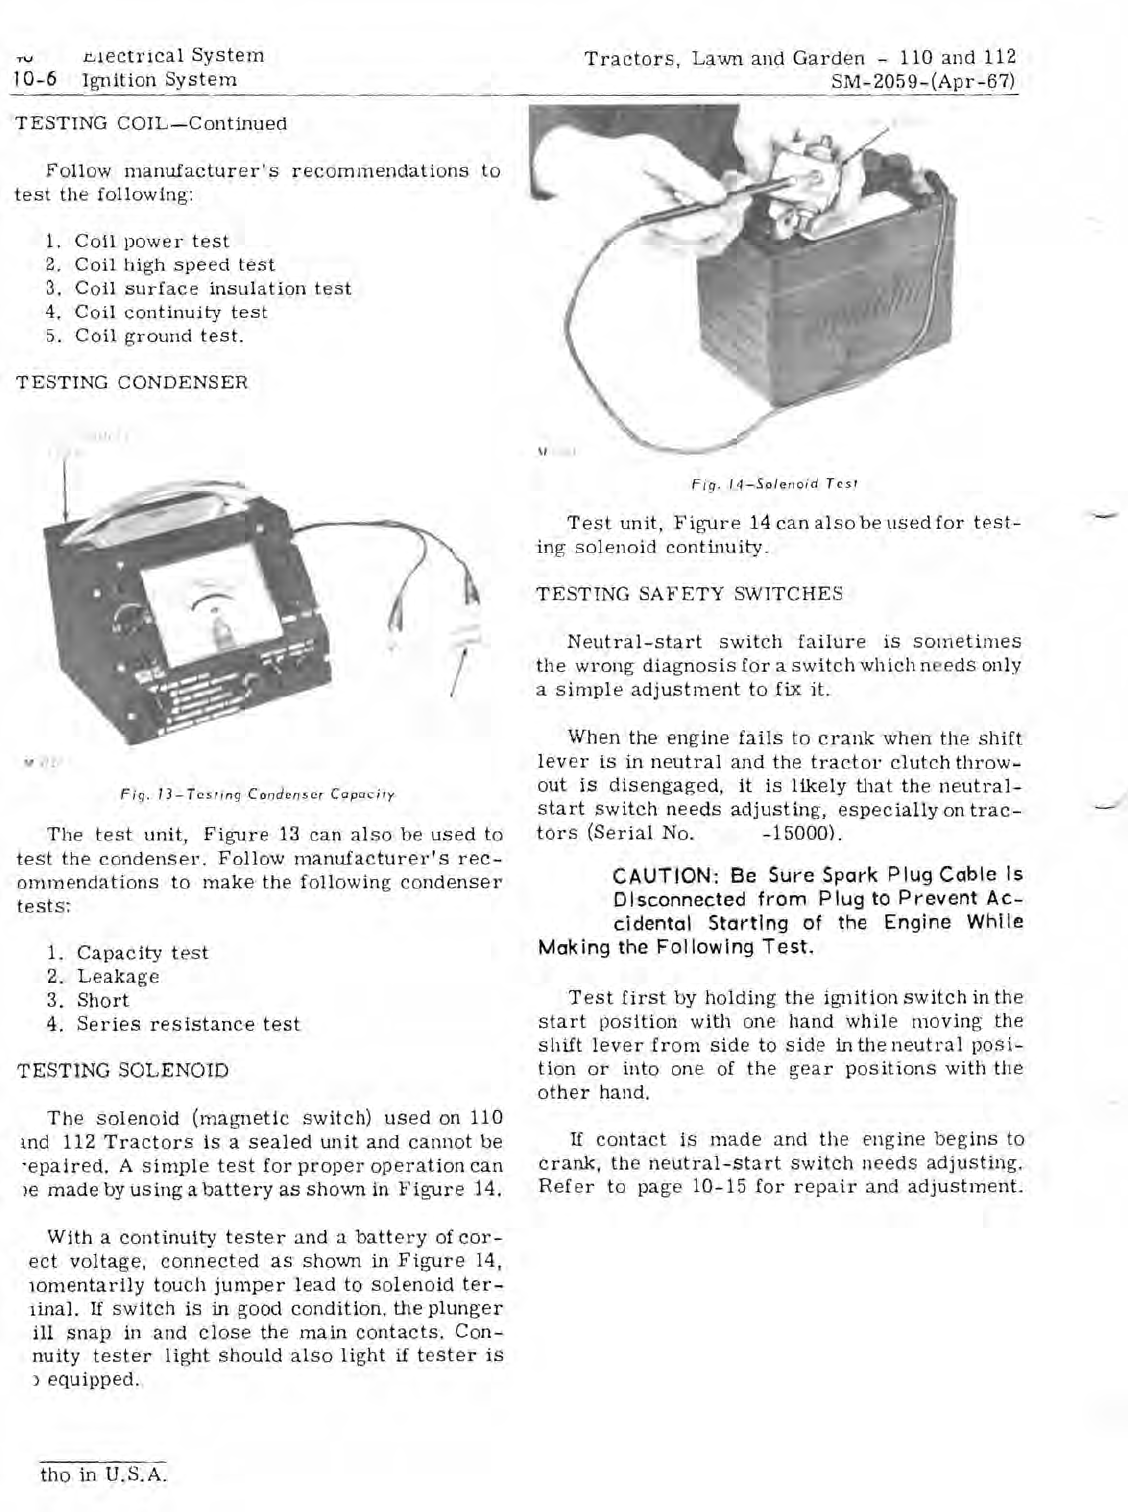
The
solenoid
(magnetic
switch)
used
on 110
md
112
Tractors
is
a
sealed
unit
and
cannot
be
"epaired.
A
simple
test
for
proper
operation
can
)e
made
by
using
a
battery
as
shown
in
Figure
14.
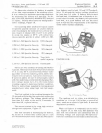
With
a
continuity
tester
and
a
battery
of
cor-
ect
voltage,
connected
as
shown
in
Figure
14,
lOmentarily
touch
jumper
lead
to
solenoid
ter-
linal.
If
switch
is
in
good
condition.
the
plunger
ill
snap
in
and
close
the
main
contacts.
Con-
nuity
tester
light
should
also
light
if
tester
is
)
equipped.
tho
in
U.S.A.
Tractors,
Lawn
and
Garden
- 110
and
112
SM-2059-(Apr-67)
"
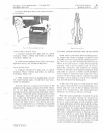
Fig.
14-So/enoid
Test
Test
unit,
Figure
14
can
also
be
used
for
test-
ing
solenoid
continuity.
TESTING
SAFETY
SWITCHES
Neutral-start
switch
failure
is
sometimes
the
wrong
diagnosis
for
a
switch
which
n
eds
only
a
simple
adjustment
to
fix
it.
When
the
engine
fails
to
crank
when
the
shift
lever
is
in
neutral
and
the
tractor
clutch
throw-
out
is
disengaged,
it
is
likely
that
the
neutral-
start
switch
needs
adjusting,
especially
on
trac-
tors
(Serial
No.
-15000).
CAUTION:
Be
Sure
Spark
Plug
Cable
Is
Disconnected
from
Plug
to
Prevent
Ac-
cidental
Starting
of
the
Engine
While
Making
the
Following
Test.
Test
first
by
holding
the
ignition
switch
in
the
start
pOSition
with
one
hand
while
moving
the
shift
lever
from
side
to
side
in
the
neutral
posi-
tion
or
into
one
of
the
gear
positions
with
the
other
hand.
If
contact
is
made
and
the
engine
begins
to
crank,
the
neutral-start
switch
needs
adjusting.
Refer
to
page
10-15
for
repair
and
adjustment.


