A-Boom (JD6615 / 7615 Asy Instruction Manual) 07/03
© 2003 Alamo Group Inc.
Section 10 - 2
Optional Mower Head Installation
Attaching Flail-Axe Head:
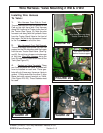
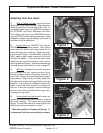
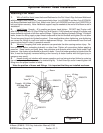
1. With a Forklift or Hoist, lower the boom
Weldment on the Flail Axe Head. Align the boom
Weldment with the Flail Axe Head Hitch Post. In-
sert special bolts (item 1 p/n 02956972 and item 2
p/n 00752405) into Boom Weldment and Hitch
Post. Attach nuts (item 3 p/n 02030300 and item
4 p/n 00037200) to bolt and tighten securely. Note:
Additional support may be needed at the end of
the Boom to aid in installation.
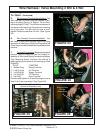
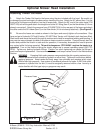
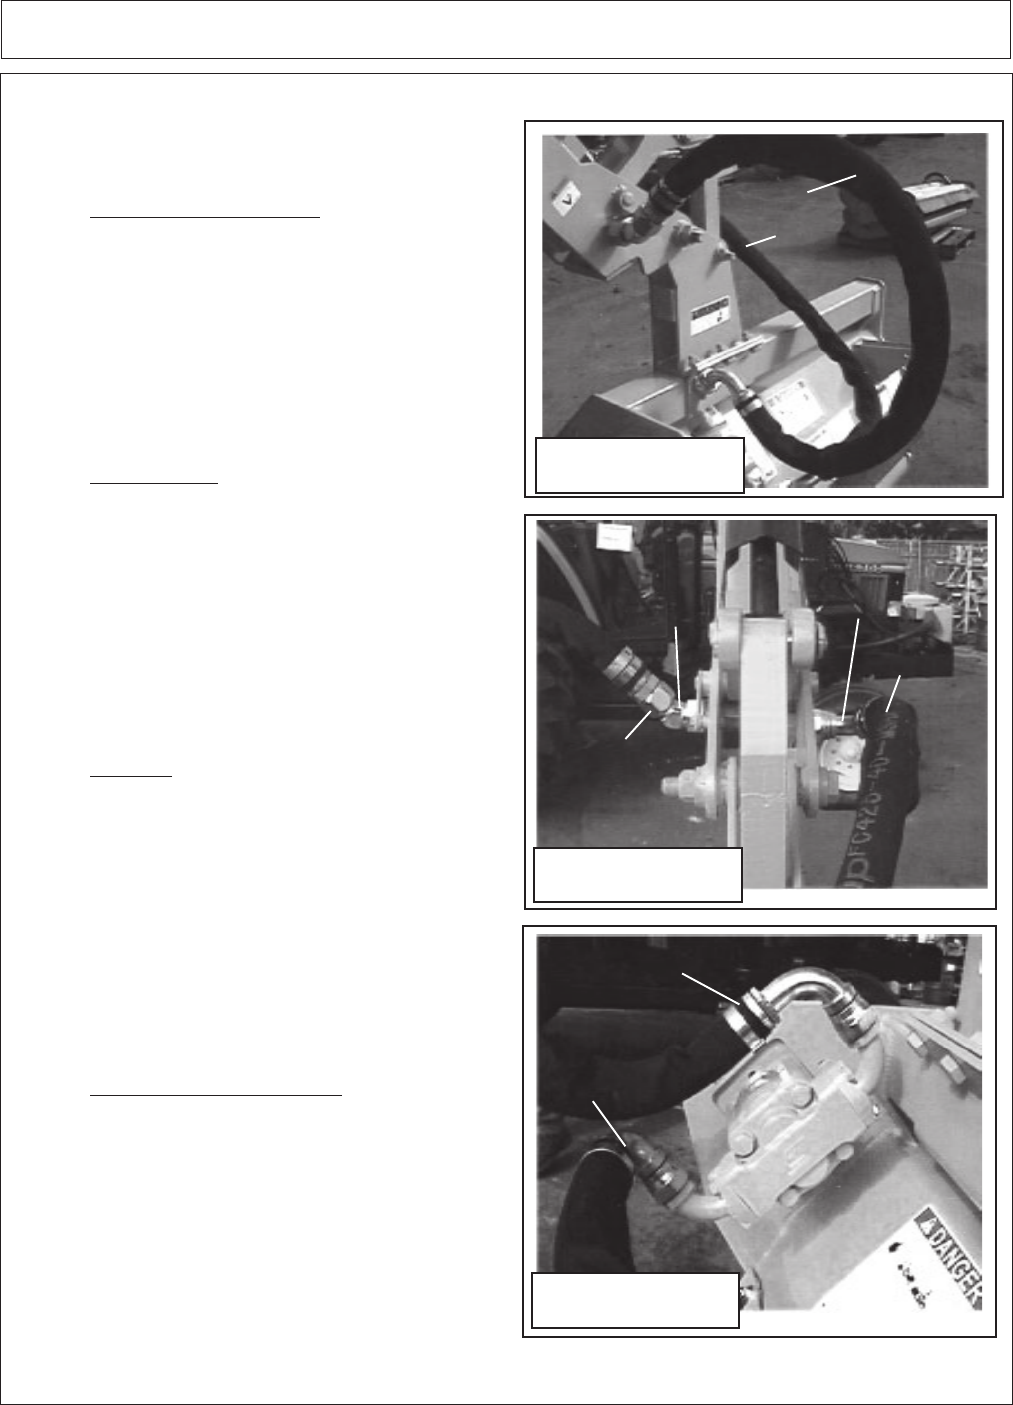
2. Install Hoses p/n 02972573 (#1) and p/n
02972573 (#2) in positions shown. Fully extend
and retract tilt cylinder and insure hoses do not
bind or kink then secure fittings. Tighten any leak-
ing Hydraulic Fittings. If fluid still leaks, loosen the
fitting, apply a pipe thread compound to the end
threads and tighten. Care must be taken when
tightening can cause the fittings to crack and re-
quire replacement fittings. Use recommened hose
end and torque values found in chart on page 22.
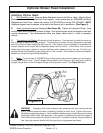
3. Warning, Escaping fluid under pressure
can penetrate the skin causing serious injury.
Relieve pressure before unhooking hydraulic or
other lines. Tighten all connections before apply-
ing pressure. Keep hands and body away from
pinholes and mozzles which eject fluids under high
pressure. Use a piece of cardboard to search for
leaks. If any fluid under pressure is injected into
the skin, it must be surgically removed withing a
few hours by a doctor familiar with this type injury
or gangrene may result.
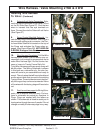
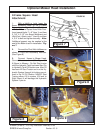
4. Hoses should not interfere with mower op-
eration such as being pinched, kinked or entering
the cutter housing. The hoses may be twisted
slightly. To hold them up and/or inward tighten the
fitting once the proper location is found.
* Note the position of hoses and fittings. It
is important that they are installed as shown.
Hose #1
Hose #2
Hose #1
Hose #2
90° Tube Elbow
(02960409)
45° Elbow
(02960411)
Hose #2
(02972574)
Hose #1
(02972573)
Figure 1
Figure 2
Figure 3


