A-Boom (JD 6615 / 7615 Asy Instruction Manual) 07/03
© 2003 Alamo Group Inc.
Section 8 - 10
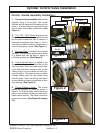
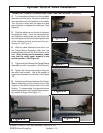
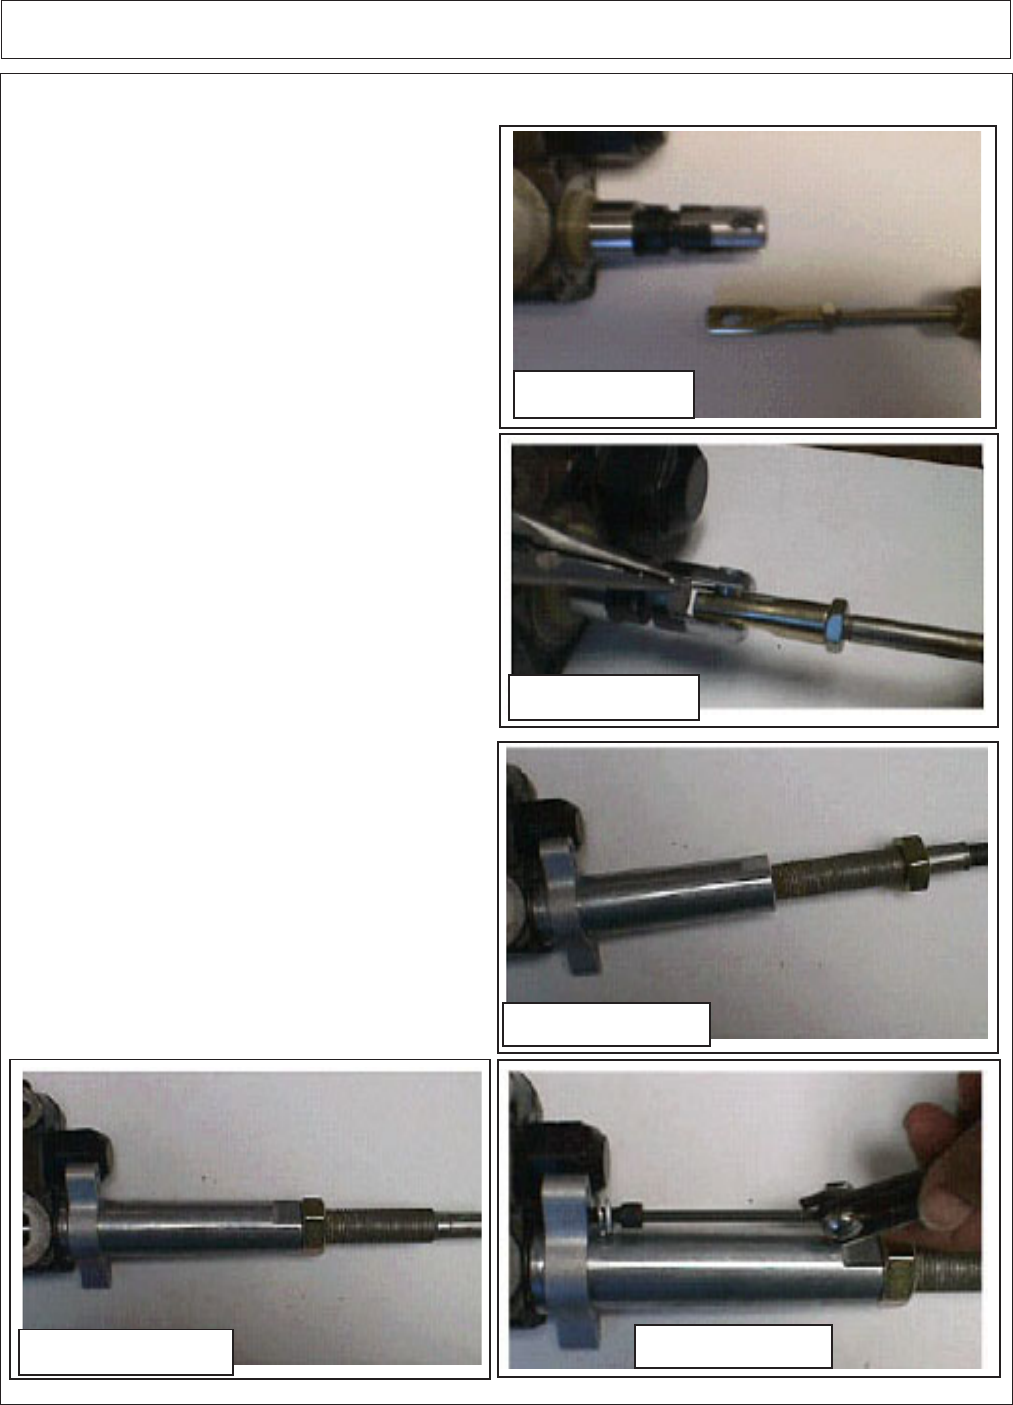
4. Turn the cable eye Jam nut on the threaded
cable end until it bottoms. Thread the Cable Eye
onto the cable end until it bottoms on the cable.
Turn the eye to align with the spool end and
secure the jam nut against the cable eye. (See
Figure 6).
5. Slide the cable eye into the slot in the spool
and align the holes. Insert the connection pin
and install the retaining pin into the hole in the
connecting pin and secure by bending both ears
of the retaining pin back and around the con-
necting pin. (See Figure 7).
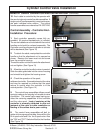
6. With the cable attached to the valve, turn
the Flange/Sleeve Assembly back onto the
threaded cable end until it is flush with the valve
face. When turning on the assembly, make
sure that the valve spool remains in the
neutral position. (See Figure 8).
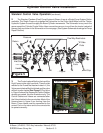
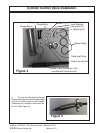
7. Tighten the Jam Nut onto the Flange/Sleeve
Assembly to lock it into position. (See Figure 9)
8. Tighten the Flange into position using the
two allen head screws. Use a flat washer to
support a lock washer on each bolt. (See Figure
10)
9. Interference will occur between the Flange/
Sleeve Assembly and the casting of the Inlet
Section on the Valve Section next to the Inlet
Section. To compensate, the provided shims
should be placed on the Flange/Sleeve Assem-
bly under the flange (See Figure 11)
Cylinder Control Valve Installation
REMOTE CABLE OPERATION AND INSTALLATION: (continued)
Figure 9
Figure 10
Figure 6
Figure 7
Figure 8


