


A-Boom (JD 6615 / 7615 Asy Instruction Manual) 07/03
© 2003 Alamo Group Inc.
Section 9 - 4
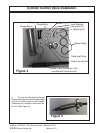
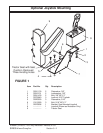
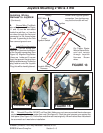
InstallingJoystick to Bracket:
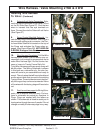
1. Bolt Joystick to Mounting Bracket.
Set Joystick Assembly on Mounting Bracket.
Make sure Joystick is mounted as shown, the
Push Pull Switch in rear and Toggle Switch to
the front. (See Figure 6)
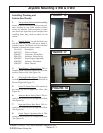
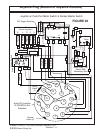
2. Installing Joystick Mounting Bolts.
Find the two 3/8" bolt, put Lockwasher and
Flatwasher on them. Start these bolts from
the bottom up through Bracket and into Joy-
stick Console. The Joystick Console holes
are threaded so no Nuts are needed. Tight-
ened the two retaining Bolts (See Figure 1
Item 3 and Figure 2).
Installing Wiring Harness for
Joystick:
1. It is recommended that the Wires for
Joystick be connected at the Tractor Ignition
Switch. But they can be connected as ex-
plained below. If connected as shown below
Wires must be traced to find the correct
wires.
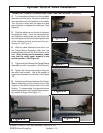
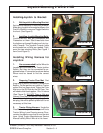
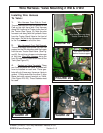
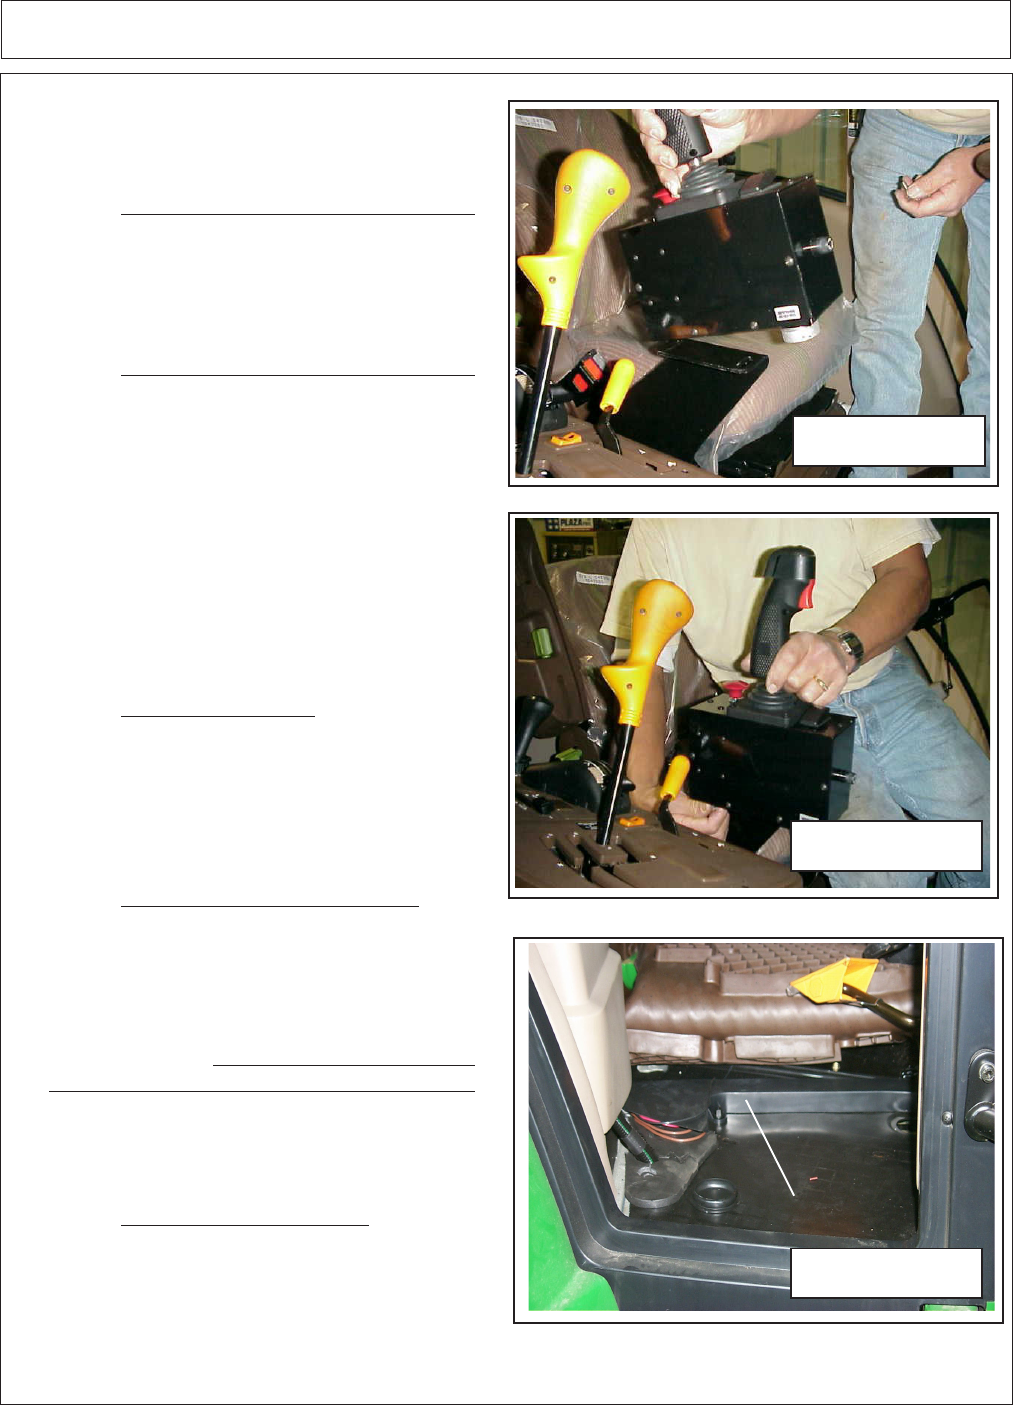
2. Preparing Tractor Floor Mat. First
thing to do is remove the Battery Cables from
Battery, Do Not perform any work on Tractor
unless this has been done. Raise the Floor
Mat up on the RH Side by the RH Door, You
will need to fold it back approx. 12 to 14 inches
(See Figure 8).
DO NOT Tear or Cut any
Holes in Floor Mat, as it will NOT be required.
You will also find a large oblong shaped rub-
ber plug, this will be pulled up later but it is not
necessary at this time.
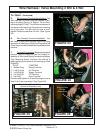
3. Tractor Wiring Harness. Under the
Floor Mat on the right hand side you will find a
Tractor Wiring Loom Running across Floor,
remove the plastic cover that is over the wire
loom. Using Tractor Manufacturers Service
Manual Identify Which Wire is in this Loom.
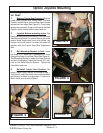
Joystick Mounting 2 WD & 4 WD
FIGURE 6
FIGURE 7
FIGURE 8
Wire Cover