Workman MDX--D Electrical SystemPage 5 -- 15
Start Relay
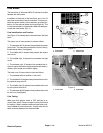
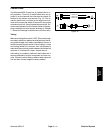
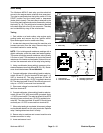
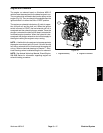
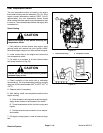
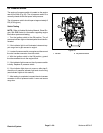
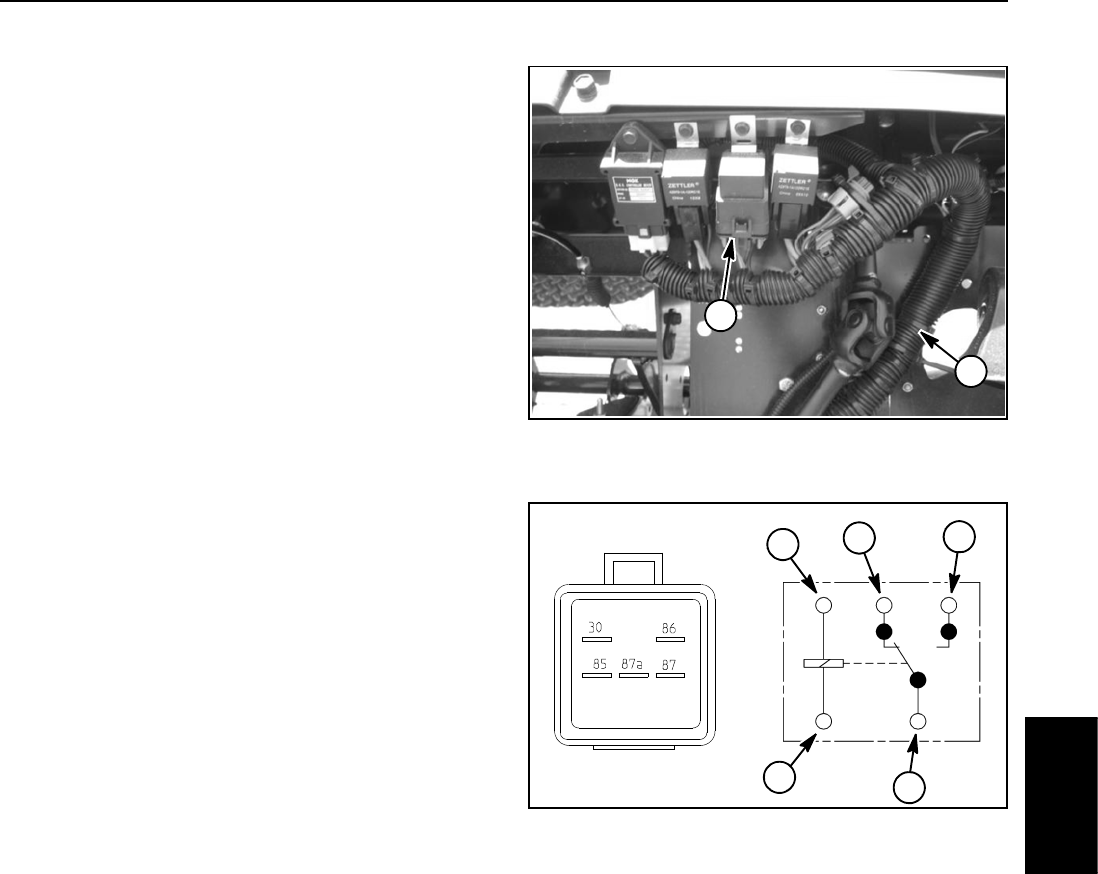
The Workman MDX--D start relay provides electrical
current to the engine starter solenoid when energized.
The relay is energized when the ignition switch is in the
START position and the brake pedal is depressed
(brake switch closed). The start relay is attached to the
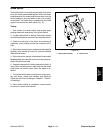
front of thedash bracket andcan be accessed byraising
the hood (Fig. 19). The vehicle wire harness is attached
to the start relay with a five (5) wire connector. The relay
canbeidentifiedbyatagonthewireharness.
Testing
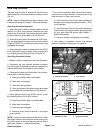
1. Park vehicle on a level surface, stop engine, apply
parking brake and remove key from ignition switch.
Open and support hood to access start relay.
2. Locate start relay and disconnect the machine wire
harness connector from the relay. Remove relay from
from dash br acket for easier testing.
NOTE: Prior to taking small resistance readings with a
digital multimeter, short the meter test leads together.
The meter will display a small resistance value (usually
0.5 ohms or less). This resistance is due to the internal
resistance of the meter and test leads. Subtract this val-
ue from the measured value of the relay being testing.
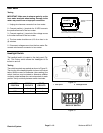
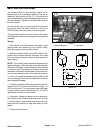
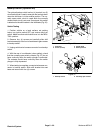
3. Using a multimeter (ohms setting), measure coil re-
sistance between terminals 85 and 86 (Fig. 20). Resist-
ance should be between 70 and 90 ohms.
4. Connect multimeter (ohms setting) leads torelay ter-
minals 30 and 87. Ground terminal 86 and apply +12
VDC to terminal 85. The relay terminals 30 and 87
should have continuity as +12VDC isappliedto terminal
85. The relay terminals 30 and 87 should not have conti-
nuity as +12 VDC is removed from terminal 85.
5. Disconnect voltage from terminal 85 and multimeter
lead from terminal 87.
6. Connect multimeter (ohms setting) leads torelay ter-
minals 30 and 87A. With t erminal 86 grounded, apply
+12 VDC to terminal 85. The relay terminals 30 and 87A
should not have continuity as +12 VDC is applied to ter-
minal 85. The relay terminals 30 and 87A should have
continuity as +12 VDC is removed from terminal 85.
7. When relay testing is completed, disconnect voltage
and multimeter leads from the relay terminals. Replace
relay if testing determines that it is faulty.
8. Secure relay t o machine and connect machine wire
harness connector to relay.
9. Lower and secure hood.
Figure 19
1. Start relay 2. Wire harness
2
1
Figure 20
86
85
87A 87
30
2
1
3
4
1. Coil terminal
2. Common terminal
3. Normally closed term.
4. Normally open term.
1
Electrical
System


