Workman MDX--D Drive TrainPage 4 -- 17
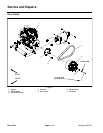
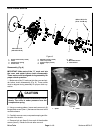
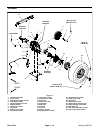
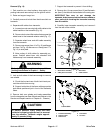
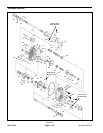
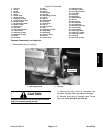
Removal (Fig. 15)
1. Park machine on a level surface, stop engine, set
parking brake and remove key from the ignition switch.
2. Raise and support cargo box.
3. Carefully remove drive belt from the driven clutch on
transaxle.
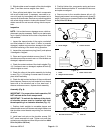
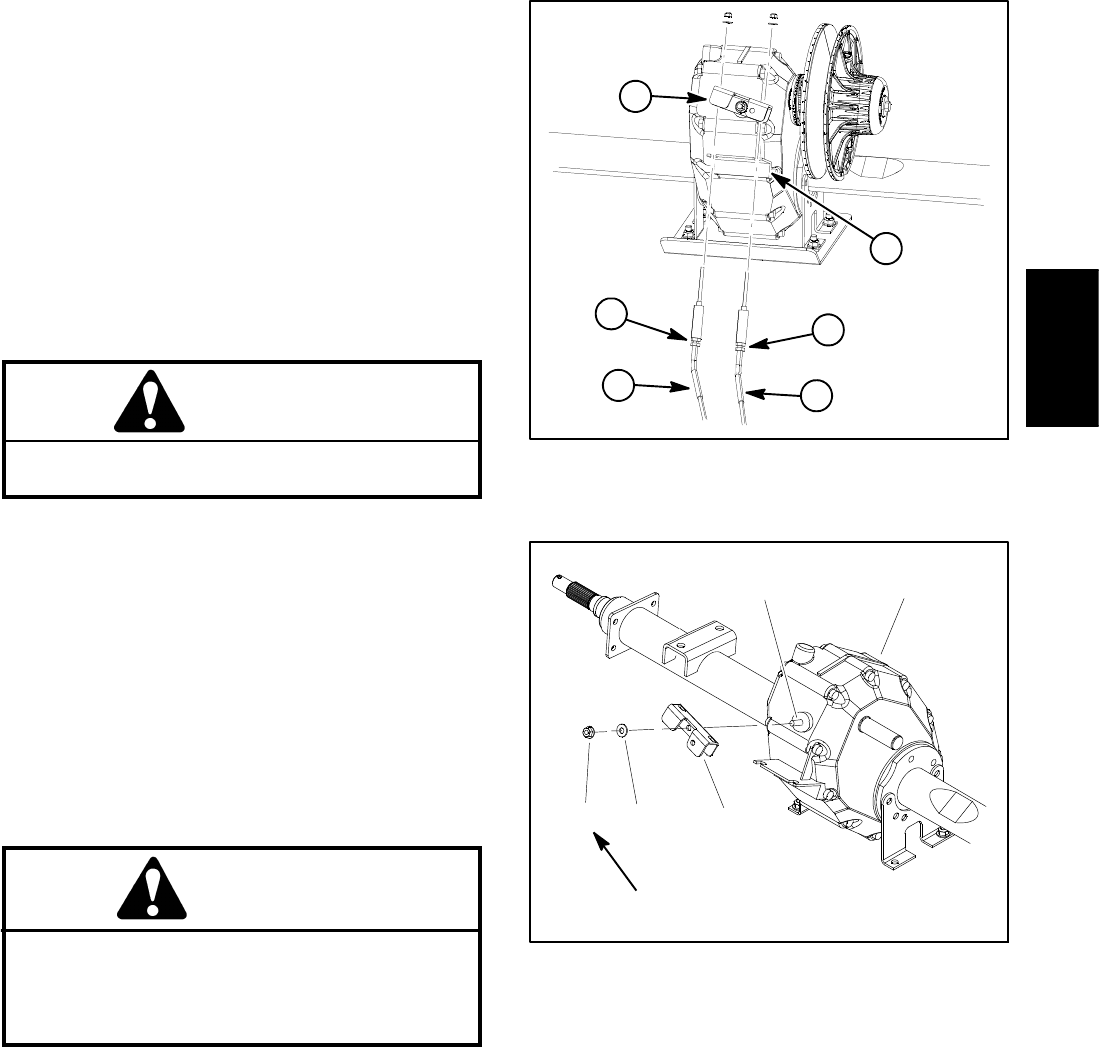
4. Separate shift cables from transaxle:
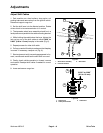
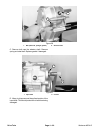
A. Loosen jam nuts securing both shift cables to the
cable bracket on the transaxle (Fig. 16).
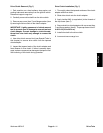
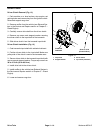
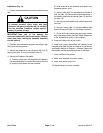
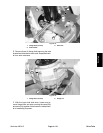
B. Remove lock nut and flat washer that secures the
select lever to the transaxle selector shaft (Fig. 17).
C. Separate select lever and shift cable assembly
from the transaxle.
D. Remove cap screw (item11 in Fig. 15) andflange
nut (item 7 in Fig. 15) that secure r--clamp (item 17 in
Fig. 15) to skid plate.
E. Note routing of shift cables for assembly pur-
poses. Position select lever with attached shift
cables away from transaxle assembly.
WARNING
Before jackingup the machine,review andfollow
Jacking Instructions in Chapter 1 -- Safety.
5. Jack up both sides of the frame enough to remove
rear wheels.
A. Chock the front and rear of both front tires to pre-
vent the vehicle from moving.
B. Support both sides of the frame with appropriate
jack stands positioned just in front of the transaxle
tubes.
6. Remove both rear wheels and brake assemblies
from the transaxle (see Rear Wheels and Brakes in the
Service and Repairs section of Chapter 6 -- Chassis).
CAUTION
To prevent personal injury, make sure that
transaxle is properly supported as it is removed
from the machine. Transaxle weighs approxi-
mately 73 pounds (33 kg).
7. Support the transaxle to prevent it from shifting.
8. Remove four (4) cap screws (item 10) and flat wash-
ers (item 5) that secure the transaxle to the swing arm.
IMPORTANT: Take care to not dama ge the
transaxle,brakehoses, electricalharness, cables or
other parts while lowering the transaxle assembly
from the veh icle.
9. Carefully lower transaxle assembly and remove it
from the rear of the vehicle.
1. Select lever assembly
2. Cable jam nut location
3. Shift cable
4. Cable bracket
Figure 16
1
3
2
3
2
4
Figure 17
1. Transaxle assembly
2. Selector shaft
3. Select lever
4. Flat washer
5. Lock nut
2
1
3
4
Loctite #242
5
Drive Train


