Workman MDX--D Page 6 -- 29 Chassis
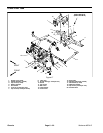
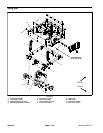
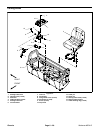
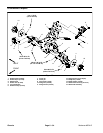
Disassembly (Fig. 22)
1. Park machine on alevel surface, stop engine and re-
move key from the ignition switch. Chock wheels to pre-
vent the machine from moving.
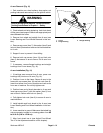
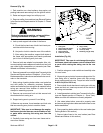
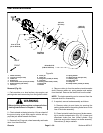
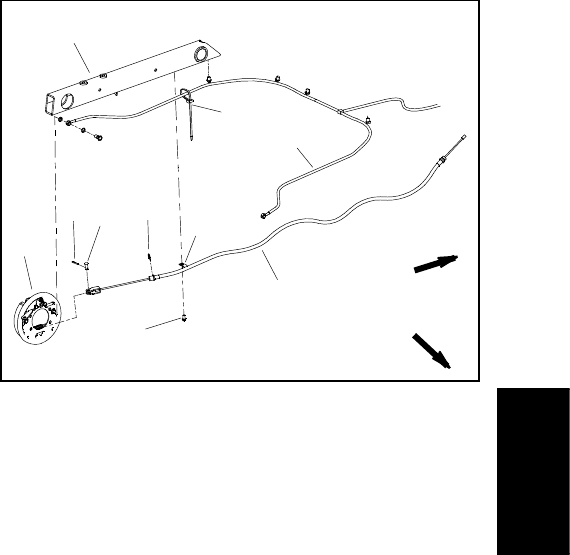
2. Disconnect both parking brake cables from rear of
machine (Fig. 23):
A. Remove cotter pin and clevis pin that secures
each brake cable end to brake lever.
B. Remove retaining ring that secures each brake
cabletoswingarm.
C. Remove washer head screw that secures each
R--clamp to rear frame.
D. For assembly purposes, note location of cable
ties that secure each rear brake line to parking brake
cables. Remove cable t ies.
3. Remove parking brake cover from seat base.
4. Remove four (4) flange head screws that secure
parking brake support to seat base.
5. Carefully lift parking brake support with brake cables
attached from machine. Take care to not damage brake
cables while removing them from seat base opening.
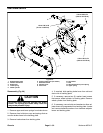
6. Remove brake cables from parking brake support
and cable equalizer bracket using Figure 22 as a guide.
7. Note routing of brake cables for assembly purposes.
8. Remove brake cables from machine.
Assembly (Fig. 22)
1. Secure brake cables to parking brake support and
cable equalizer bracket using Figure 22 as a guide.
2. Route brake cables through seat base opening tak-
ing care to not damage cables. Position parking brake
support to seat base.
3. Secure parking brake support to seat base with four
(4) flange head screws.
4. Position brake cables torear brake assemblies using
cable routing noted during disassembly.
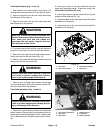
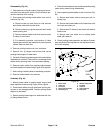
5. Secure parking brake cables to rear of machine (Fig.
23):
A. Secure each brake cable to swing arm with re-
taining ring.
B. Secure each brake cable end to brake lever with
clevis pin and cotter pin.
C. Secure each R--clamp to rear f rame with washer
head screw.
D. Secure each rear brake line to parking brake
cablewithcabletie.
6. Check parking brake operation and adjust if neces -
sary (see Adjust Parking Brake in the Adjustments sec-
tion of this chapter).
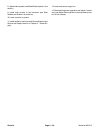
1. Brake cable
2. Cotter pin
3. Clevis pin
4. Rear br ake assembly
5. Retaining ring
6. Washer head screw
7. R--clamp
8. Cable tie
9. Rear brake line
10. Swing arm
Figure 23
2
4
5
6
7
8
9
1
3
FRONT
RIGHT
10
Chassis


