Workman MDX--D Page 3 -- 7 Diesel Engine
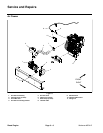
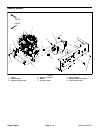
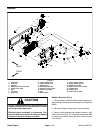
Air Cleaner Removal (Fig. 3)
1. Park machine on alevel surface, stopthe engine, en-
gage parking brake andremove thekey fromthe ignition
switch.
2. Raise and support cargo bed to access air cleaner.
3. Remove air cleaner components as needed using
Figure 3 as a guide.
4. Check air cleaner hose (item 3 in Fig. 3) for damage
or wear. Replace hose if damage is found.
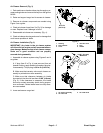
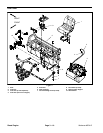
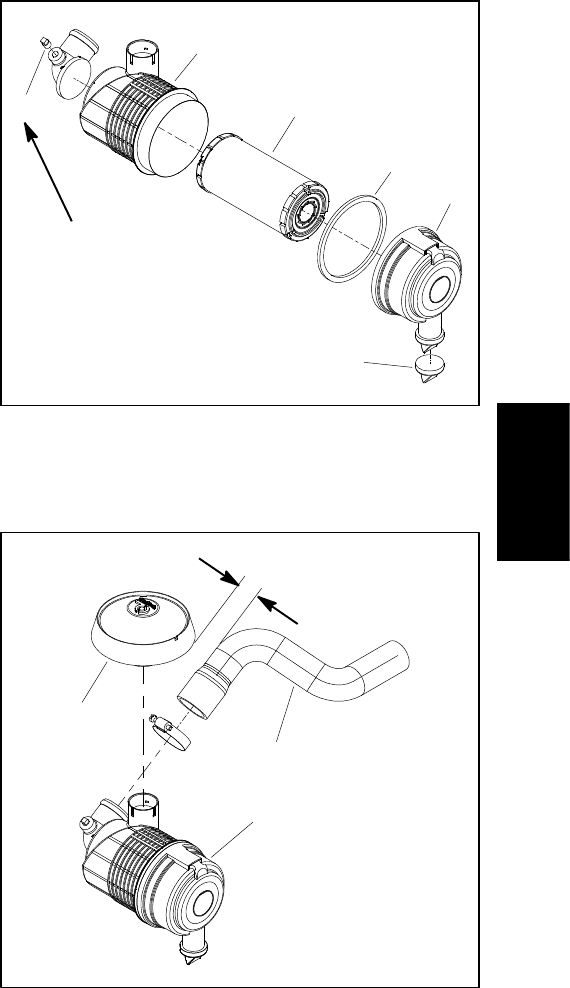
5. Disassemble air cleaner as necessary (Fig. 4).
6. Check aircleaner housing and cover fordamage that
could cause possible air leaks.
Air Cleaner Installation (Fig. 3)
IMPORTANT: Any leaks in the air cleaner system
will allow dirt into engine and will cause serious en-
gine damage. Make sure that all air cleaner compo-
nents are in good condition and are properly
secured during assembly.
1. Assemble air cleaner system using Figures 3 and 4
as guides.
A. If plug (item 5 in Fig. 4) was removed from air
cleaner housing, apply sealant to threads of plug be-
foreassembly.Torqueplugto30 in--lb (3.4 N--m).
B. Make sure that vacuator valve on air cleaner as-
sembly is pointed down after assembly.
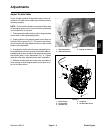
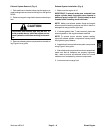
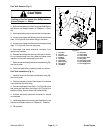
C. Make sure that clearance between air intake
hose and air inlet hood is less than 0.180” (4.6 mm)
(Fig. 5). If this clearance is excessive, the int ake
hose may contact secondary clutch during suspen-
sion movement. Rotate intake hose to modify clear-
ance as needed.
2. Lower and secure cargo bed.
Figure 4
1. Housing
2. Filter element
3. Cover
4. Vacuator valve
5. Plug
6. Gasket
30 in--lb
(3.4 N--m)
1
2
3
4
5
6
Figure 5
1. Air cleaner assembly
2. Air inlet hood
3. Air intake hose
3
2
1
0.180” (4.6 mm)
Maximum
Diesel
Engine


