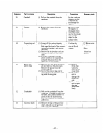
Sequence
Part to remove Description
Precautions Necessary tools
6
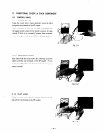
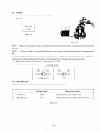
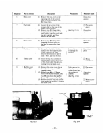
Rear cover
( 1) Remove the rear :over at the 1Omm box
opposing sid2 of the control spannsr
pan21 by unscrewing th2 four
I
$16 flange bolts.
7
Fuel tank (.I) Loosen the set screw of th2 ,z Plus screw-
strainer shaft at th2 rear of the driver
engine control switch.
(2)
Remove two M5 flange bolts
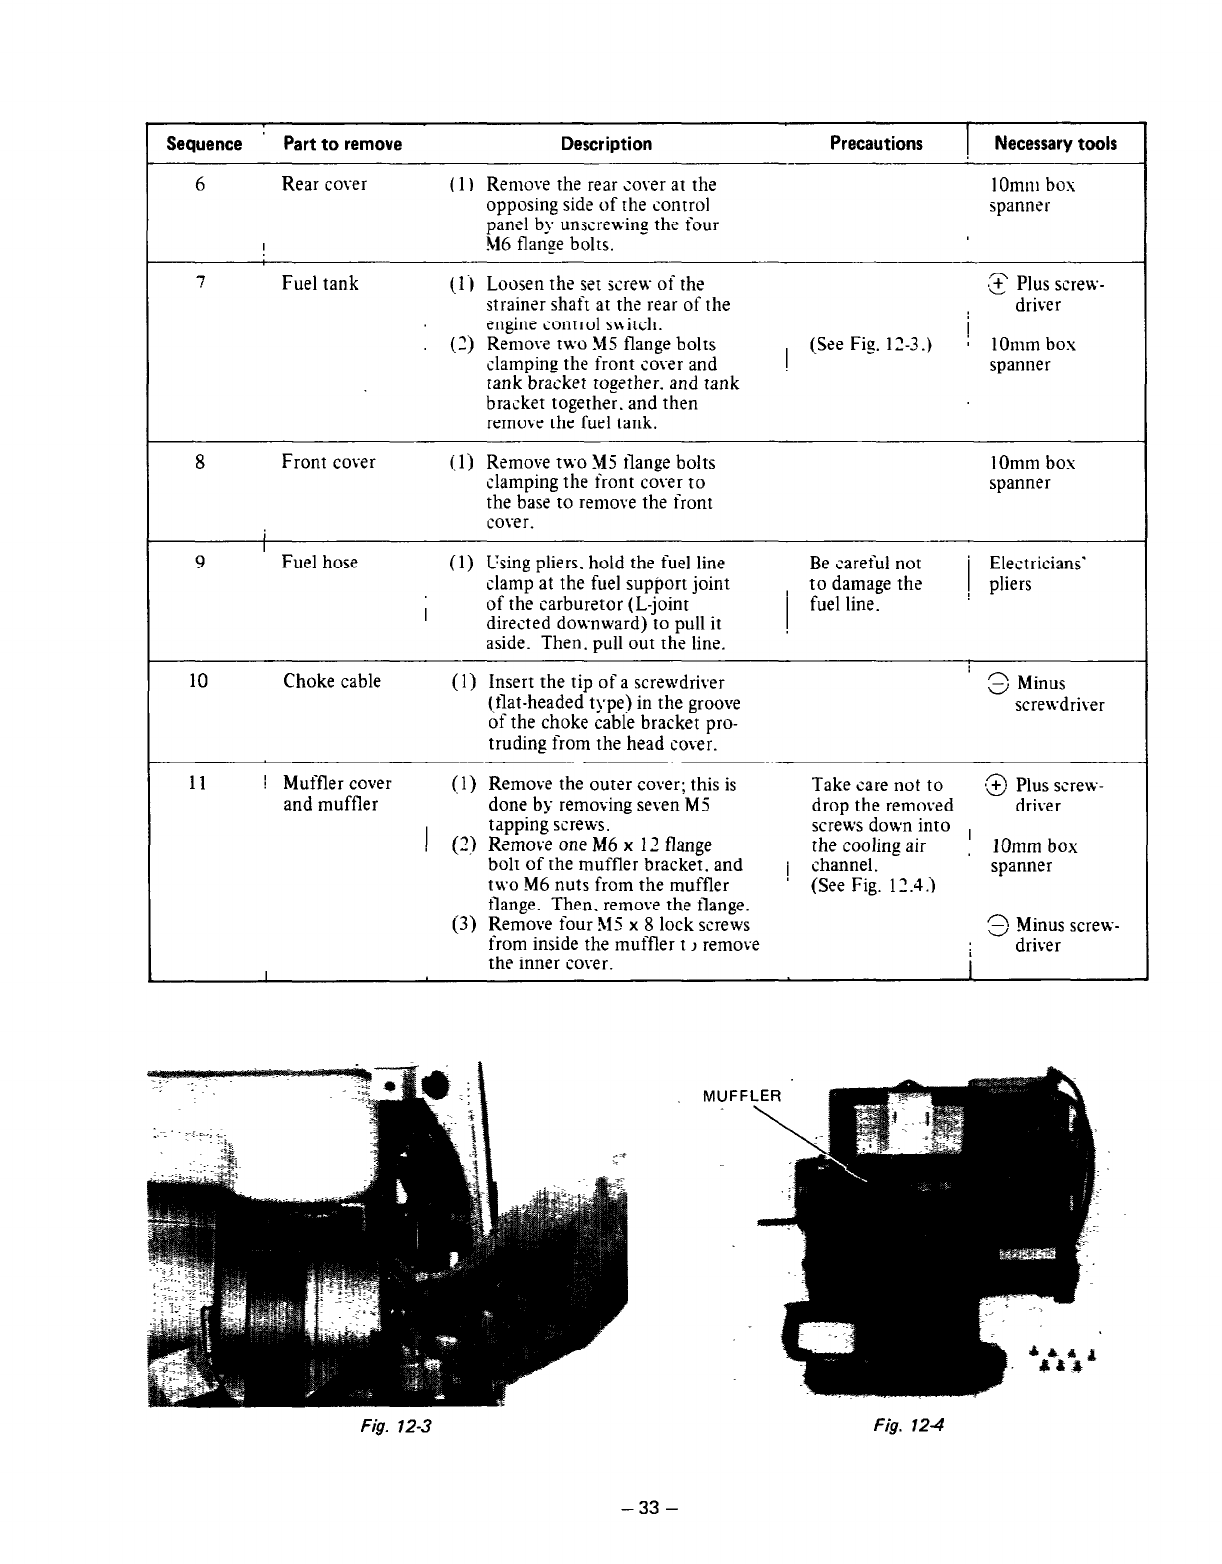
, (,See Fig. 1 Z-3.) !
1Omm box
clamping the front cover and spanner
tank bracket together. and tank
bracket together. and then
remove the fuel tank.
8
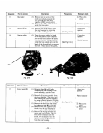
Front cover (.l
j
Rsmove two MS tlange bolts
1Omm box
clamping the front cover to
spanner
the basr to rrmove the front
cover.
,
9
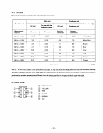
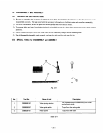
Fuel hose
(1) Using pliers. hold the fuel line
Be careful not
Electricians’
clamp at the fuel support joint to damage the
I
of the carburetor (L-joint
’ fuel line.
! pliers
directed downward) to pull it
aside. Then. pull out the line.
10
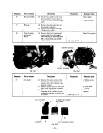
Choke cable
(1 j Insert the tip of a screwdriver
(.tlat-headed type) in the groove
of the choke cable bracket pro-
truding from the head cover.
3 Minus
screwdriver
11
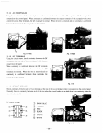
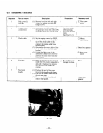
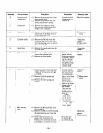
I Muffler cover
(1) Remove the out2r cover; this is
Take care not to
and muffler
-3 Plus screw-
done by removing seven M5 drop the removed
driver
!
tapping screws.
screws down into
(2) R2move one M6 x 1’ flange the cooling air
! IOmm box
bolt of the muffler bracket. and
1 channel.
two M6 nuts from the muffler
spanner
’ (See Fig. 11.4.)
tlange. Then. remov2 th2 flange.
I
(3) Remove four 315 x 8 lock screws
from inside the muffler t I remove
the inner cover.
3 Minus screw-
driver
I
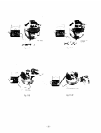
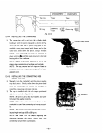
flUFFI
Fig. 123
Fig. 124
- 33 -


