24
Section 1: Assembly & Set-up
RCB6610 & RCBM6610 Series 2 S/N 944730+ Rotary Cutters 330-584M
11/11/12
Table of Contents
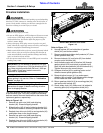
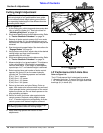
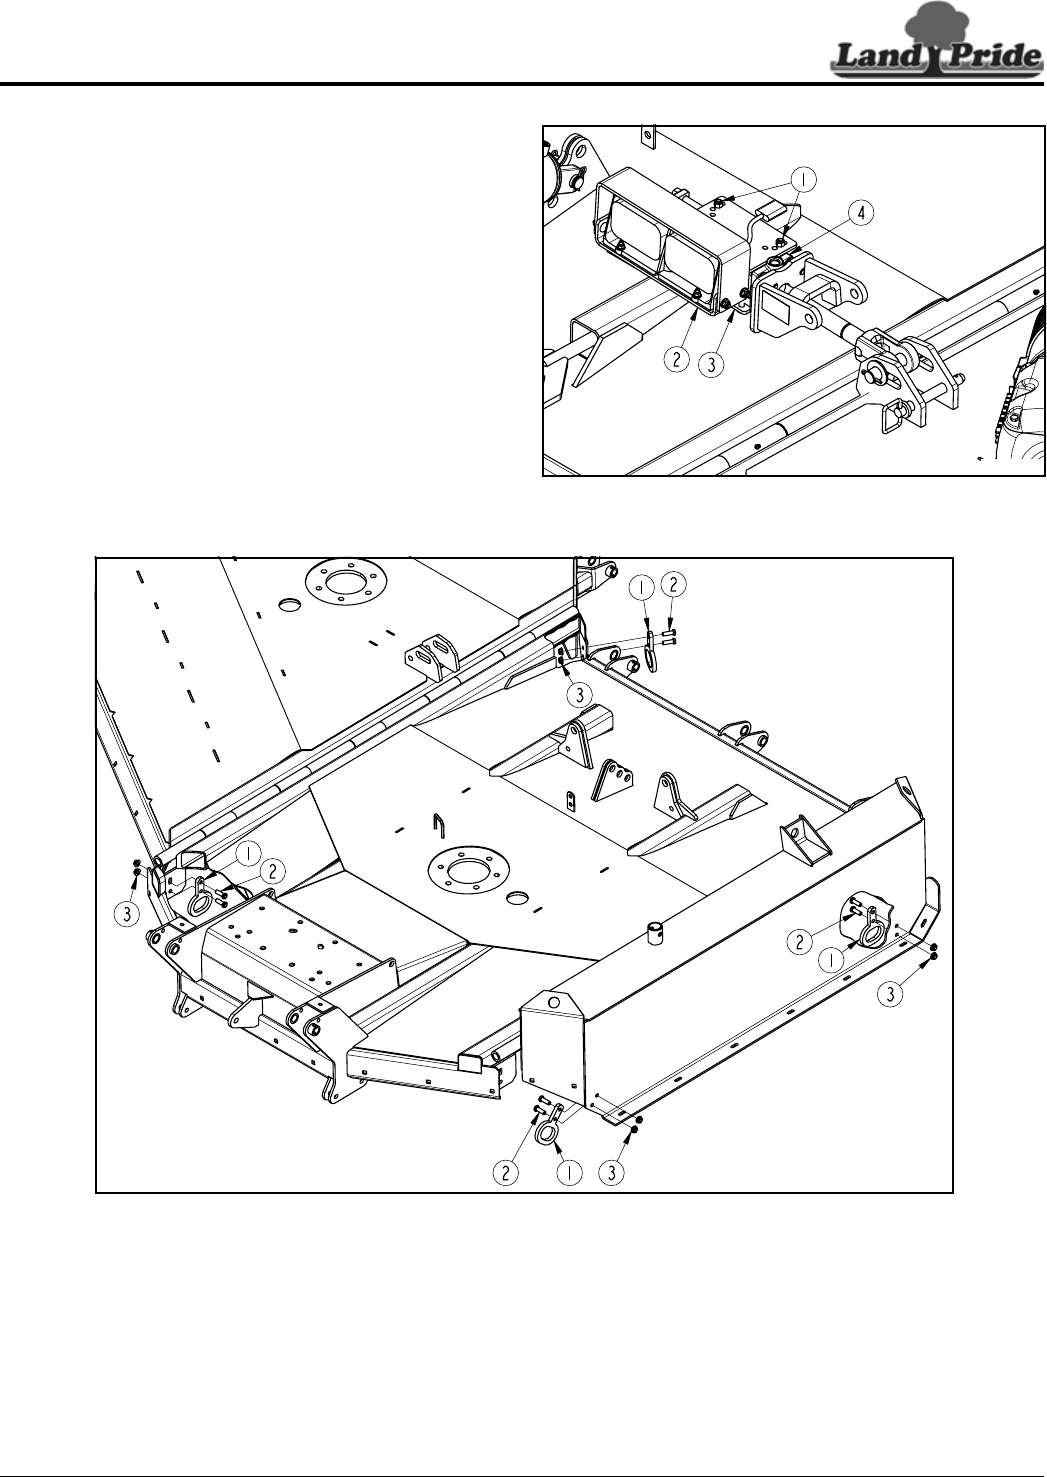
Remove Shipping Lugs
Figure 1-24
39040
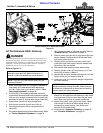
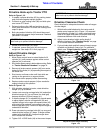
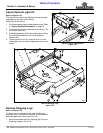
Adjust Optional Light Kit
Refer to Figure 1-23:
The Light Kit will need to be adjusted when purchased
assembled to the cutter at the factory.
Adjust light kit as follows:
1. Shut tractor down properly before dismounting. Refer
to “Tractor Shutdown Procedure” on page 14.
2. On the right-hand wing, loosen hex lock nuts (#1). Do
not remove lock nuts.
3. Slide light assembly (#2) and mounting clamp (#3) as
far as possible toward the rod end of hydraulic
cylinder (#4).
4. Tighten each lock nut (#1) one-half turn in a criss-
cross pattern until all nuts are tightened to the correct
torque.
Optional Light Kit Adjustment
Figure 1-23
37658a
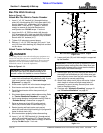
Remove Shipping Lugs
Refer to Figure 1-24:
Tie down lugs are installed to the cutter for shipping
purposes only. If included, they should be removed and
discarded before the cutter is put into use.
1. Remove and discard all four shipping lugs (#1) and
attaching hardware (#2 & #3).


