Clearing Paper Input Jams
Printer Tasks 3-25
Printer Tasks
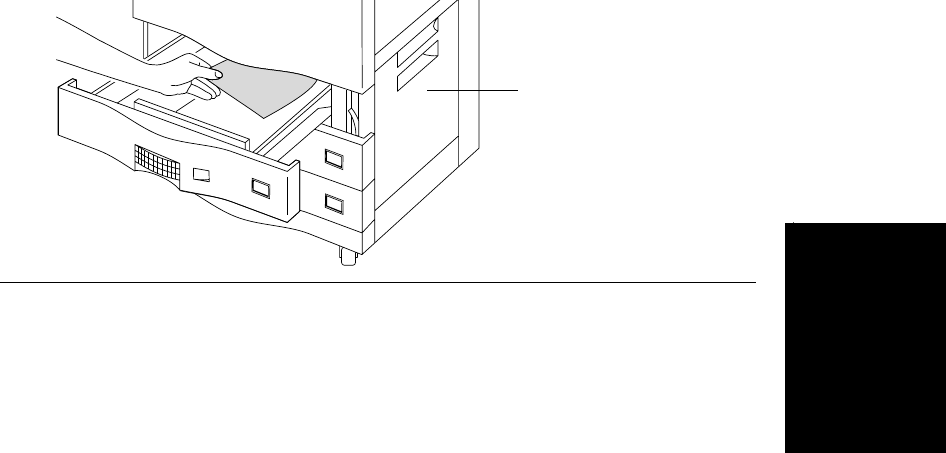
2. Examine the right side of the tray area, particularly the extreme upper right, where the
paper leaves the tray and is pulled into the paper path. There may be one or more pieces
of paper jammed in it. If there is no obvious jam, reach up into the upper right corner of
the tray, feel for paper stuck there, and remove any jammed paper. Pull gently, as the
paper could tear. Refer to Figure 3-35.
3. If you do not find any jammed paper, open the lower right cover and check for paper.
Figure 3-35 Removing paper jam from tray area
4. Press Clear. If no other paper jam indications appear on the Control Panel, you are ready
to resume printing. If the Control Panel still shows a jam, search the area again, or the
area indicated on the Control Panel.
LTR
LTR
LTR
Lower right cover
