


Section5: Maintenance
Before inspecting,cmeaningor servicing the machine, shut off engine,wait for all moving partsto come
to a complete stop, disconnect spark plug wire and move wire away from sparkplug. Remove ignition
key, if so equipped,
Failureto follow these instructionscan result in serious personalinjury or propertydamage.
Single Tine Replacement
The tines or tine hood edges may be
sharp. Wear thick gloves to protect
your handsfrom cuts or scrapes.
1. Movethe Wheets/Tines/PTODrive
Leverto NEUTRAL,the WheelSpeed
Leverto either FASTor SLOWposition,
andthe Tines/PTOClutchLever to
ENGAGE=
2. Gentlytilt the tiiier forward until the
enginerestson theground=
3. Raisethe hoodflap atthe backofthe
tiller andtie it upwith string=
4. Beforeremovingatine, note in which
directionthe benttip points. Thenewtine
must be installedin thesame direction=
5. Usetwo 9/16"wrenchesto removethe
two bolts andnuts securingthe tineto the
tine holder plate(Figure5-32). Usepene-
trating oiI onthe hardwareif it is rusted or
hardto remove.
Removing and Replacing A Tine
,_The tines er tine hood edges may be
sharp. Wear thick gloves to protect
your hands.
®Wear safety goggles to protect your
eyes. When loosening hardware, do
not hit a wrench with a metal tool= this
could shatter the tool or wrench,
sending metal particles intoyear eyes.
The16 BoloTines are mountedeight per
side on Ieft=sideand right-side tine
holders. Here's howto repbce the tines
and holders asassemblies.
Removing TineHelder Assemhly
1. Follow steps 1-through-3 in Single
TineReplacementabove.
2./dendfy thetine holdersas left-side
and right-side holders- they must be
replaced on thesame side from which
they were,removed. Usea place of chalk
or a greasepencil to mark them L and R.
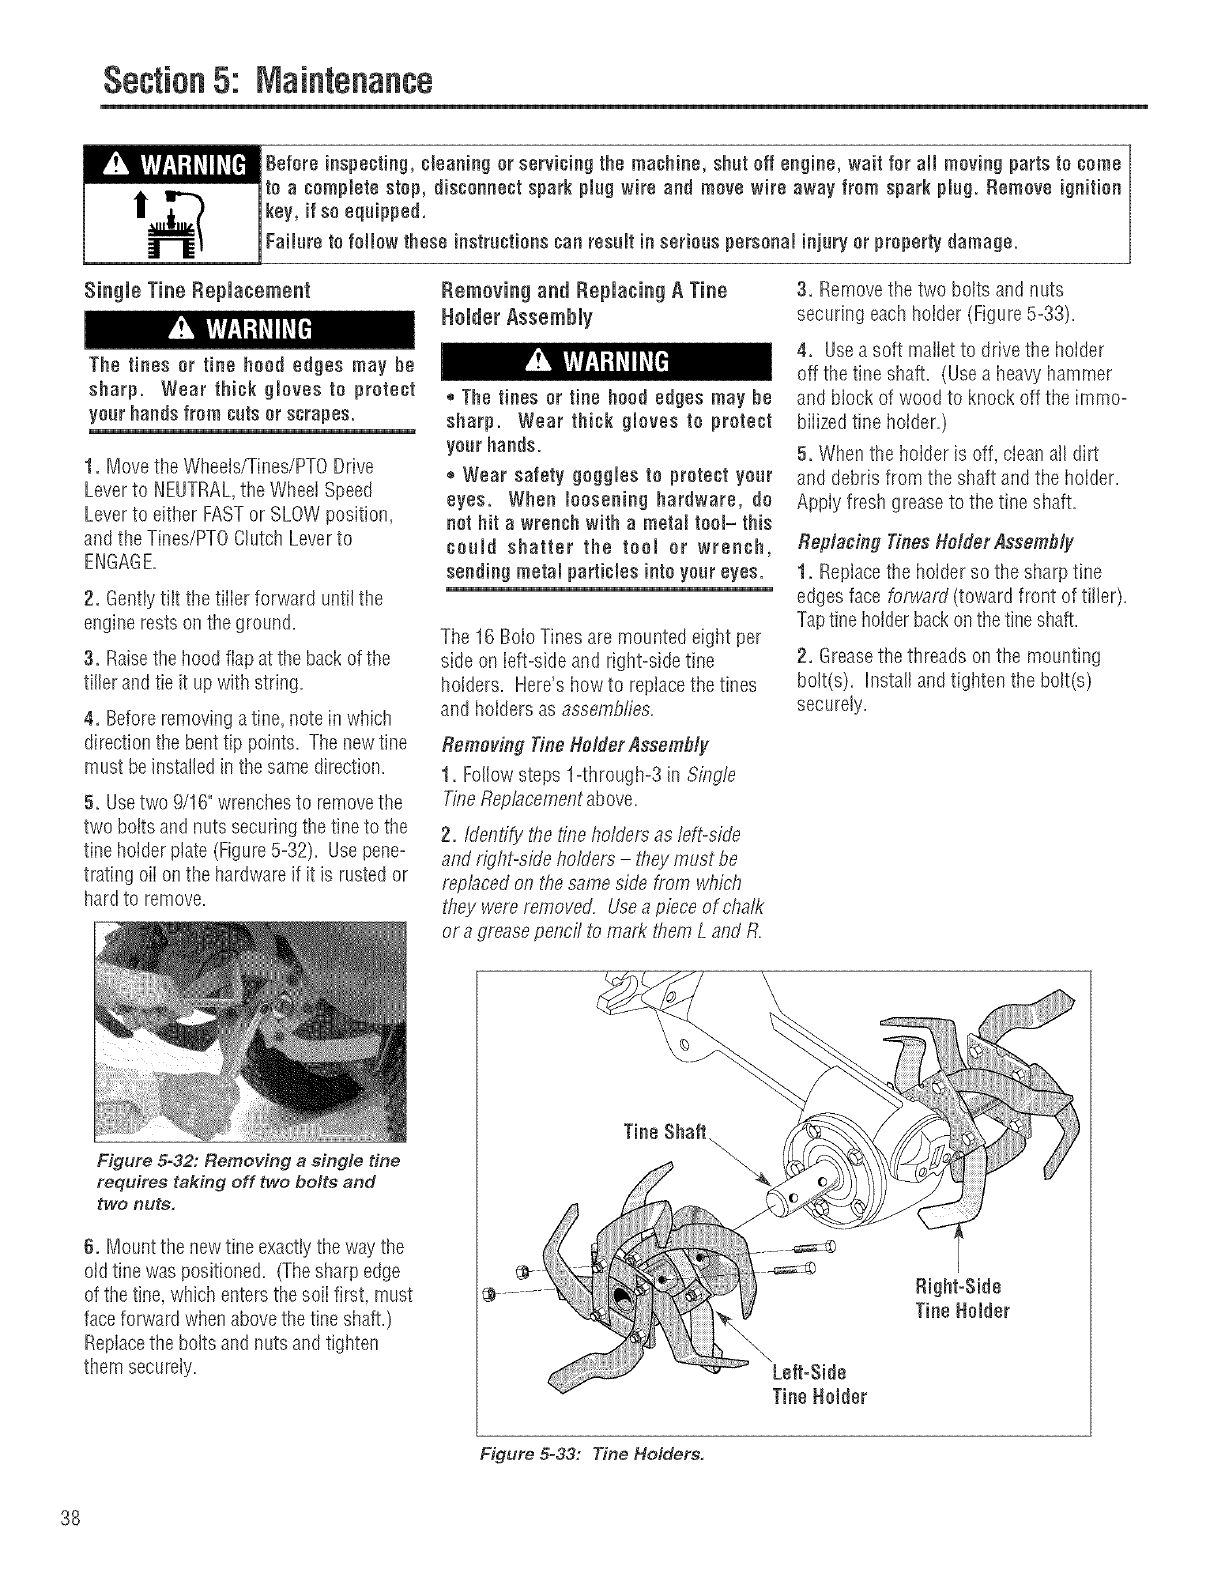
3, Removethe two bolts and nuts
securing eachholder (Figure5-33).
4, Usea soft maIietto drive the holder
off thetine shaft. (Usea heavy hammer
and block of wood to knock off the immo-
bilizedtine holder.)
5. Whenthe holder is off, cleanall dirt
and debris from the shaft andthe holder.
Appiy fresh greaseto thetine shaft.
Replacing Tines Holder Assembly
1. Repiacethe holder so the sharptine
edgesface forward (toward front of tiller)=
Taptineholderbackonthetine shaft=
2. Greasethe threads on the mounting
bolt(s)= Install andtighten the bolt(s)
securely.
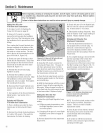
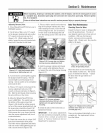
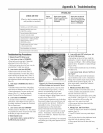
Figure 5=32: Removing a single tine
requires taking off two bolts and
two nuts.
6. Mount the newtine exactiytheway the
oIdtinewas positioned=(Thesharpedge
ofthe tine, which entersthesoii first, must
faceforward whenabovethetine shaft.)
Replacethe bolts and nuts andtighten
them securely.
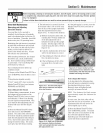
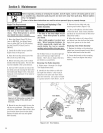
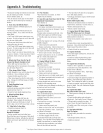
Figure 5=33: Tine Holders.
38