


Section4: Operation
26
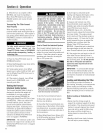
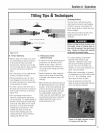
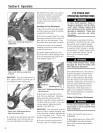
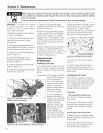
Figure 4=24: Loosening attachment
swingobolts.
Figure 4=25: Moving swing=bolts
outward.
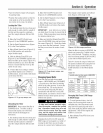
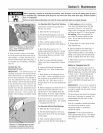
t_IPORTANT: Store tine attachment in a
level, upright position to prevent gear oil
from leakingfrom the dipstick area.
Figure 4=26: Pulling attachment
away from power unit.
9. To keepthe tine attachment dog clutch
coupiing clean,cover with the dust cap
(oil some attachments) or plastic wrap.
10. ThePTOPowerUnit is now readyto
install other powered or non-powered
attachments. Seethe attachment's
Owner'sManualfor instaIiation and
operationinstructions specific to that
attachment.
installing the Tine Attachment
1. Move thetwo PTOPowerUnit swing=
out bolts outward and slidethe washers
up againstthe boit heads.
2. Removethe support btockfrom under
the engineand slowiy roii the power unit
backnext to the tine attachment. Mace
the support biock back underthe engine.
3. Removethe dust cap (or protective
wrapping) from the dog clutch coupling
onthe tine attachment.
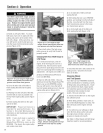
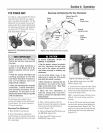
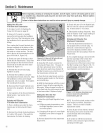
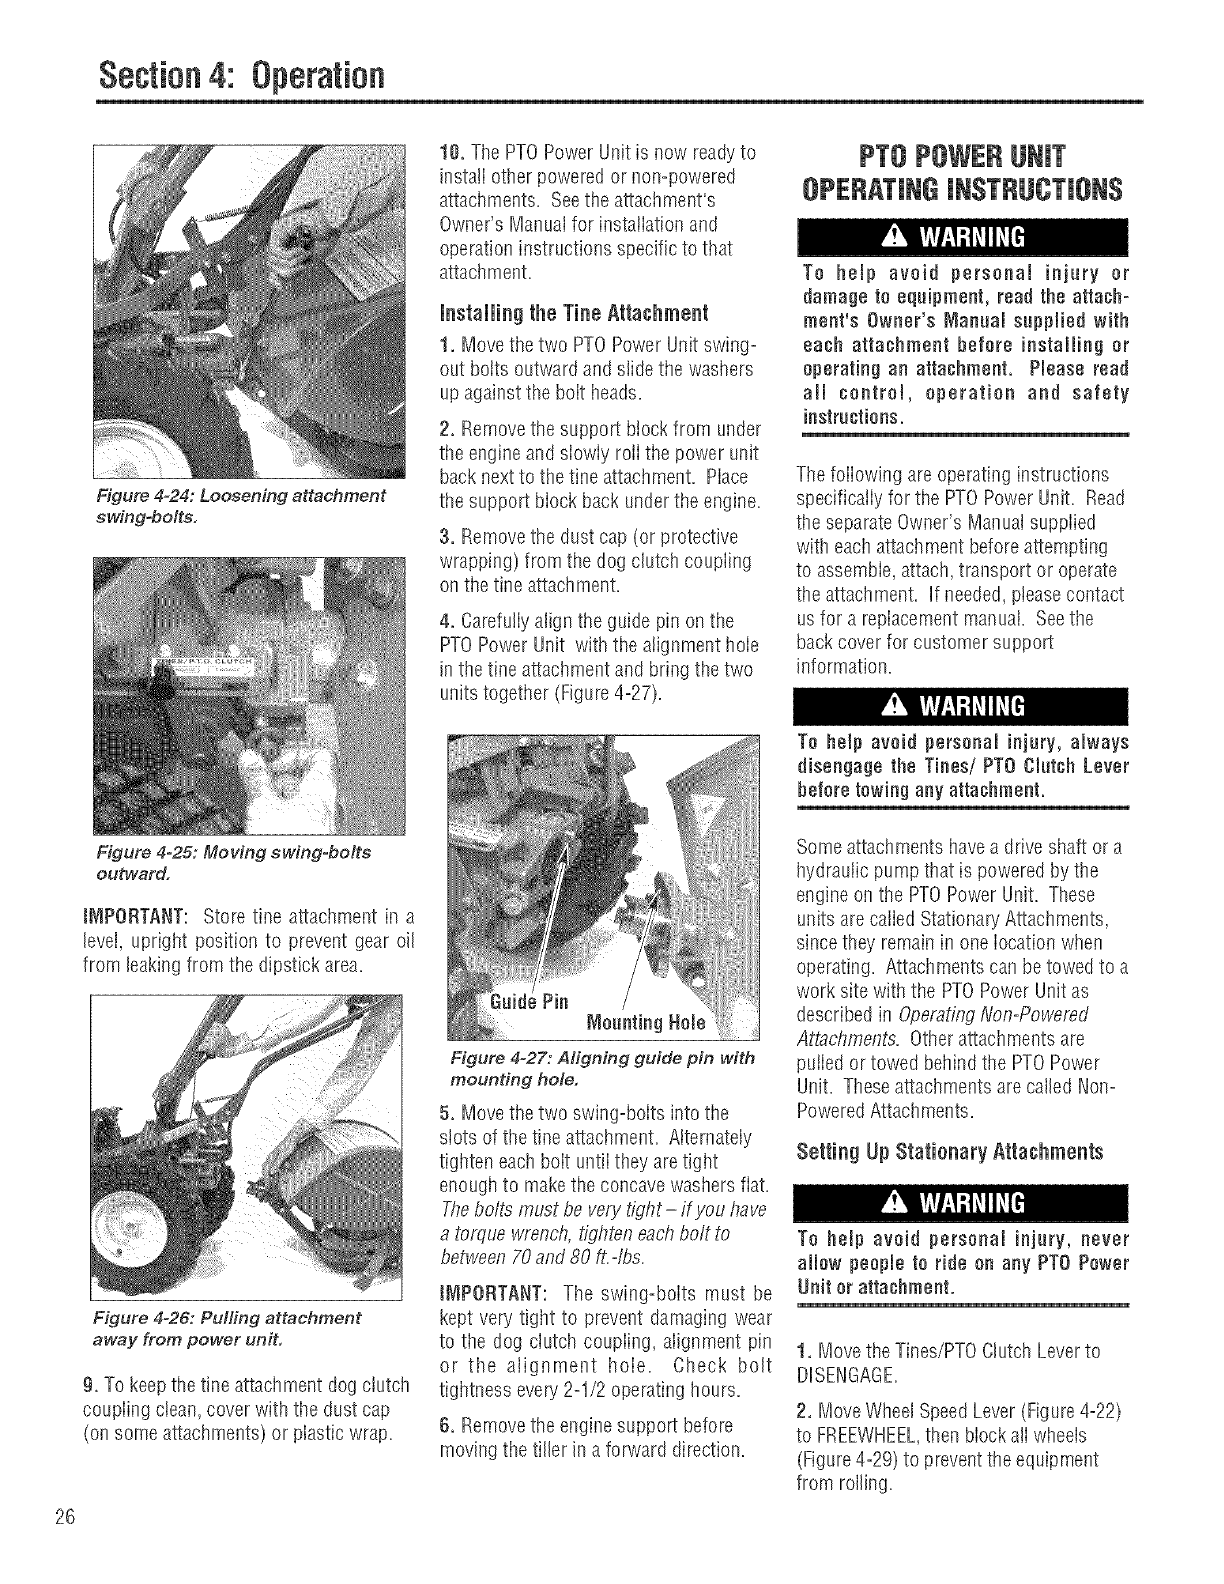
4. Carefuliyalign the guide pin on the
PTOPowerUnit with the alignment hole
inthe tine attachment and bring thetwo
units together (Figure 4°27).
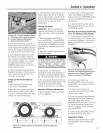
Figure 4=27: Aligning guide pin with
mounting hole.
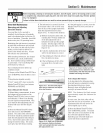
5. Move thetwo swing=boitsintothe
slots of thetine attachment. Alternately
tighten eachboit untii they aretigilt
enough to makethe concavewashers fiat.
Thebolts must be very tight- if you have
a torque wrench, tighten eachbolt to
between 70and 80 ft.=fbs.
J_IPORTANT: The swing=boits must be
kept very tight to prevent damaging wear
to the dog clutch coupiing, alignment pin
or the alignment hoie. Check bolt
tightness evepj2q/2 operating hours.
6. Removethe engine support before
moving the tiller ina forward direction.
PTOPOWERUNiT
OPERATINGiNSTRUCTIONS
To help avoid personal injury or
damage to eqaipment, read the attach°
ment's Owner's Nlanual sapplied with
each attachment before installing or
operating an attachment, Please read
all control, operation and safety
instractions.
The foiiowing are operating instructions
specificaliyfor the PTOPower Unit. Read
the separateOwner's Manuatsuppiied
with eachattachmentbeforeattempting
to assemble,attach,transport or operate
the attachment. If needed,pteasecontact
usfor a repiacementmanual. Seethe
backcover for customer support
information.
To help avoid personal injury, always
disengage the Tines/PTO Clutch Lever
before towing any attachment.
Someattachments haveadrive shaft or a
hydraulic pump that is powered bythe
engineon the PTOPower Unit. These
units are caiied StationaryAttachments,
sincethey remain in one iocation when
operating. Attachments can betowed to a
work site with the PTOPower Unit as
described in OperatingNon=Powered
Attachments. Otherattachmentsare
puiied or towed behind tile PTOPower
Unit. Theseattachments arecalled Non-
PoweredAttachments.
Setting UpStationary Attachments
To help avoid personal injury, never
allow people to ride on any PTO Power
Unit or attachment.
1. Movethe Tines/PTOClutchLeverto
DISENGAGE.
2. MoveWheel SpeedLever(Figure4-22)
to FREEWHEEL,then block aJiwheels
(Figure4-29) to prevent theequipment
from rolling.