


Section5: Maintenance
Before inspecting,cmeaningor servicing the machine, shut off engine,wait for all moving partsto come
to a cempmetestop, disconnect spark plug wire and move wire away from sparkplug. Remove ignition
key, if so equipped,
Failure to follow these instructionscan result in serious personal injuryor property damage.
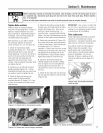
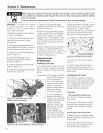
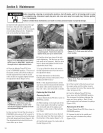
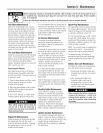
3. Insert the belt adjustment toot through
the hole in the side of the adjustment
block, spacing the ends ofthe tooI equaliy
on both sides (Figure5-14). Rotatethe
tool sothe slotted end facesdown.
Figure 5=14: With Wheels/Tines/PTO
Drive Lever in NEUTRAL, insert tool
through hole in adjustment block.
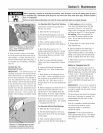
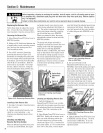
4. Placethe Wheets/Tines/PTODrive
Leverin FORWARDposition. Thearms of
the clutch controi yoke wiii beresting on
the beit adjustment tooI andthe ciutch
roller should be engagedslightly beneath
the adjustment block (Figure 5o15).
Figure 5o15: With Drive Lever in
FORWARD position, clutch roller
should be engaged slightly beneath
the adjustment block.
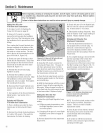
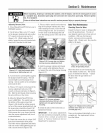
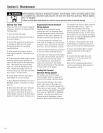
5. Useone hand to hold the drive leverin
FORWARDwhiie usinga g/16" wrench to
loosen (don't remove)the bolt atthe back
of the beltadjustment block (Figure5-16).
Theadjustment block should be freeto
moveeither up or down.
Figure 5-16: Hold Drive Lever while
loosening bolt, Push lever down to
tighten belt; pull up to loosen belt.
6. Pushthe drive ieverdown if the beit
needstightening. Puli the iever up if the
belt needsto beloosened. Holdthe drive
leverin piaceandtighten the bolt in the
adjustment block firmly.
7. Letgo of the drive ieverand remove
the beit adjustment tooi from the hole in
the adjustment block.
8. Checkthe tension on the belt by
foiiowing the previous instructions "How
to Measure BeltTension."
NOTE: If the adjustment block is alIthe
way down and the measurementbetween
the clutch rolier andthe bracketis iess
than 1/4",then a newdrive belt is needed.
Replacing the Drive Belt
Removing the Belt
1. Move Wheels/Tines/PTODrive Leverto
NEUTRALposition.
2. Whiie kneelingonthe right side of the
tiiier, createslack in the belt by reaching
overto the ieft side of the puIieysand
pushing in on the center of the beltwith
your finger.
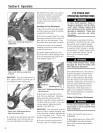
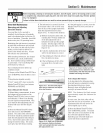
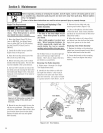
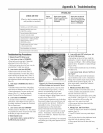
3. Useyour right hand to movethe beit
down and awayfrom the iower puliey, in
the direction ofthe engine (Figure5-17).
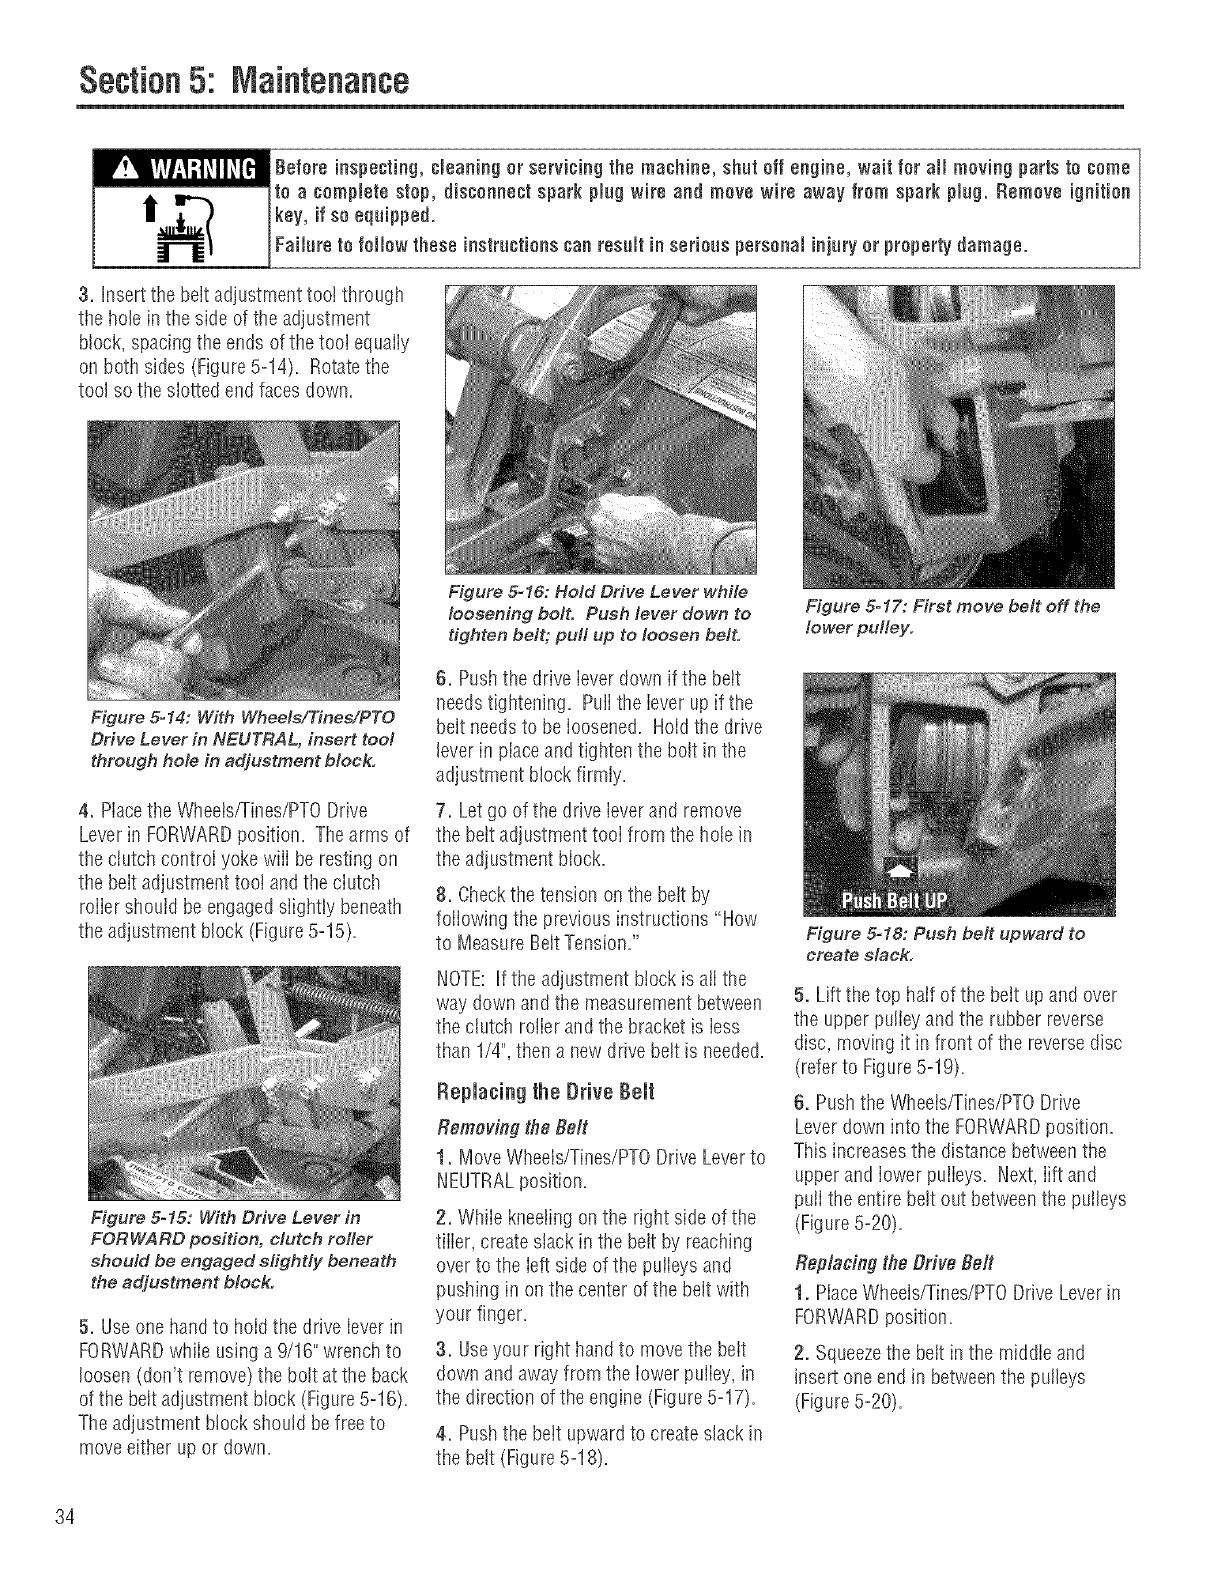
4. Pushthe bett upwardto createslack in
the belt (Figure5-18)=
Figure 5-17: First move belt off the
lower pulley.
Figure 5=18: Push belt upward to
create slack.
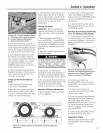
5. Lift the top half ofthe beit up and over
the upper pulieyand the rubber reverse
disc, moving it in front of the reversedisc
(referto Figure5-19).
6. Pushthe Wheets/Tines/PTODrive
Leverdown into the FORWARDposition.
This increasesthe distancebetweenthe
upperand lower puileys. Next, Iift and
puii the entire belt out betweenthe puileys
(Figure5-20).
Replacing the Drive Belt
1. MaceWheels/Tines/PTODrive Leverin
FORWARDposition.
2. Squeezethe belt in the middie and
insert one end in betweenthe putleys
(Figure5-20).
34