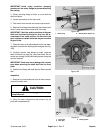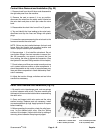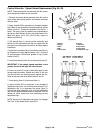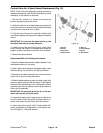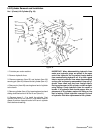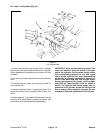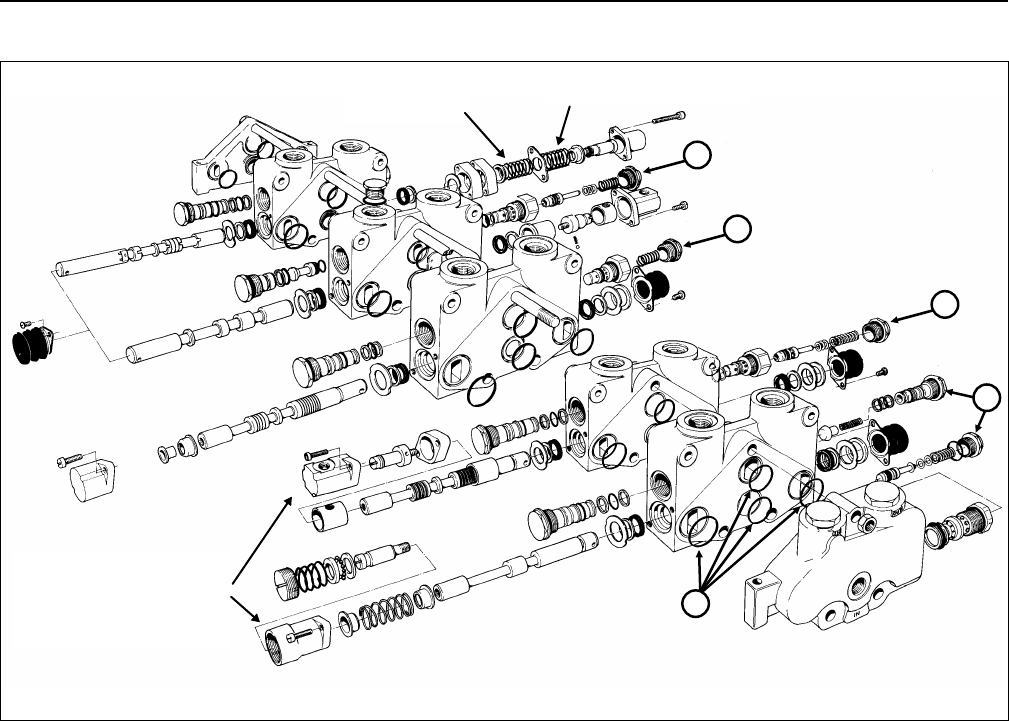
Control Valve Internal Seal Replacement (Fig. 27)
Figure 27
1. Internal seals (4 between ea. sect.) 3. No. 2 section relief valve 5. No. 4 (traction) section relief valve
2. Main & No. 1 section relief valve 4. No. 3 section relief valve
NOTE: Replace all internal seals whenever valve sec-
tions are disassembled. Original seals may not seal
after the valve assembly is installed on the machine.
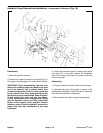
1. Remove the valve bank. (See Control Valve Removal
and Installation in this section of the book.)
2. Put the valve bank in a vertical position in a bench
vise, and remove the locknuts from the three (3) bolts
securing the sections together (Fig. 27).
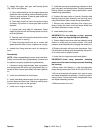
3. Slide each section off the studs. Identify them so they
will not be reassembled in the wrong location.
4. Remove all original o-ring seals, clean the o-ring
grooves and check the mating surfaces of each section
for any imperfections or contaminants which could
cause leakage to occur.
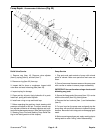
5. Soak the replacement o-rings in clean hydraulic fluid
and install them into the ring grooves as you stack each
section on top of another.
6. Install the locknuts onto the studs and torque them to
15-20 ft-lb (20.4-27.2 Nm).
IMPORTANT: Do not overtorque. This will distort the
valve bodies and cause binding of the spools.
7. Install the valve bank onto the machine.
4
2
1
5
3
Greensmaster
®
3100 Page 4 - 47 Repairs
These components
changed locations after
serial no. 210000701
1.5 in. spring
2.5 in. traction spring


