Greensmaster 3100
Dual Point Adjust Cutting units
Page 10 - 15
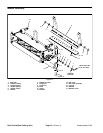
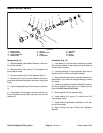
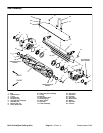
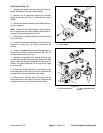
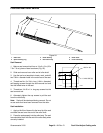
Reel Removal (Fig. 16)
1. Remove reel motor from the cutting unit (see Hy-
draulic Reel Motor Removal in this chapter).
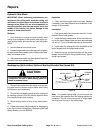
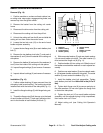
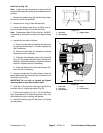
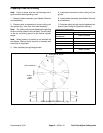
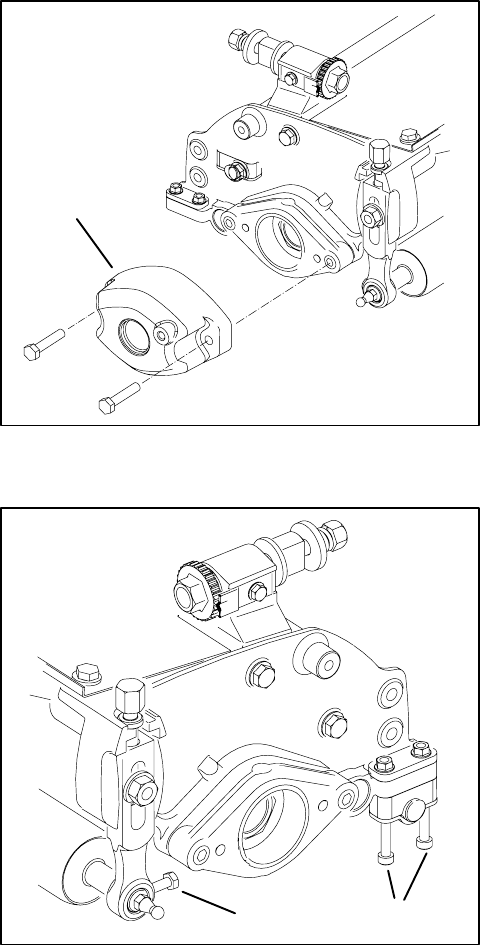
2. Remove the 2 capscrews securing the counter
weight to the side plate (Fig. 17). Remove the counter
weight.
3. Remove the bedbar assembly (see Bedbar Remov-
al in this chapter).
Note: Depending on tools available, it may be neces-
sary to remove the reel motor adapter plate before re-
moving the left end bearing lock nut (8).
4. Remove the reel bearing lock (8) nut from each end
of the reel shaft.
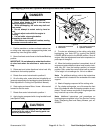
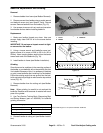
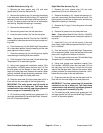
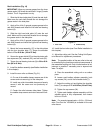
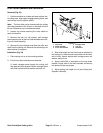
5. Loosen the setscrews securing the front roller to the
height of cut arms (Fig. 18). Do not remove the set
screws.
6. Loosen the saddle strap screws and flange nuts se-
curing the rear roller to the the side plates (Fig. 18). Do
not remove the screws and nuts.
7. Remove the capscrew (24), washer (23) and lock
nut (25) securing each end of the grass shield to the side
plates. These are the only capscrews that must to be re-
moved. The grass shield and the lift hook do not need
to be removed.
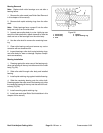
8. Remove the 2 shoulder bolts (7) securing the right
hand side plate to the cutting unit frame. Remove the
side plate from the reel shaft and roller shafts.
9. Remove the 2 shoulder bolts (7) securing the left
hand side plate to the cutting unit frame. Remove the
side plate from the reel shaft and the roller shafts.
1. Counter weight
Figure 17
1
1. Front roller set screw 2. Rear roller saddle strap
screws
Figure 18
1
2
Rev. D


